...
On this image you can see that moving slider to the left will increase inclusion volume:
- Click "Finish tuning" to apply changes or "Cancel" to reject them
This tool is one of the main inclusion shape tuning tools. It is very useful for adjusting shape of non-transparent and half-transparent inclusions. The border of inclusion projection after application of this tool in most cases will correspond to the borders of inclusion on photo.
...
- Select inclusion. If you want to apply the tool to a group of inclusions (or all inclusions like in postprocessing algoritms), you have to merge them before application the algorithm - see "Inclusion merge".
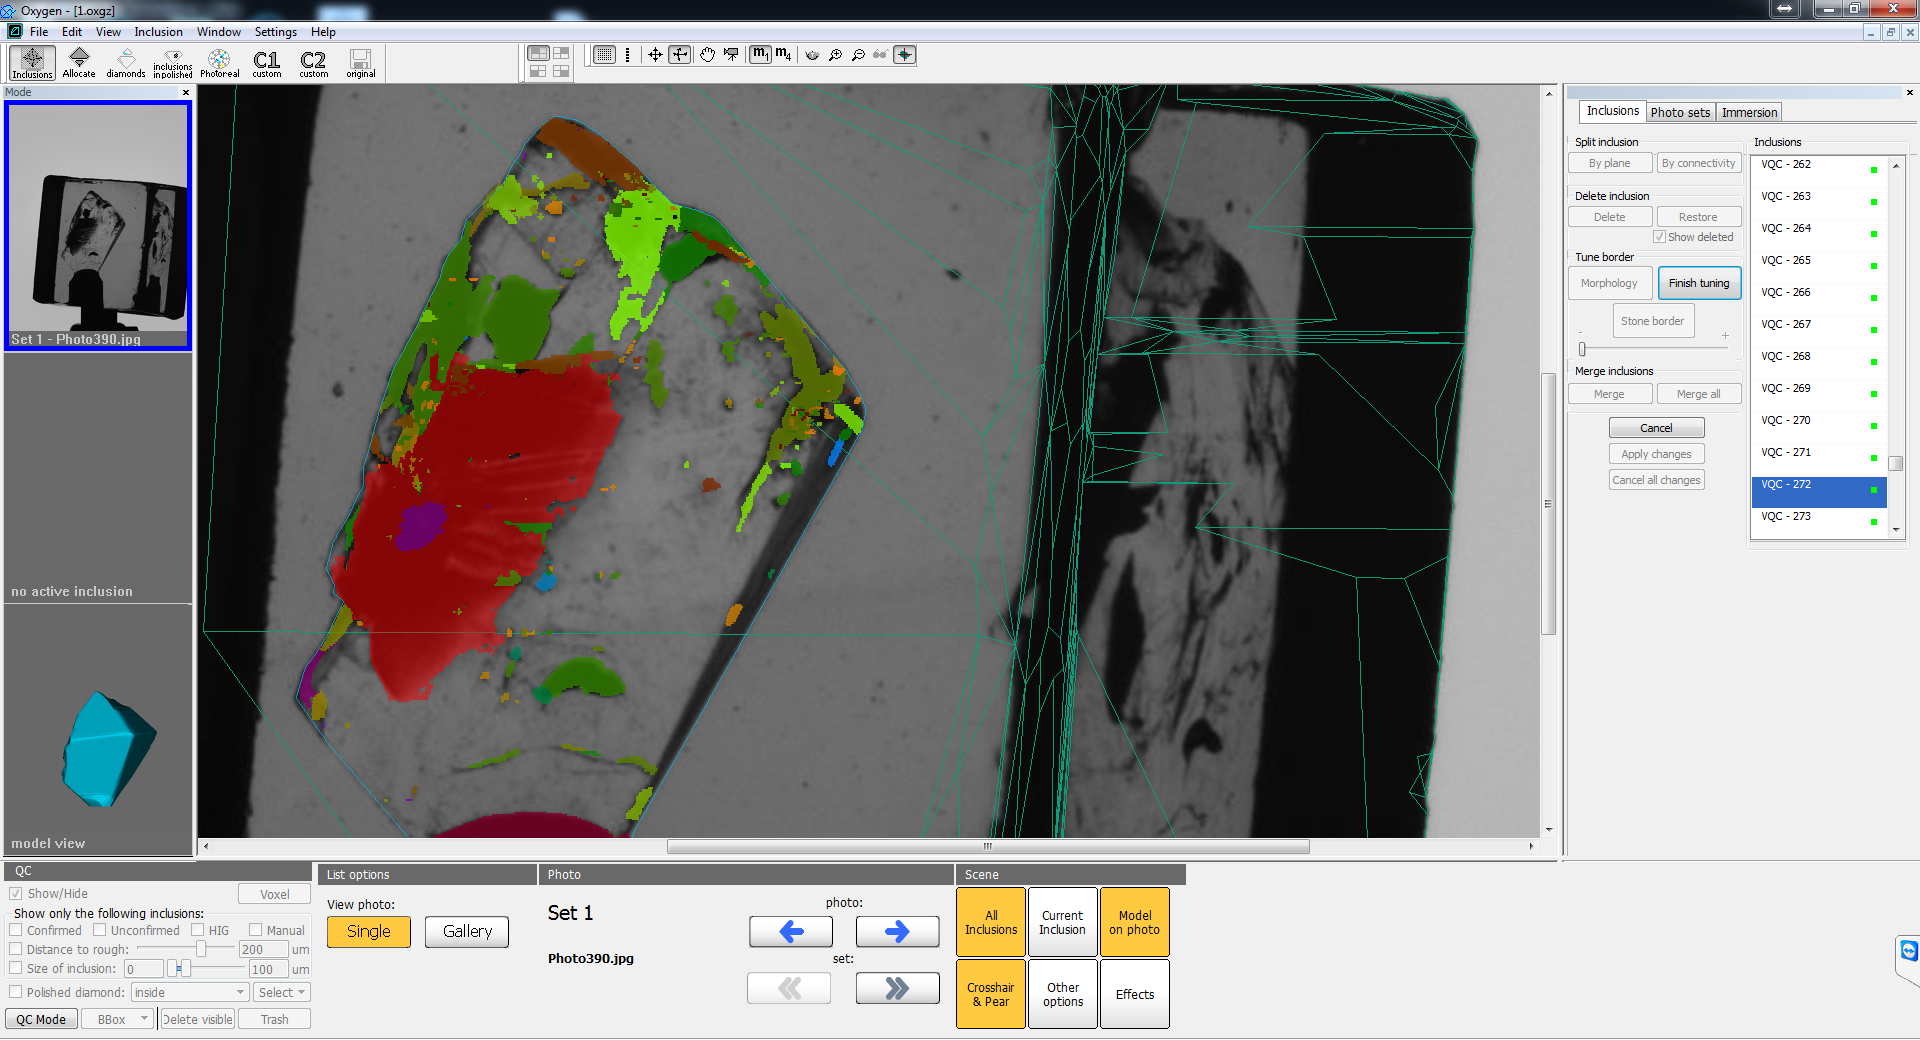
- Press the button "Morphology" in "Tune border" group box. After this the selected inclusion will be highlighted in half-transparent red color.
- Moving the slider we may adjust the stickout of the inclusion. Moving slider to the left will reduce inclusion volume. Moving slider to the right will increase inclusion volume.
- Click "Finish tuning" to apply changes or "Cancel" to reject them
So the main idea of the tool is similar to the thresholding voxel QC tool - it can adjust the inclusion stickout. The difference is in the shape of the resulting border of inclusion. Morphology doesn't take into account the transparency of the inclusion and can increase inclusion volume to the area, where you cannot see anything resembling inclusion. As for thresholding tool, it cannot increase inclusion volume to transparent area. Also morphology increase its volume uniformly in all directions, thresholding tool - the increase depends on inclusion transparency.
...
Also multiple application of this tool is useful if you want to remove small transparent holes in inclusion or split big inclusion from other , ones connected by thin necks. This techniques are more complicated (but very useful) and described in chapter "Practically important cases".
Inclusion merge
Sometimes it is necessary to merge several or all inclusions into one. For example, you want to adjust inclusion shape for several or all inclusions or merge some parts of inclusions that were split by plane. Important cases of using inclusion merge are described in "Practically important cases". Here we describe how to use this tool.
The case of merging several inclusions:
- Select one of the inclusions that you want to merge.
- Press "Merge" button.
- Click on inclusion that you want to merge with. It will be highlighted with red color and included to the The second
Practically important cases
...