...
You can see the results of thresholding (top picture) and morphology (bottom picture) - see half-transparent red area:
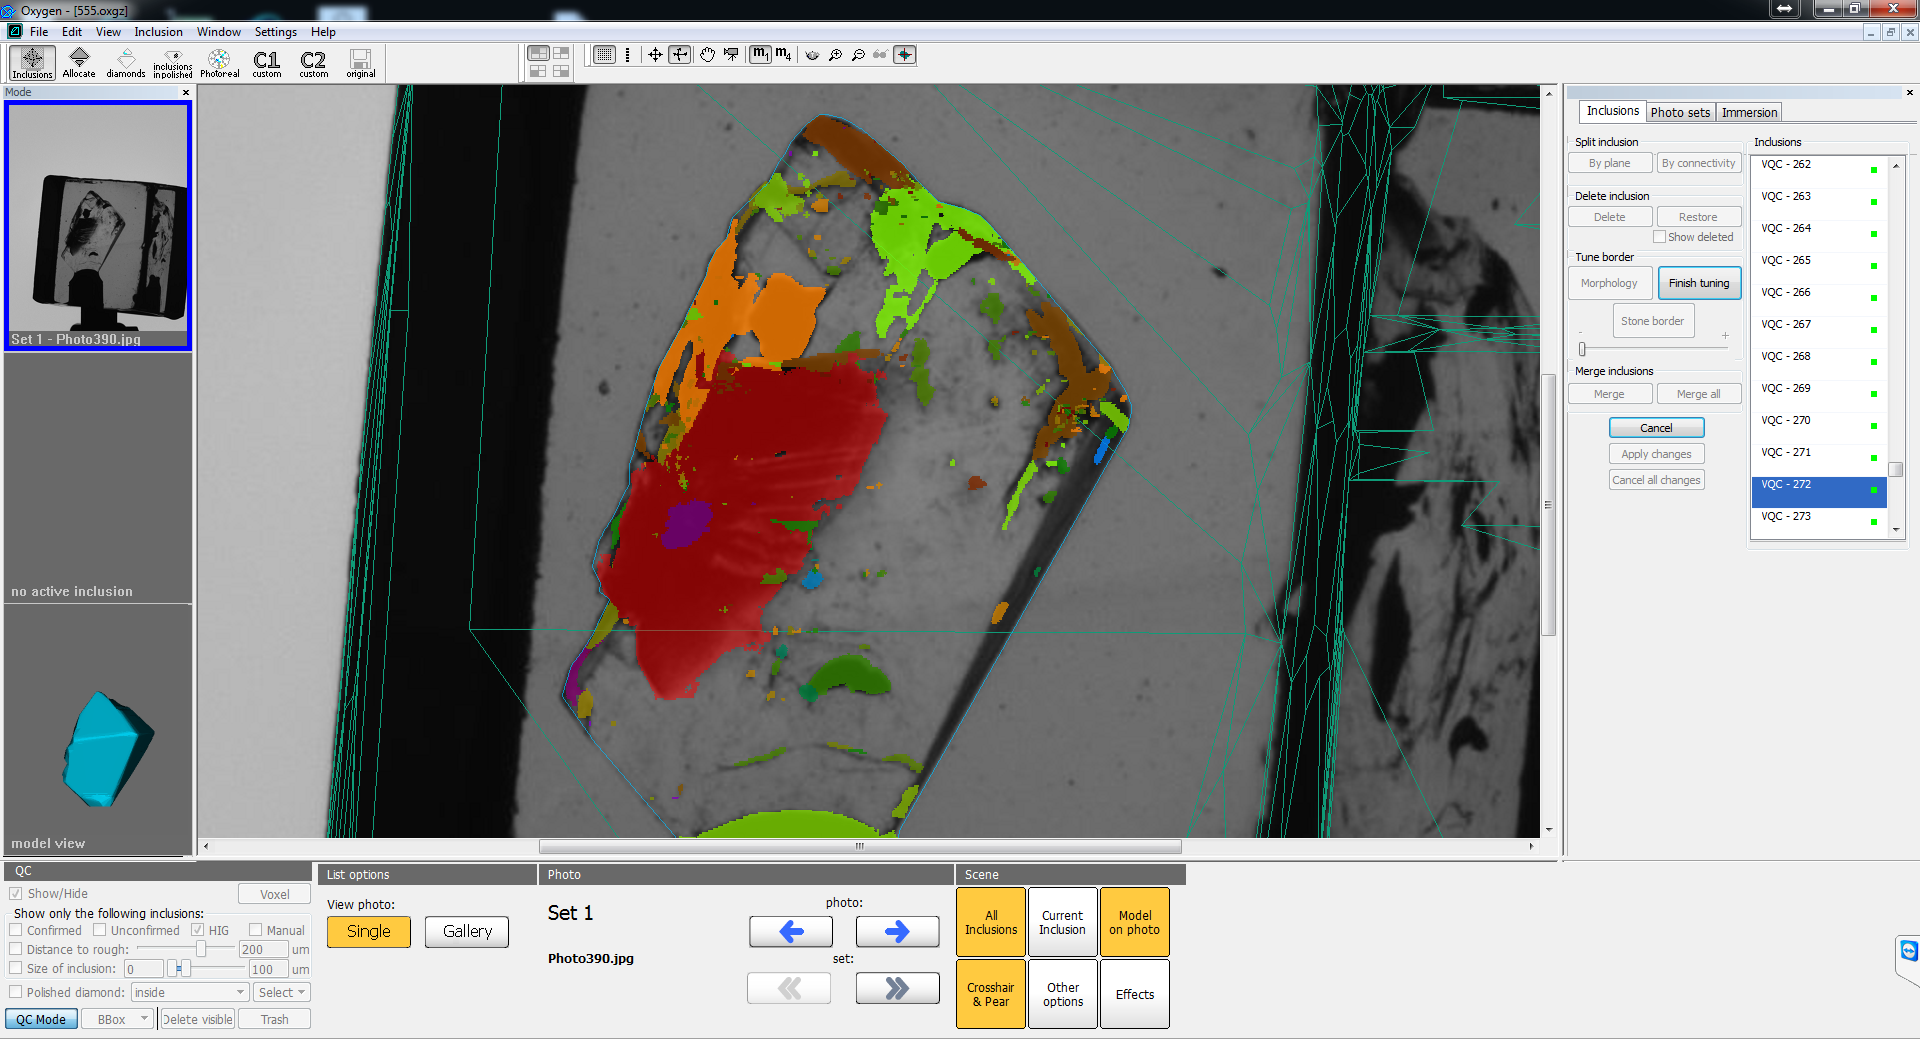
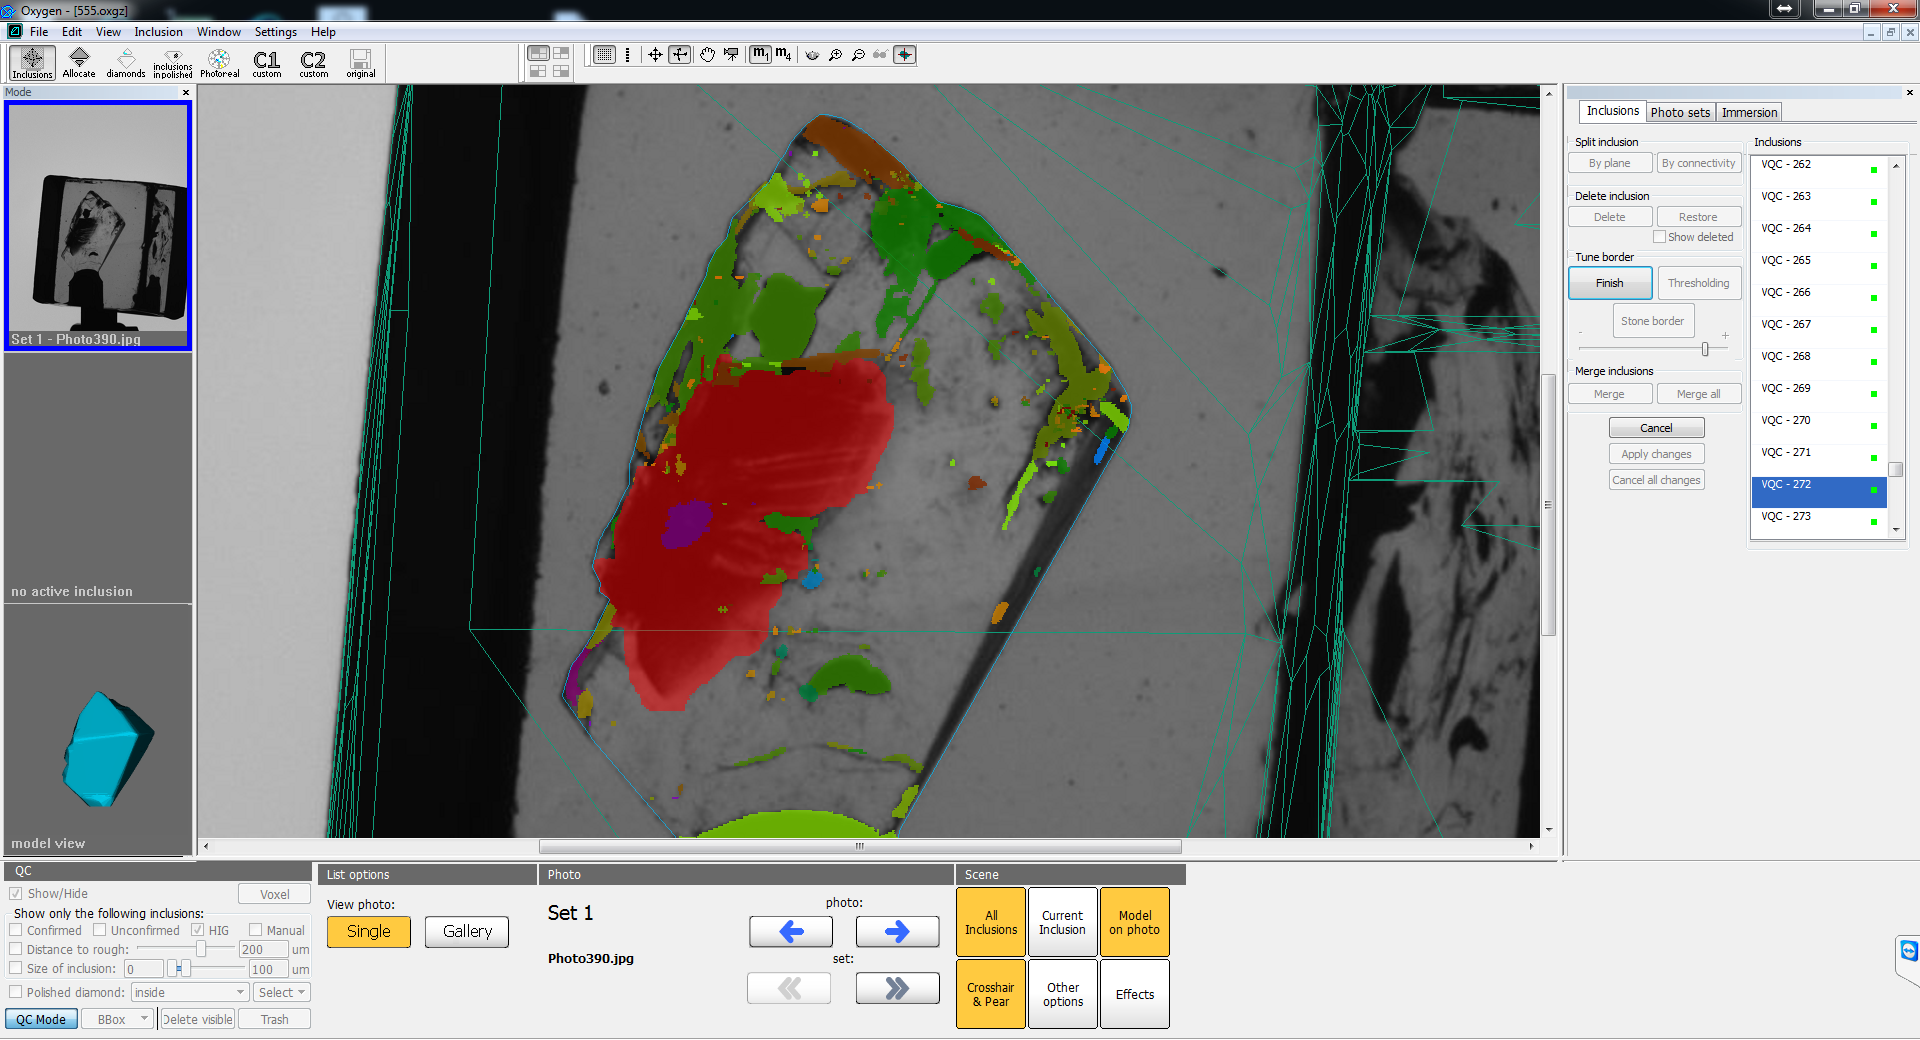
The result at the top (thresholding) has better border - border better corresponds to the the border between transparent and non-transparent areas. On the other hand, morphology eliminated transparent mini-holes in inclusion and smoothed the borders of reprojection.
...
Advanced usage of morphology - cut big inclusion from laser markings
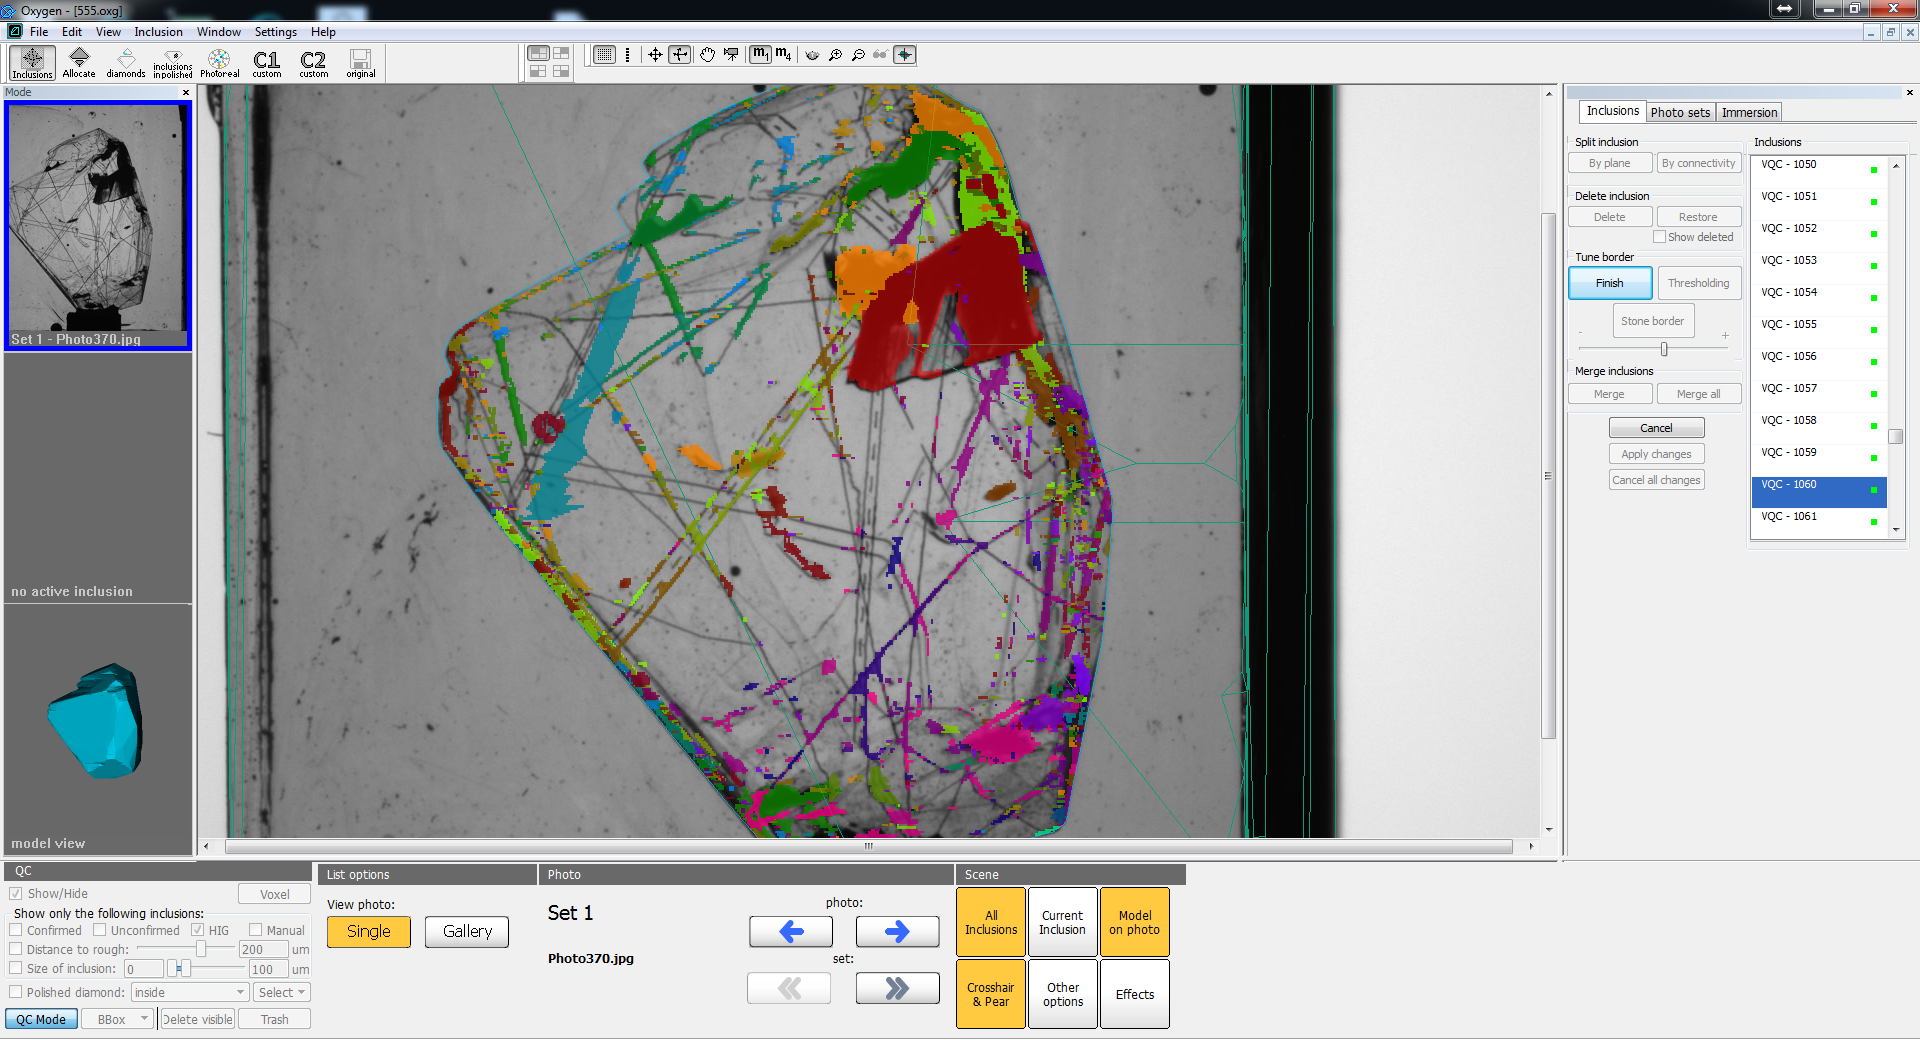
This simple example shows another way to remove markings from big inclusion using multiple application of morphology. On picture below you can see the example of selected inclusion merged with long laser marking:
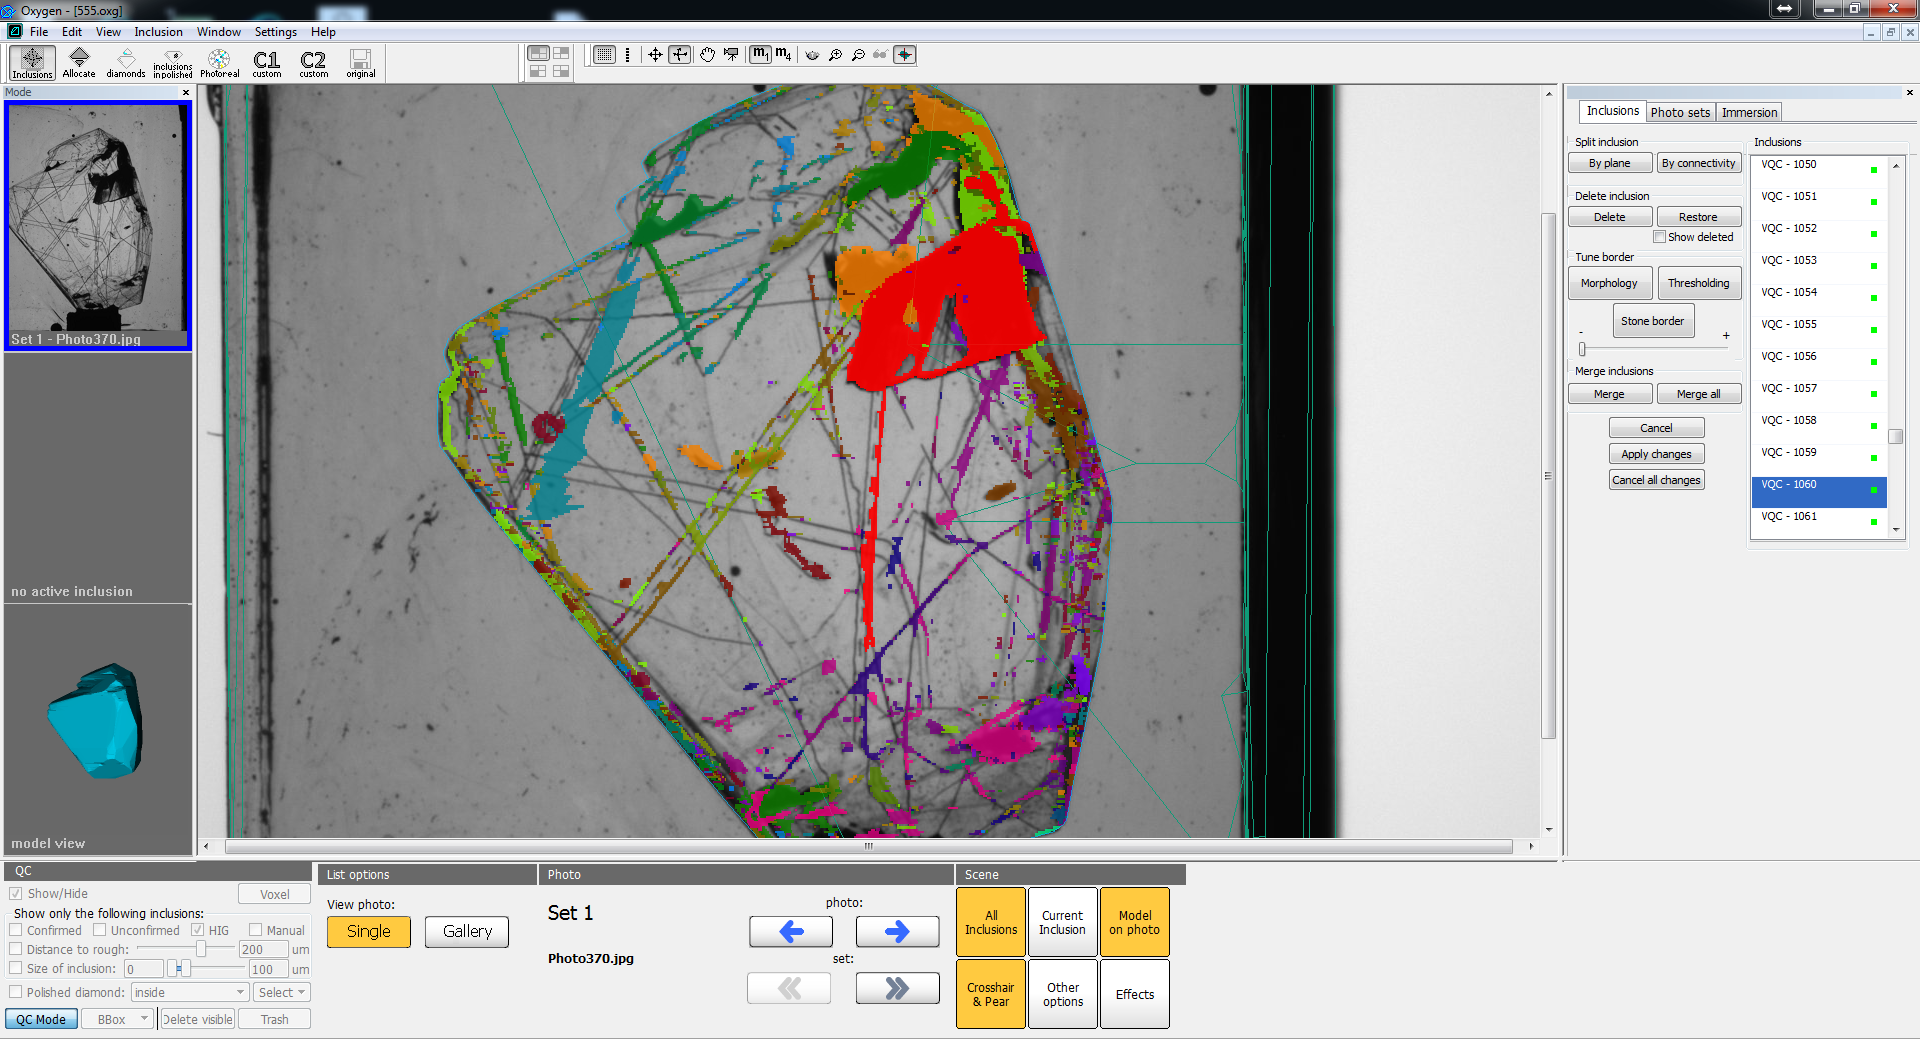
- Press "Morphology" button and by moving slider to the left remove laser marking (or split it from big inclusion):
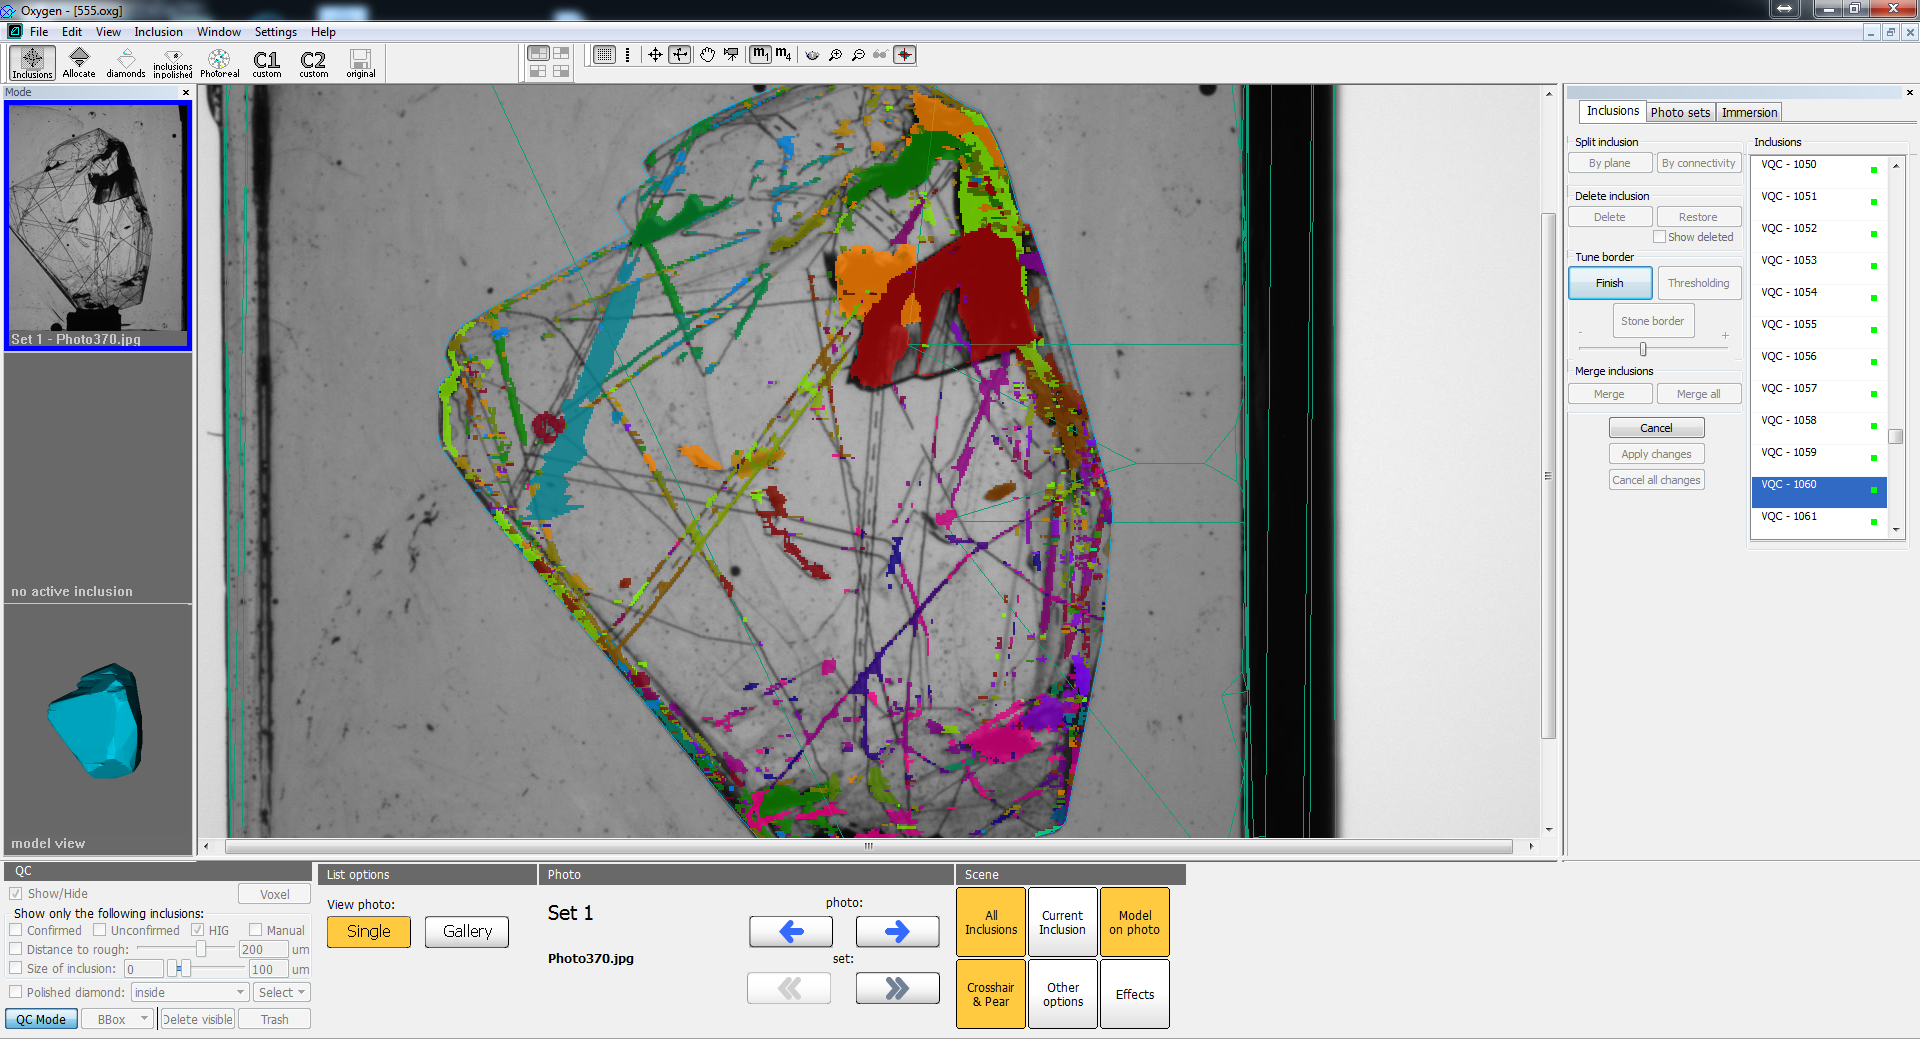
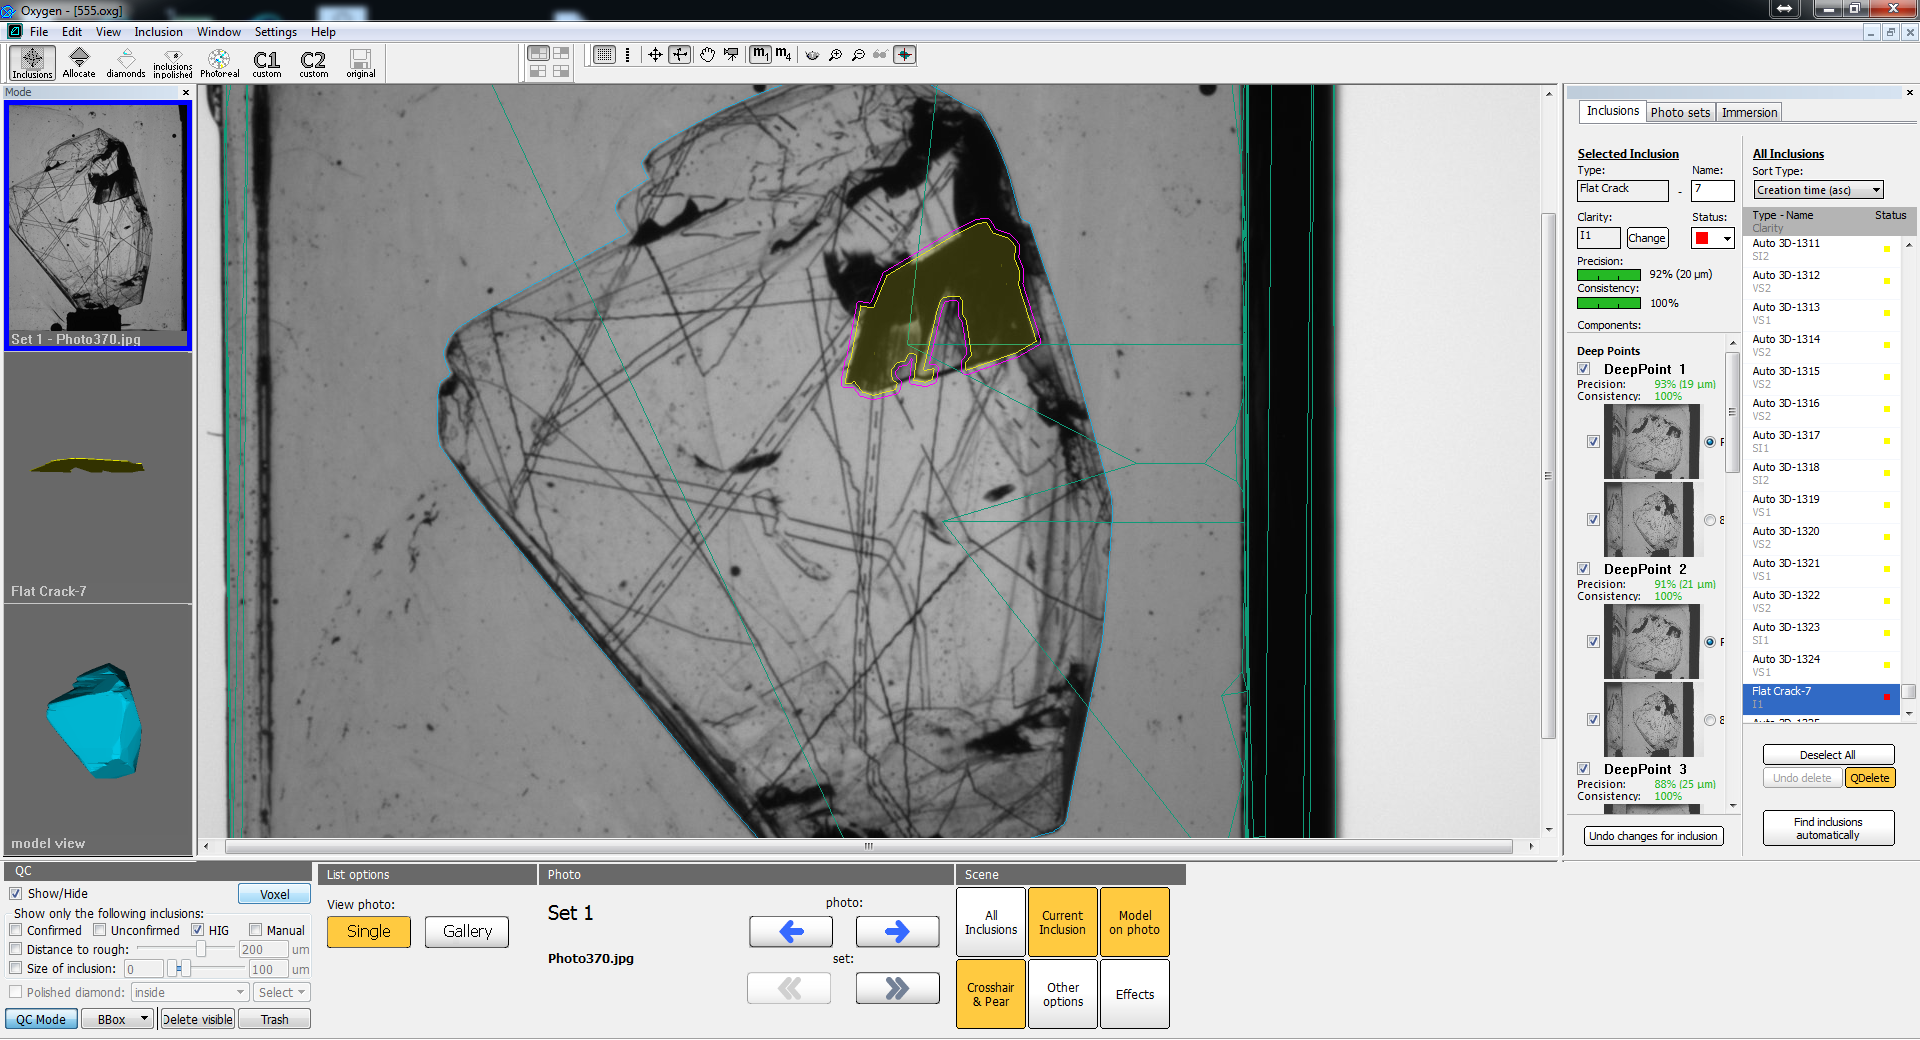
2. Click "Finish" button. Then again click "Morphology" button and move slider to the right to restore the borders of inclusion reprojection:
The result is the inclusion without connected laser marking and with practically the same borders.
If you press "Apply changes" button, this inclusion will be automatically converted into flat crack:
Before application of voxel QC tools this inclusion was not converted to flat crack, because it was connected with laser marking. That is why during voxel QC it is important to remove any parts connected with the crack.
NOTE: In this case we could remove the marking by splitting by plane. But there are cases when inclusion is connected with many laser markings. In this case multiple application of morphology tool will be more useful than multiple splitting by plane.
Other improvements