| Table of Contents |
|---|
Introduction
In this release we introduce two major improvements of Oxygen HIG that significantly expand the opportunities of inclusion editing at quality control (QC) stage: automatic glue detection and manual voxel QC tools.
...
Classical manual inclusion editing operations (like adding contour) do not work in voxel QC mode as well as voxel tools cannot be applicable in classical (not in voxel) QC mode. We expect that at this moment voxel QC tools will solve all possible QC problems, except creation of new inclusion (you may create it only using classical manual QC tools). That is why we recommend to apply voxel QC tools first for splitting inclusions and tuning their shape and then apply classical manual QC tools if it is necessary.
In voxel QC mode you may split combined inclusions by plane, delete wrong parts of inclusion, tune shape of each inclusion (like it was done by postprocessing) in real time, merge several (or all) inclusions in a one to perform apply the operation to a group of inclusions, cut subsurface layer inclusions.
...
- It works in real time
- You may modificate inclusion shape not only for all inclusions at once but also for one selected inclusion or group of inclusions
- You may adjust the shape by slider instead of brute-forcing of all possible postprocessing algorithms
Due to this these facts, from this moment postprocessing algorithms are obsolete and you cannot use them in a usual way in this version of program. To learn how to emulate postprocessing algorithms in voxel QC mode, please, refer chapter "Practically important cases".
...
- If you have made a mistake drawing the line or want to reject operation press "Cancel". You may cancel operation before you clicked "Finish", after this operation you may only peform apply the invert operation of merge operation - see chapter "Inclusion merge".
...
- Moving the slider (see it on the picture above) we may adjust the stickout of the inclusion. On this image you can see that moving slider to the right will reduce inclusion volume:
On this image you can see that moving slider to the left will increase inclusion volume:
...
- Click "Finish tuning" to apply changes or "Cancel" to reject them
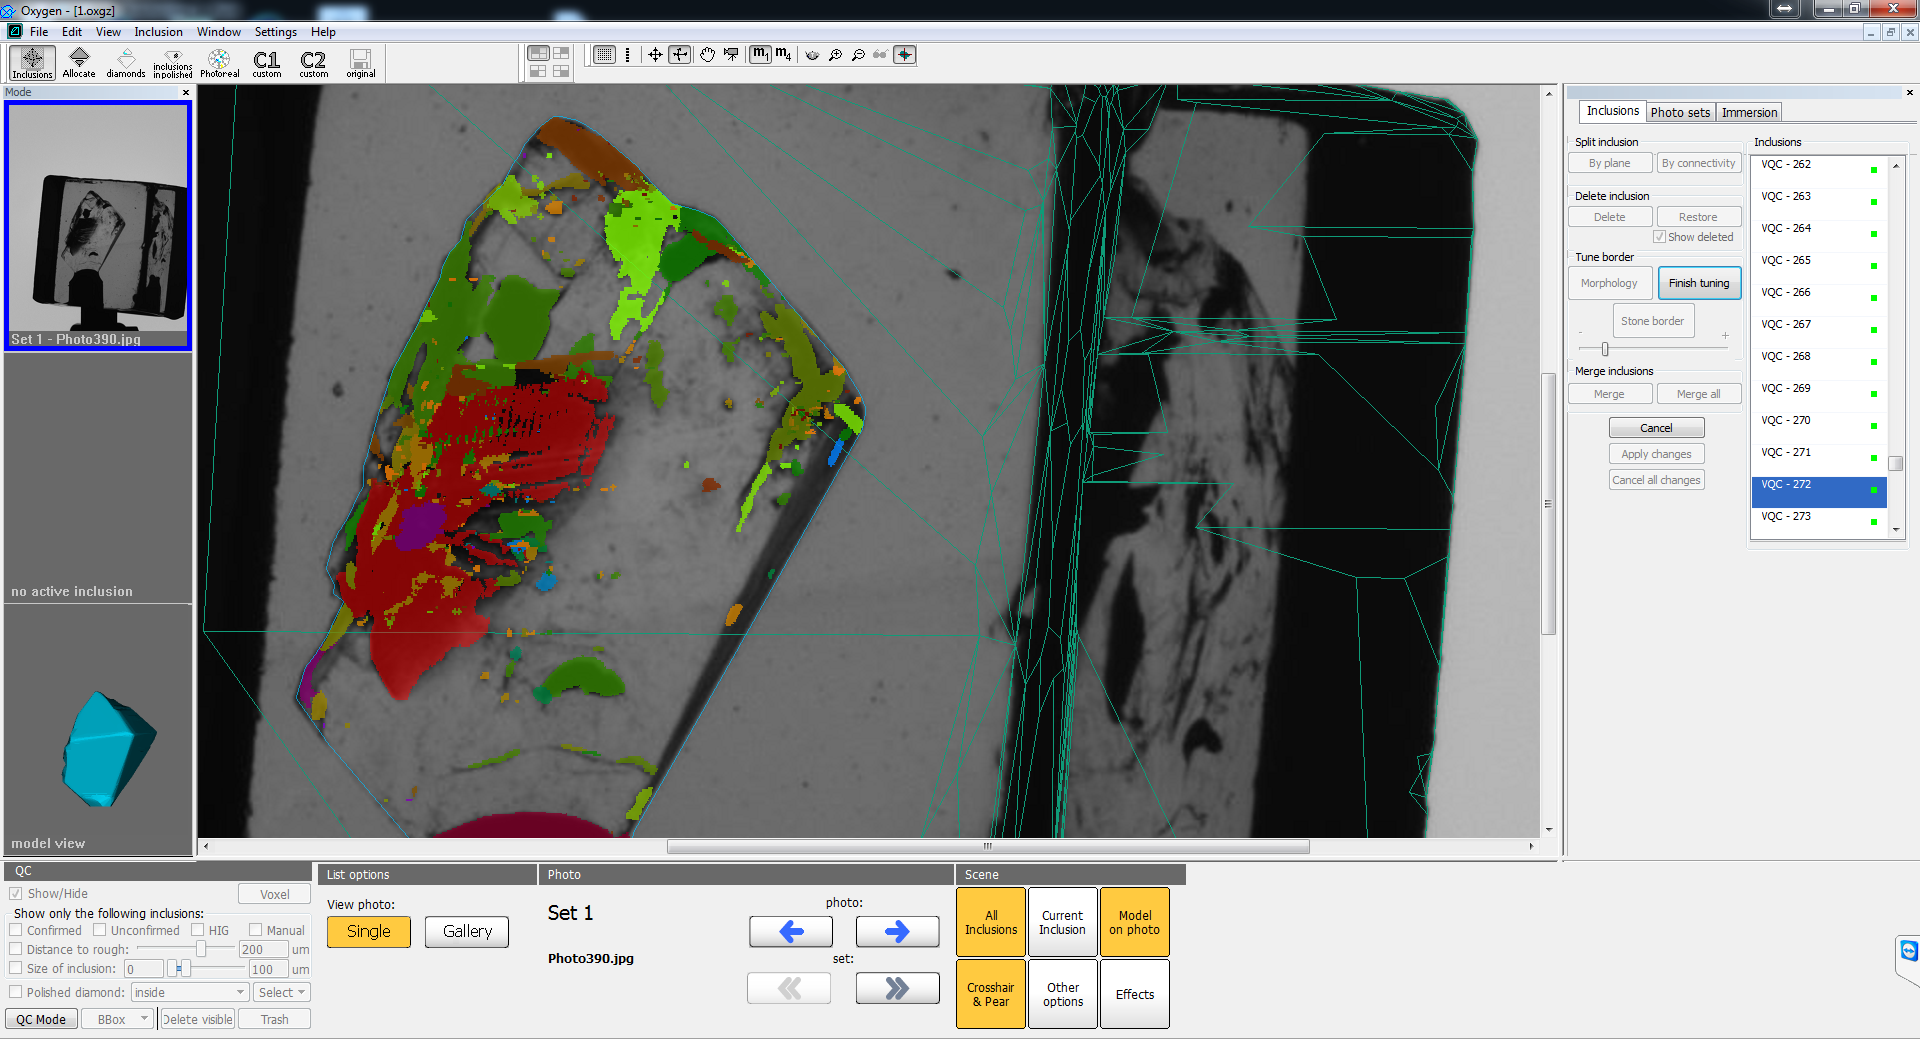
This tool is one of the main inclusion shape tuning tools. It is very useful for adjusting shape of non-transparent and half-transparent inclusions. The border of inclusion projection after application of this tool in most cases will correspond to the borders of inclusion on photo.
...
This tool resembles the thresholding voxel QC tool (see "Inclusion shape tuning - thresholding"). To use this tool you have to:
...
So the main idea of the tool is similar to the thresholding voxel QC tool - it can adjust the inclusion stickout. The difference is in the shape of the resulting border of inclusion. Morphology doesn't take into account the transparency of the inclusion and can increase inclusion volume to the area, where you cannot see anything resembling inclusion. As for thresholding tool, it cannot increase inclusion volume to transparent area. Also morphology increase its increases inclusion volume uniformly in all directions, as for thresholding tool - the increase depends on inclusion transparency.
...
Also multiple application of this tool is useful if you want to remove small transparent holes in inclusion or split big inclusion from other ones connected by thin necks. This These techniques are more complicated (but very useful) and described in chapter "Practically important cases".
...
- Select one of the inclusions that you want to merge.
- Press "Merge" button.
- Click on inclusion that you want to merge with. All currently merged inclusions will be highlighted with red color. The second click on inclusion will excluded it from the group.
4. Click "Finish" to apply merge.
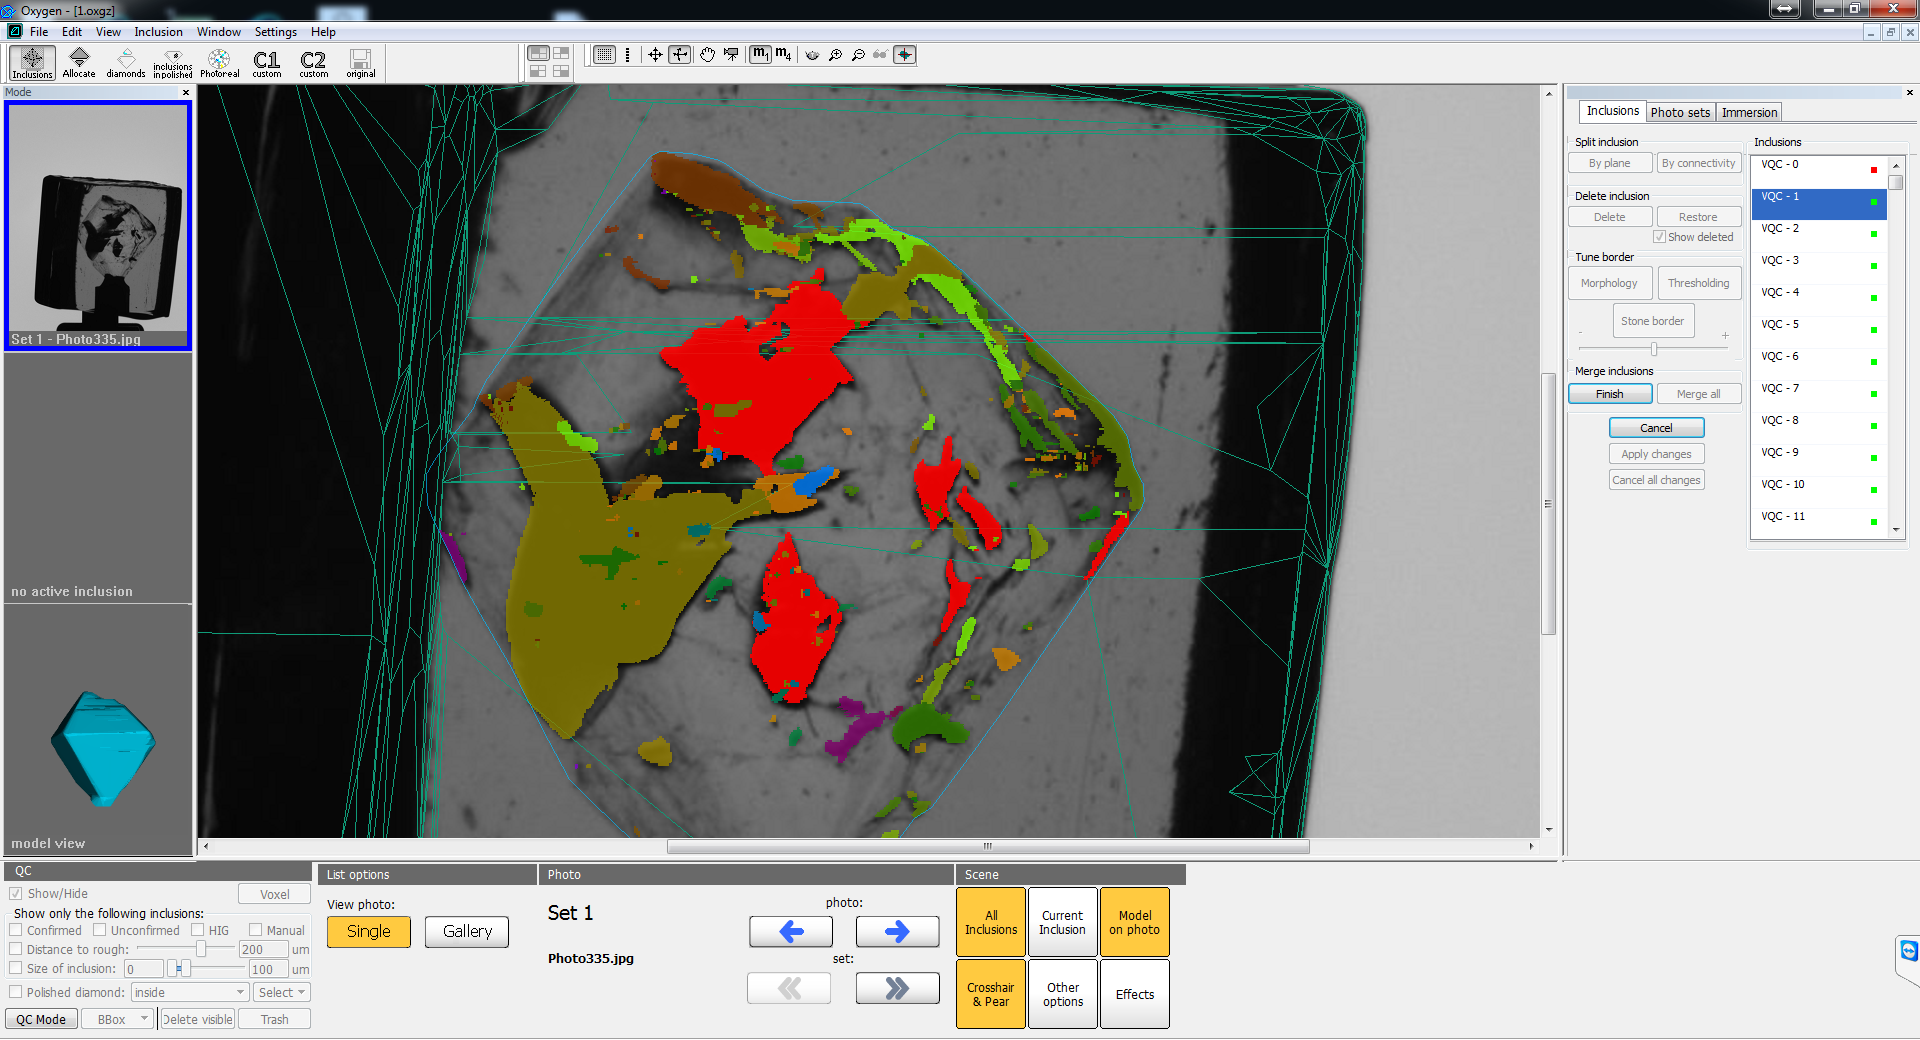
From this moment all selected inclusions are presented in voxel inclusion list as one voxel inclusion. You can apply different operations to it. For example on this picture you can see the application of thresholding to all merged parts of inclusion:
...
- Press "Stone border" button in "Tune border" group box.
- Adjust the thickness of cut subsurface layer using slider in real time.
- Press "Finish" to apply changes and "Cancel" to reject.
On images below you can see the initial inclusions (top) and cut by subsurface layer (bottom):
...
- Select some inclusion.
- Press "Merge all" button.
- Adjust inclusion shape using "Thresholding" button and slider. Then click "Finish" button to apply changes.
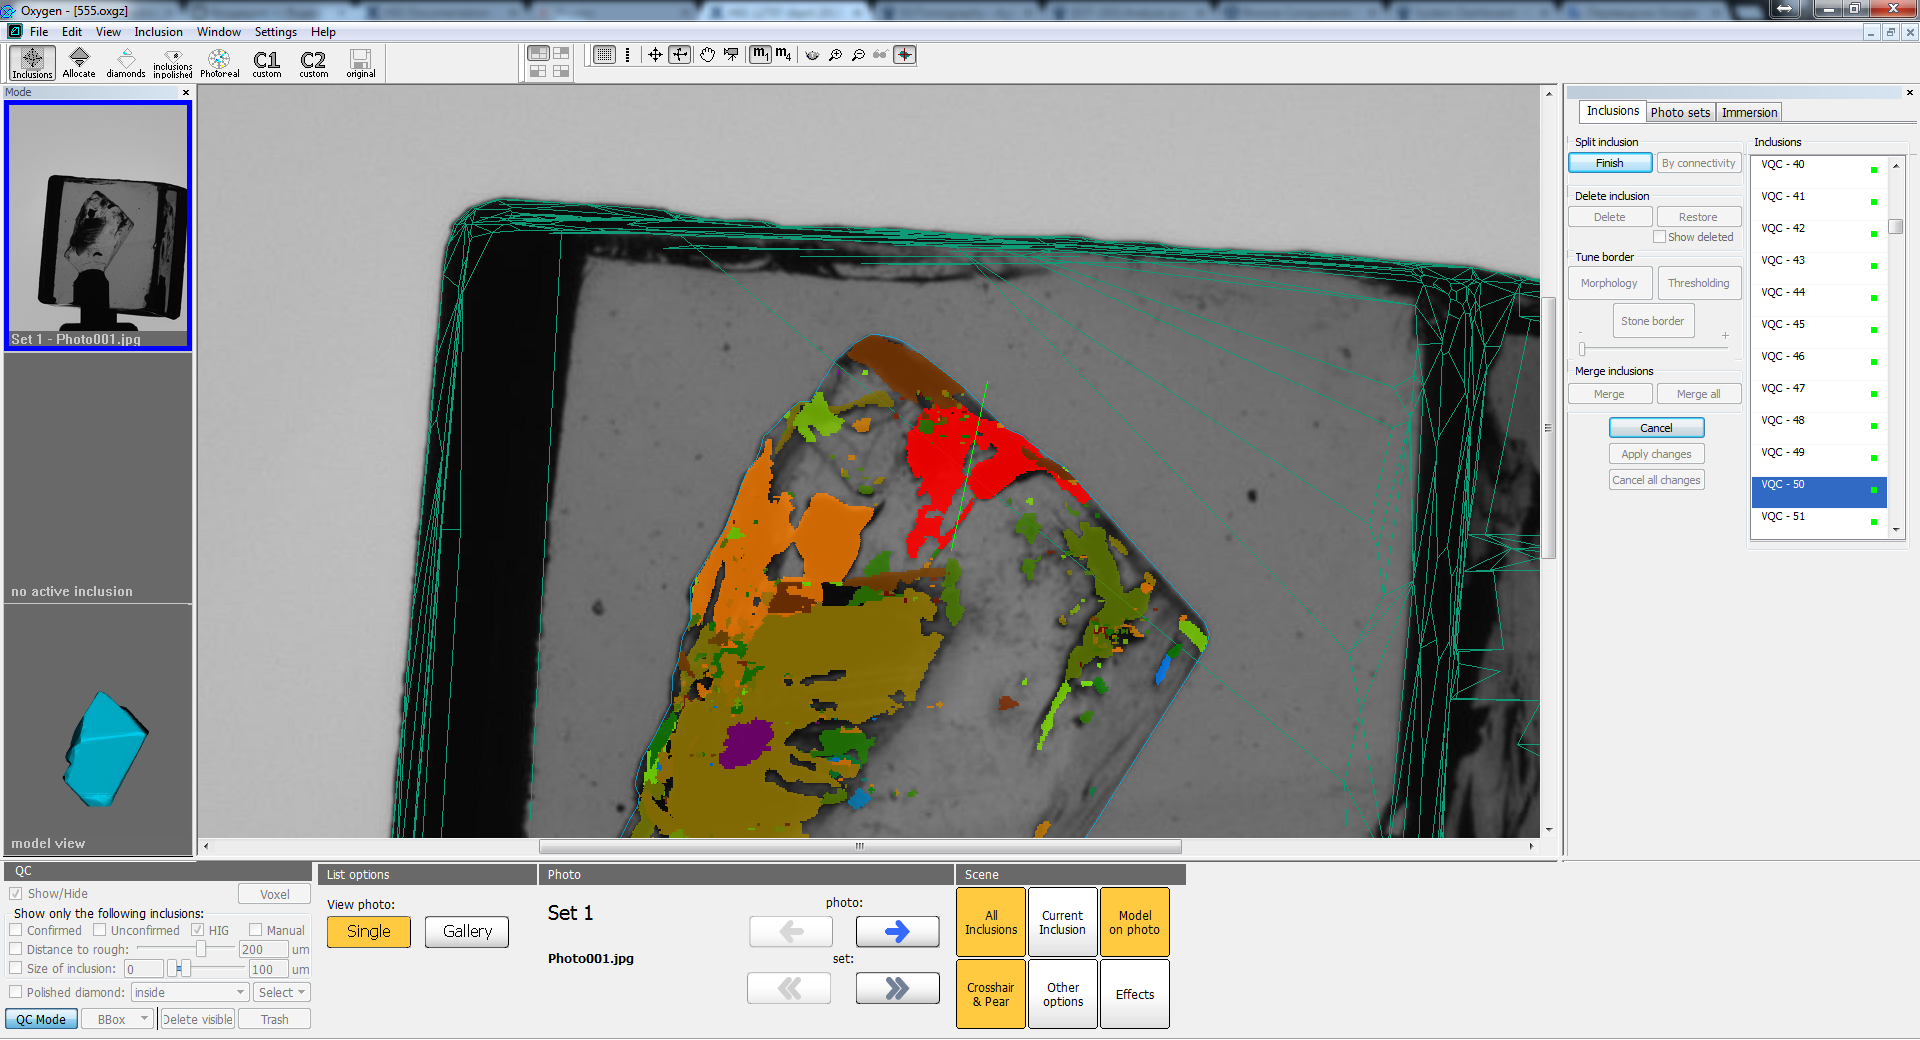
- Press "By connectivity" button to split all inclusions again.
Deletion of the part of complex inclusion
Suppose we have an inclusion with complex topology and we want to delete one of its parts:

Follow these steps:
- Select inclusion and split it by plane (press "By plane" button and draw line to split inclusion from this point of view).:
As you can see due to the complex inclusion topology we have cut two inclusion necks instead of one:
...
2. Select the right part of inclusion and split its neck by plane. After this you will have inclusion separated into 3 parts. But you need want to delete right top part and merge two other parts in one.
...
This simple example shows how you may remove transparent holes in inclusion using multiple application of morphology. On picture below you can see the example of selected inclusion with holes (they are mark marked by green ellipses):
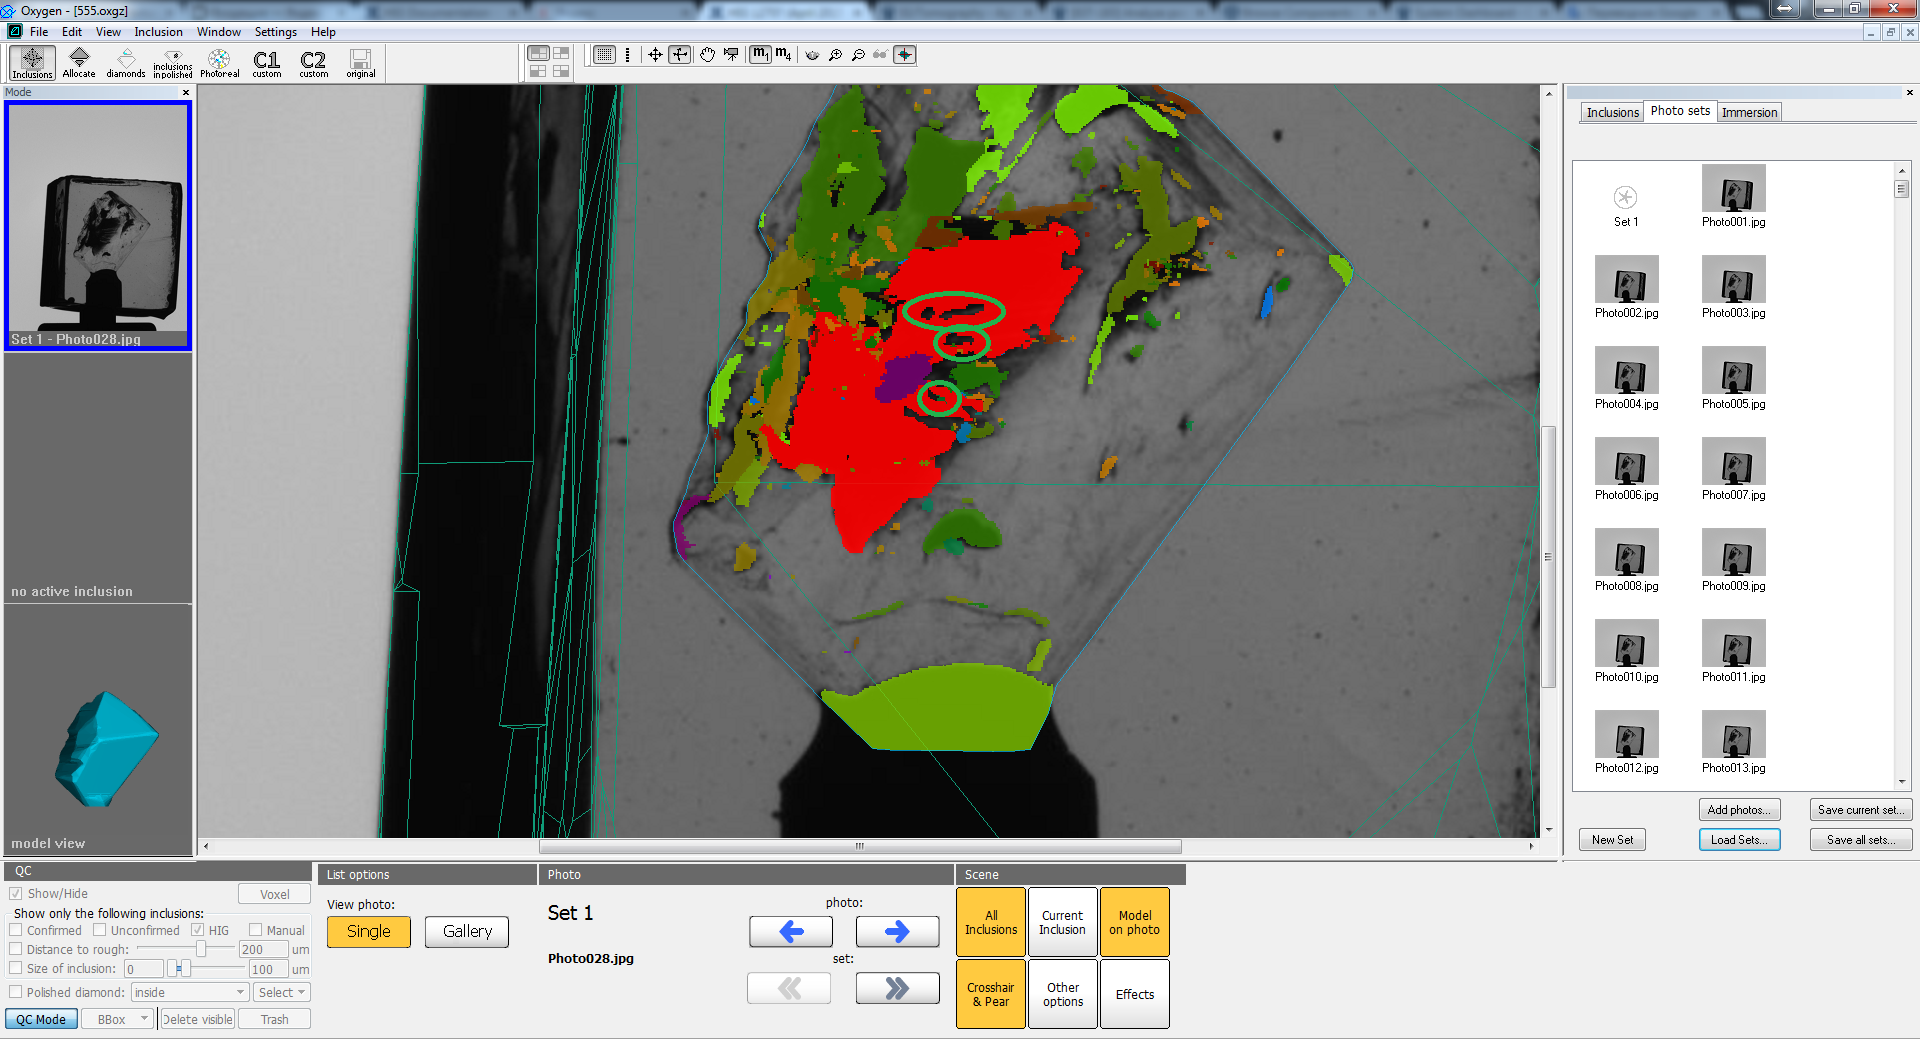
- Press "Morphology" button and by moving slider to the right remove inclusion holes:
...
Note: Use this example in case when thresholding cannot eliminate holes (when hole is in transparent area) and when these holes are not too large compared to the size of inclusionsinclusion. If the hole is large, using this approach may spoil the borders of inclusion.
Advanced usage of morphology -
...
split big inclusion from laser markings
This simple example shows another way to remove markings from big inclusion using multiple application of morphology. On picture below you can see the example of selected inclusion merged with long laser marking:
...