Smart Recut is a provides more sophisticated and customizable algorithm of customizable algorithms of finding controllably asymmetric recut solutions, superior to the ordinary Recut procedure.
| Info |
|---|
Currently Smart Recut is only working with round brilliants. |
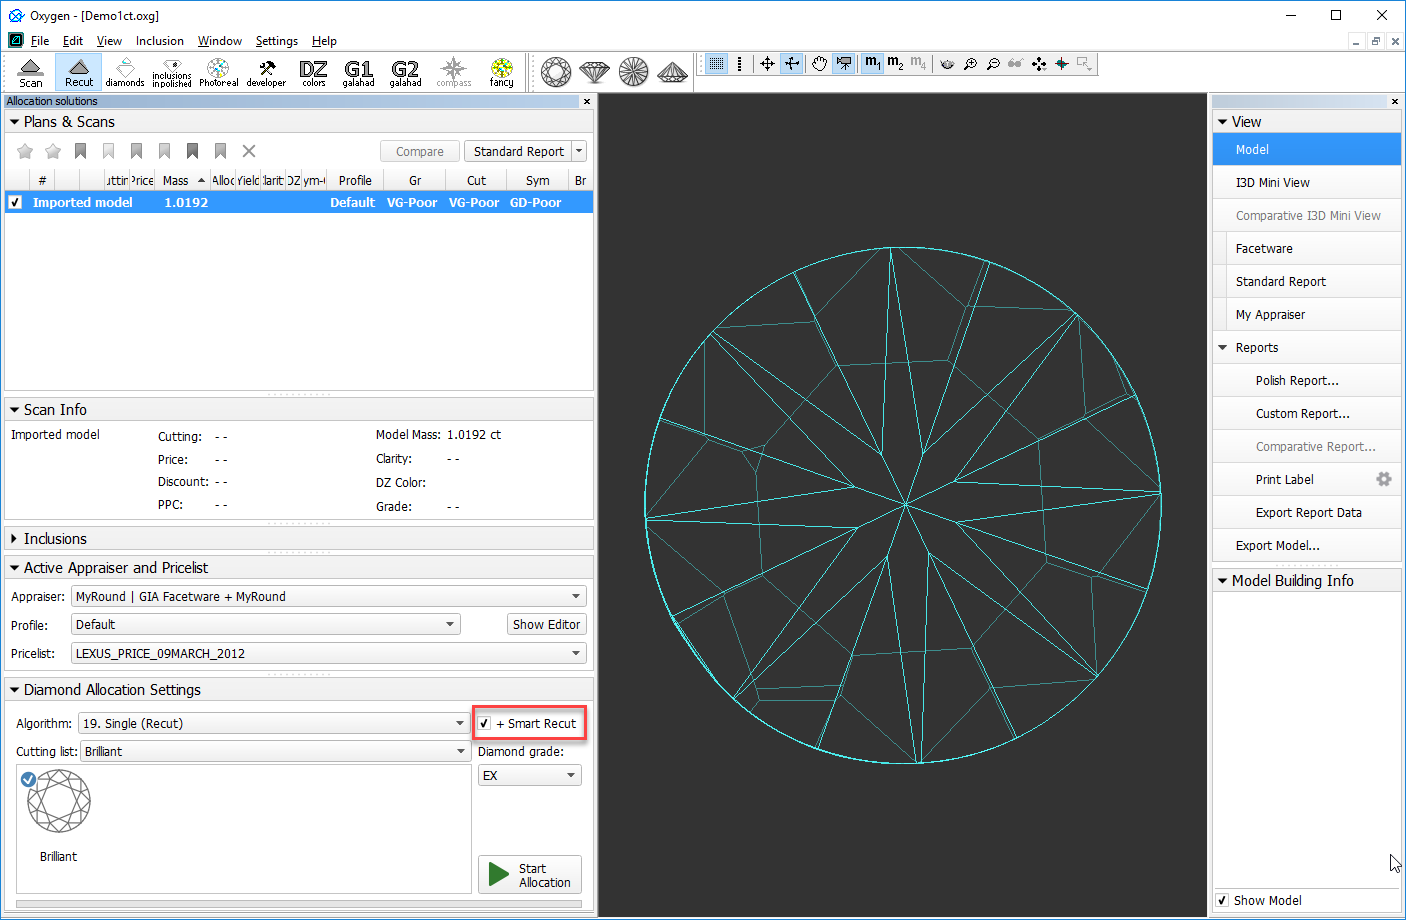
To initiate Smart Recut, do the following steps:
| Panel | ||||||
|---|---|---|---|---|---|---|
| ||||||
|
Running Smart Recut
Standalone Run
To run Smart Recut:
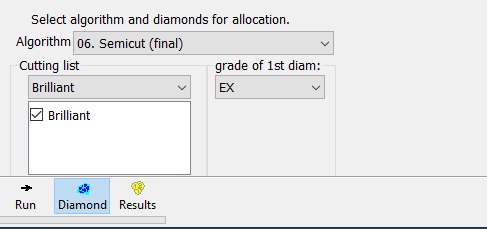
- Select Recut solution.
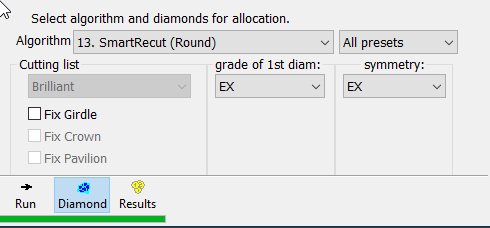
Set Algorithm = your available Smart Recut algorithm.
- If necessary, set the algorithm options:
- Allow Girdle Extra Facets - see Using Girdle Extra Facets
- Fix Girdle, Fix Crown, Fix Pavilion - see Smart Recut with Restrictions
- Select Presets - see the Smart Recut Presets section below
- Target Cut grade and Symmetry grade
Click Start Allocation.
Open a model.
Run simple Recut:
This is to provide a starting point for the Smart Recut algorithm.
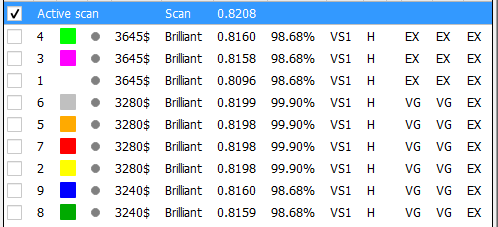
Select the simple recut solution on the Allocation solutions panel.Change the algorithm to Smart Recut, set other options according to your choice, and run it:
Info Smart Recut algorithm seeks to keep the table plane of the model unchanged , unless the solution found deviates from the original by a considerably wide margin. Besides that, Smart Recut is enabled with the options to fix the girdle, girdle + crown, or girdle + pavilion. See Smart Recut with Restrictions for more details.
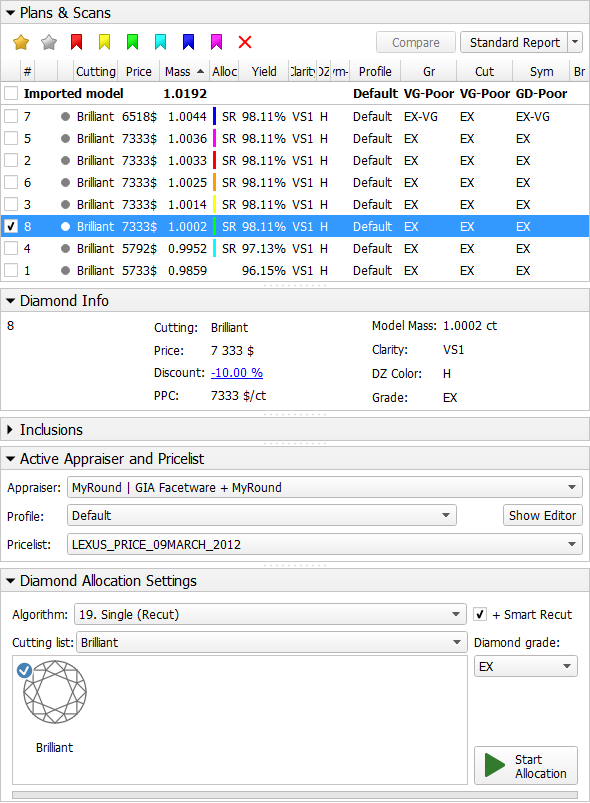
A set of new solutions appears.
(each with the "SR" marker in the Allocation column)
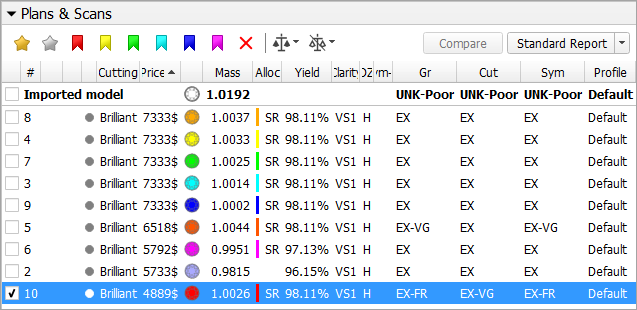
By default, Smart Recut produces 8 solutions, each according to
...
certain preset (see the definition in the Smart Recut Presets section below). The solution markers in the tree are color-coded to match the corresponding presets.
Recut and SmartRecut in One Run
The system provides the ability to apply Recut and Smart Recut algorithms sequentially within one run. To enable, select your Recut algorithm, then select the + Smart Recut option, then start allocation.
With the + Smart Recut option, the SmartRecut will start automatically after the Recut, basing on the two best Recut solutions. In the solution list, you will obtain both recut and SmartRecut solutions.
| Info |
|---|
SmartRecut starts with the last selected options. |
Smart Recut Presets
A preset is A preset is a collection of additional limitations on top of the appraiser which are imposed on the solution. Each Smart Recut solution seeks a balance between retaining the most mass of the stone and achieving the highest possible symmetry. The presets, in effect, assign different weights to the geometrical requirements, thus shifting that balance to a varying extent. The presets are ordered from the strictest to the most relaxed. Below is the list of all presets:

 1. UltraSymmetry UltraSym
 2. HighOpticalSymmetryHighSym
 3. MediumOpticalSymmetryMediumSym
  4. NormalOpticalSymmetryNormalSym
  5. Standard
- 6. ExtendedLimitsLowSym
 7. LowOpticalSymmetryExtendedLimits
 8. MaxMass MaxMass
| Note |
|---|
While comparing the Smart Recut solutions, keep in mind the following features:
|
...
| Expand | ||||||||||||||||||||||||||||||||||||||||||||||||||||||||||||||||||||||||||||||||||||||||||||||||||||||||||||||||||||||||||||||||||
|---|---|---|---|---|---|---|---|---|---|---|---|---|---|---|---|---|---|---|---|---|---|---|---|---|---|---|---|---|---|---|---|---|---|---|---|---|---|---|---|---|---|---|---|---|---|---|---|---|---|---|---|---|---|---|---|---|---|---|---|---|---|---|---|---|---|---|---|---|---|---|---|---|---|---|---|---|---|---|---|---|---|---|---|---|---|---|---|---|---|---|---|---|---|---|---|---|---|---|---|---|---|---|---|---|---|---|---|---|---|---|---|---|---|---|---|---|---|---|---|---|---|---|---|---|---|---|---|---|---|---|
| ||||||||||||||||||||||||||||||||||||||||||||||||||||||||||||||||||||||||||||||||||||||||||||||||||||||||||||||||||||||||||||||||||
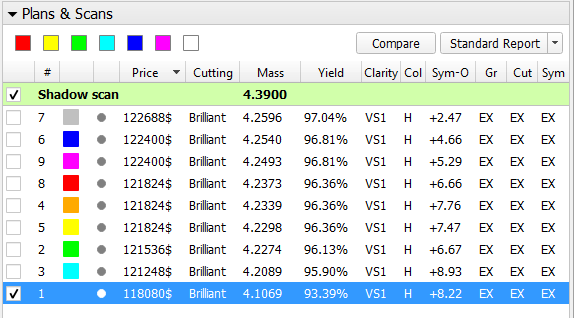
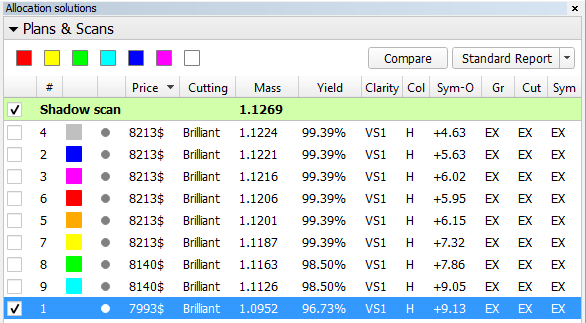
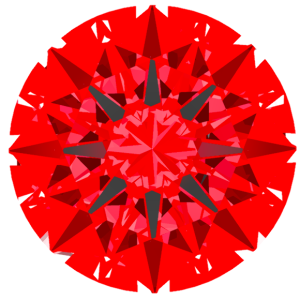
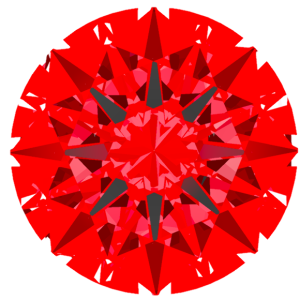
Consider these two sets of Smart Recut solutions together with their photorealistic images. Each set is obtained from one stone and ordered by decreasing mass. First set (Smart_Recut_example_1.oxgz):
Second set (Smart_Recut_example_2.oxg):
|


...
To view and edit presets, open the the Appraiser editor panel panel (see see My Appraiser), then click the the Show presets button button.
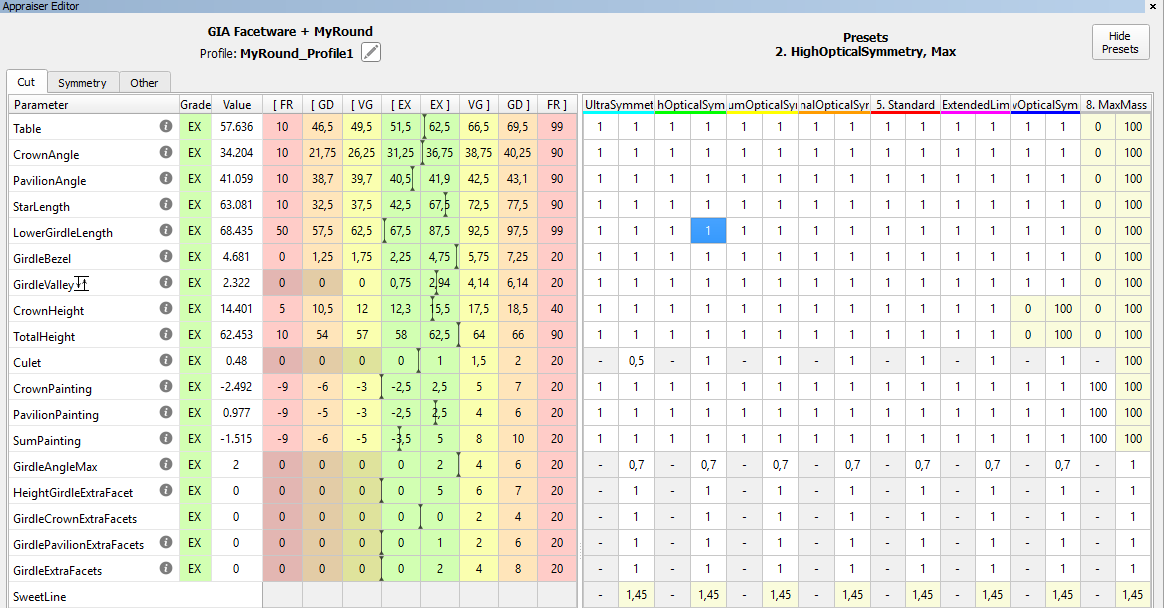
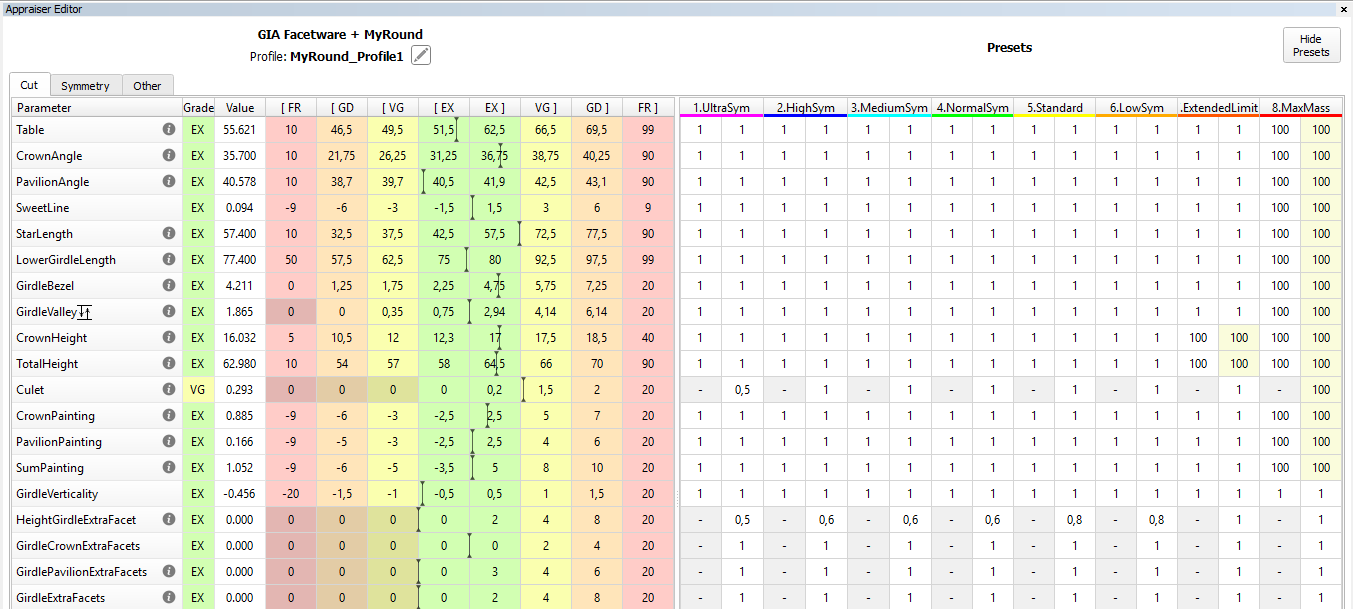
The limitations are defined with respect to those of MyAppraiser. Each parameter within each preset is described by two numbers. These are the multipliers for the left and right border, correspondingly. If both numbers are 1, this means that both borders are unchanged, that is, MyAppraiser values are used.
Sweetline is a derived parameter with special meaning; see Using SweetLine for for more details.
 Blue Blue background denotes the selected field, if any. The name of the preset and the side (Min or or Max) corresponding to the selected field are repeated in bold at the table header. Selection can be moved around using the arrow keys.

...
Hyphen on gray background denotes the positions where the corresponding limit is physically impossible to overstep, and thus need not be enforced specifically (lower limit of 0 for the culet size, for example). Such positions are not accessible for editing and can't be selected. When the selection is moved around with arrow keys, it jumps over them.
 Yellow Yellow background denotes the multipliers which are loosening the MyAppraiser limitations, that is, left-border multipliers with value less than 1 and right-border multipliers with value greater than 1.
All numeric values are editable. Double-clicking in any table cell transforms it to the input field:  . Pressing Pressing Enter does does the same to the selected cell. You may change the field using the arrow keys keys Up/Down on on the keyboard, or the arrow buttons next to the field, or simply by typing the values in. Pressing Pressing Esc finishes finishes the editing and discards changes. Pressing Pressing Enter or or clicking in another cell finishes the editing and keeps the newly entered value in the edited cell.
Changed values are shown in bold. The presence of such values is further indicated by the bold note note Unsaved changes at at the bottom of the panel.
Life cycle of the edited parameters is controlled by the following buttons at the bottom of the panel:
...
| Warning |
|---|
These buttons are not to be confused with the similar buttons controlling the MyAppraiser parameters (see My Appraiser). |
Undo  | Undo the most recent change, if any. |
|---|---|
Redo  | Redo the recently undone change, if any. |
| Discard | Discard the recent edits. |
| Apply | Save the parameters within the program, so from that point on the new values would be applied to all models. |
The parameters are stored in *.ini files located at at %USERPROFILE%\OctoNus Software\SmartRecutPresets\. No mechanism for managing multiple versions of presets is provided. If you want to return to the default values, copy the files manually beforehand and save them elsewhere.
...