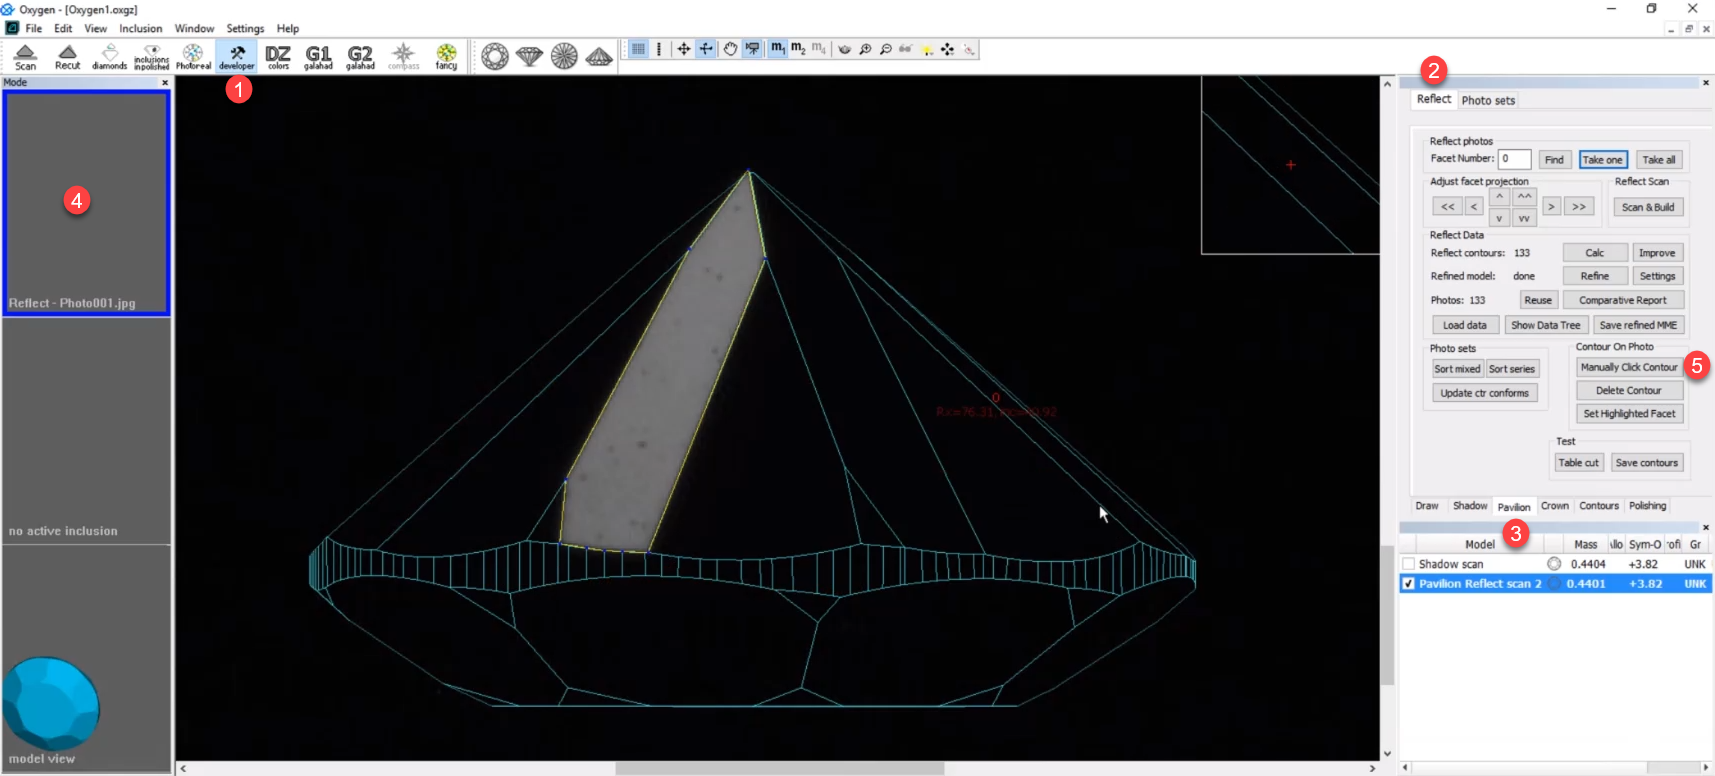
You can manually edit automatically created reflect contours.
Switch to the Reflect tab, Pavilion sub-tab.
From the Pavilion sub-tab, you can edit both pavilion and crown contours. |

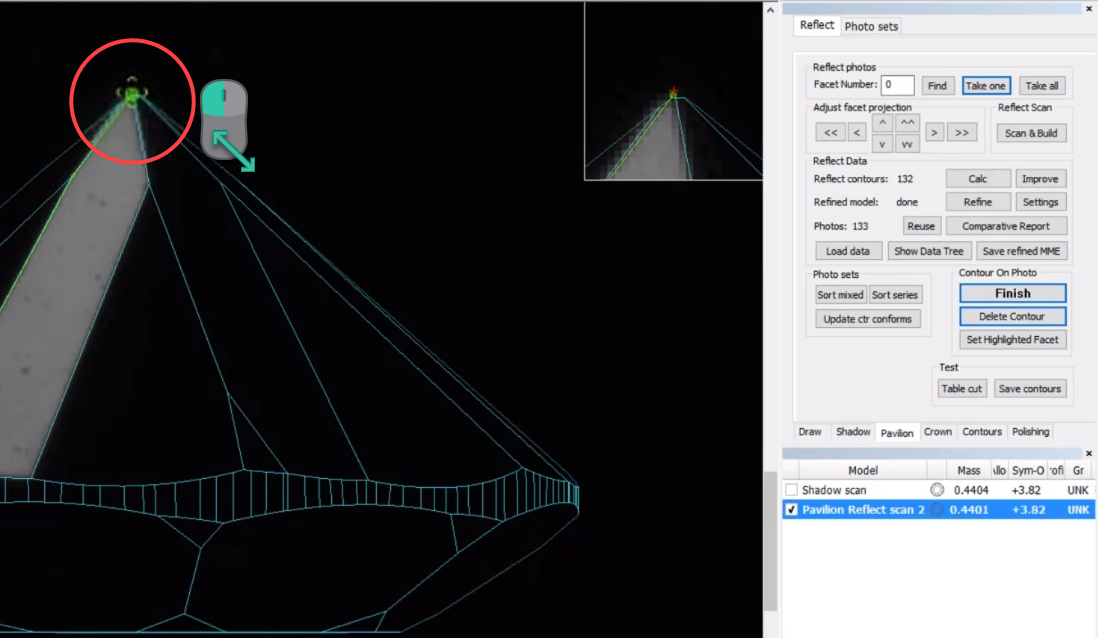
When the editing tool is active:
To move an existing point, mouse over it; when the point is targeted, .

Note You can also move point using the cursor keys. To do so, mouse over the point; when the point is targeted, use
on the keyboard.

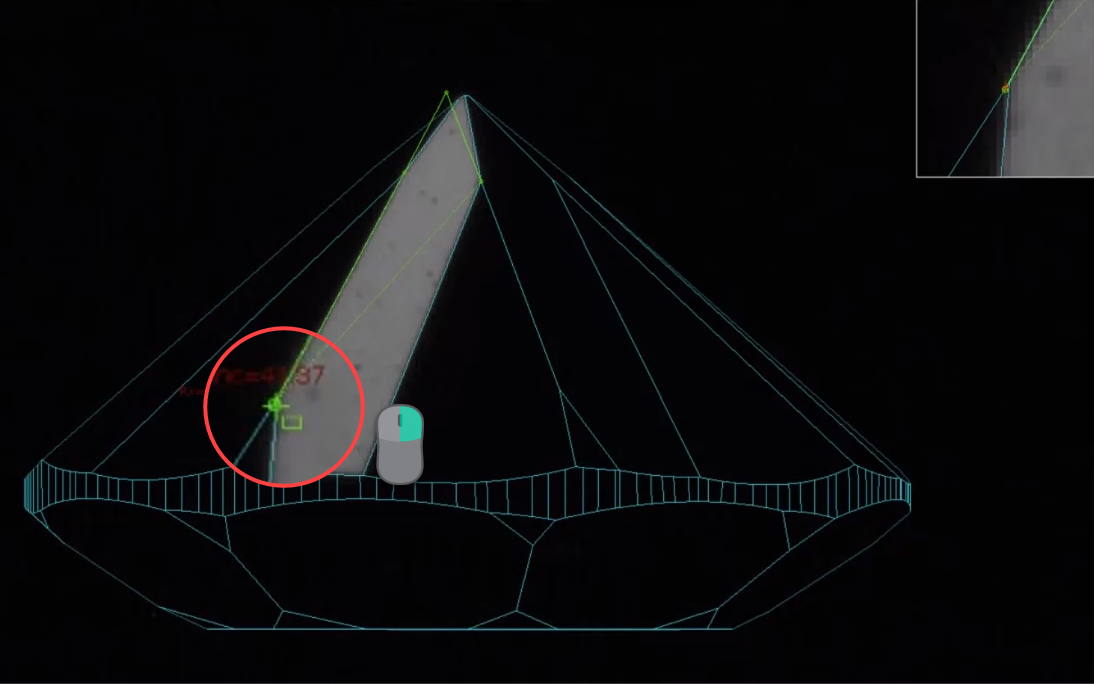
For the closed contour you are still able to:
You also can:
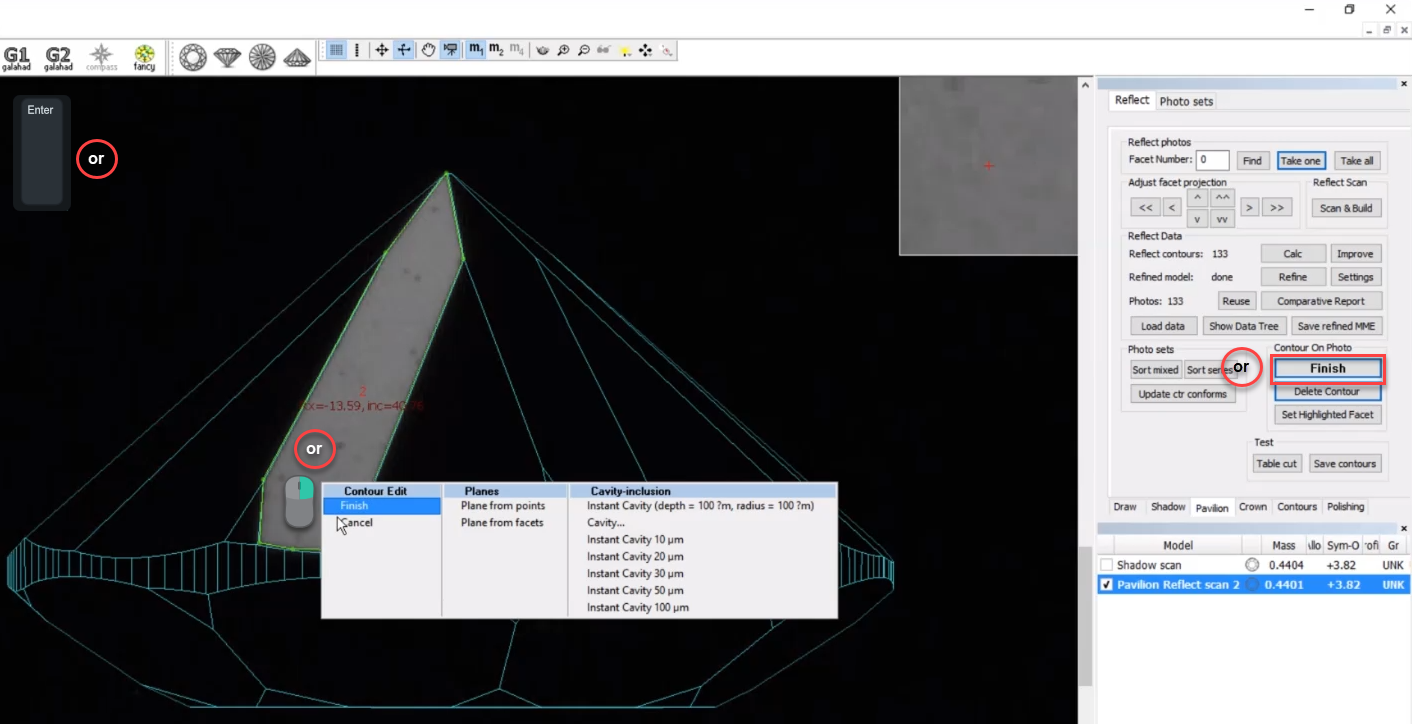
As soon as you have done the editing, do one of the following:

You can at any moment resume editing by clicking once again on the right panel, in the Contour on Photo section, the Manually Click Contour button.
Do not forget to save your project via File > Save. Your edited contours will be saved along with the project. |