Introduction
DM-Xray is a product for calculation of simplified polygonal models from Xray voxel scans (created by Bruker Xray scanner and sofware)
Installation and first launch
Here you can find the installation file: Dropbox/Download/DM-Xray/dm-xray-setup-ver-1.0.0.1-alpha3x64.exe
Please, install it (by setting the installation folder and clicking 'Next'-button).
For a launch you need a licenced HASP-key.
Opening Xray scan
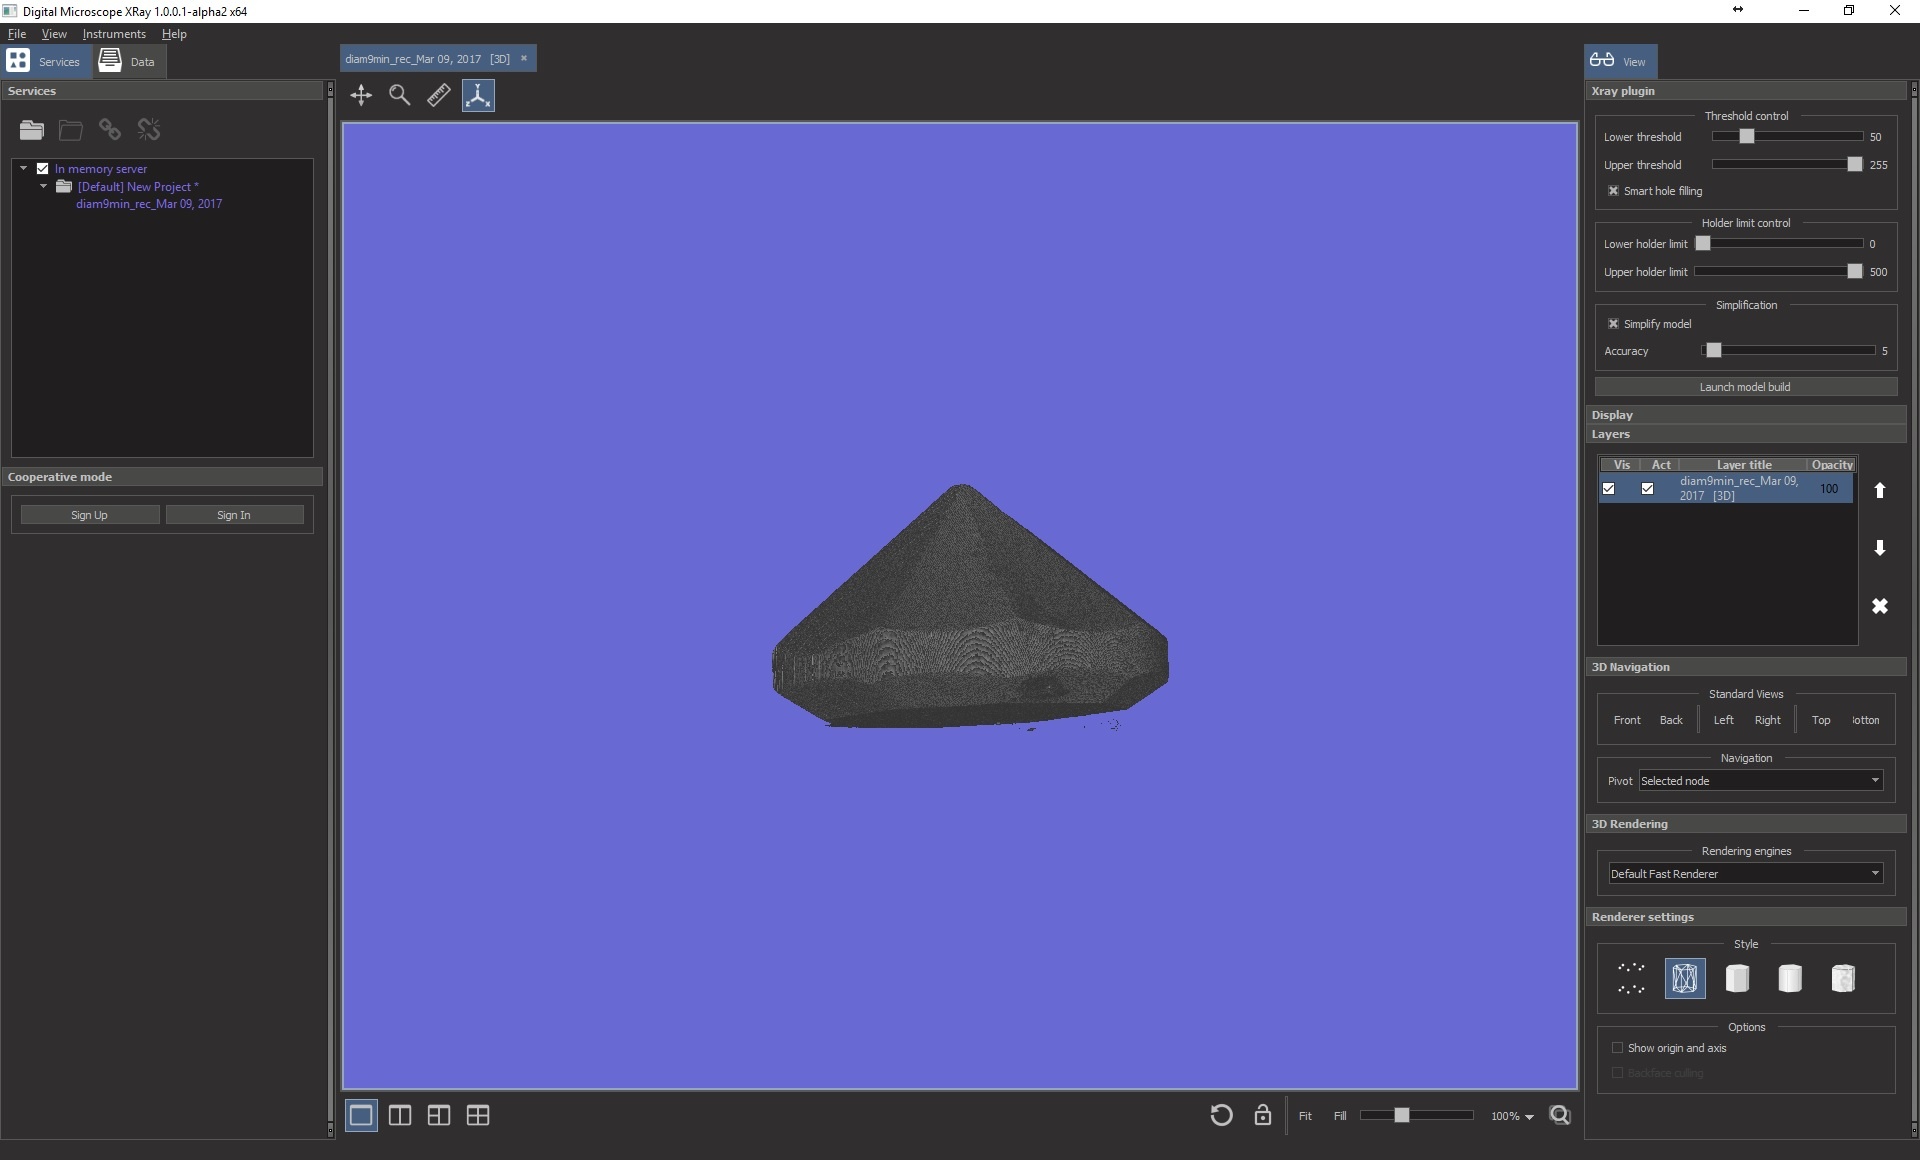
To open Xray scan, choose File->Open... After this you will see the open dialog window. Please, choose the log-file of the scan:

You will see the visualization of voxel model. You may rotate the model by dragging it by mouse:
Tuning voxel representation
In DM-Xray you may tune the form of the voxel model by thresholding and setting clipping planes (so called holder limits). Also you may tune the parameters of the model simplification. These parameters you can see on this screenshot:
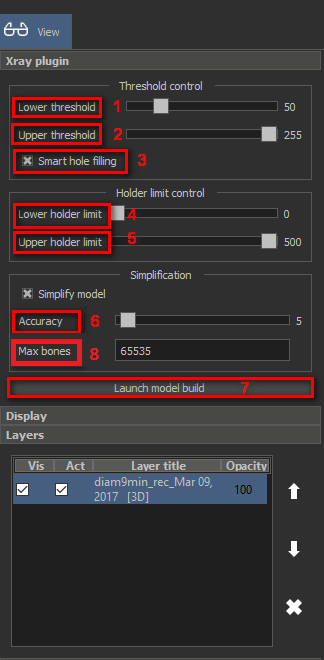
- Lower threshold - lower limit for a binary threshold of voxels. We show all the voxels with the brightness greater or equal to this value. To activate the slider press 'T'. After this you may control by PgUp and PgDown buttons.
- Upper threshold - upper limit for a binary threshold of voxels. We show all the voxels with the brightness less or equal to this value. To activate the slider press 'Shift+T'. After this you may control by PgUp and PgDown buttons.
- Smart hole filling - by enabling this option we close the holes inside voxel model (that can be not visible when you set the thresholds). We do not recommend to use this parameter if you want to build the model with the subsurface cracks.
- Lower limit holder - the lower clipping plane, excludes the slices of voxel Xray scan with numbers greater or equal to this value. To activate the slider press 'H'. After this you may control by PgUp and PgDown buttons.
- Upper limit holder - the upper clipping plane, excludes the slices of voxel Xray scan with numbers less or equal to this value. To activate the slider press 'Shift+H'. After this you may control by PgUp and PgDown buttons.
- Accuracy - start accuracy of simplified model in microns (the maximum difference between simplified and non-simplified model)
- Launch button
- Max bones - maximum number of bones in resulting simplified model. First, the model is simplified using accuracy parameter. If the number of bones is larger then max bones, then we simplify the model again with double accuracy, and repeat doubling accuracy until the number of bones will be less or equal to max bones. This parameter is useful if you want to pass the resulting model in another Octonus Oxygen software where only models with maximum 65535 bones are supported. If you don't want to limit the number of bones, then set some big number (for example, 1 000 000).
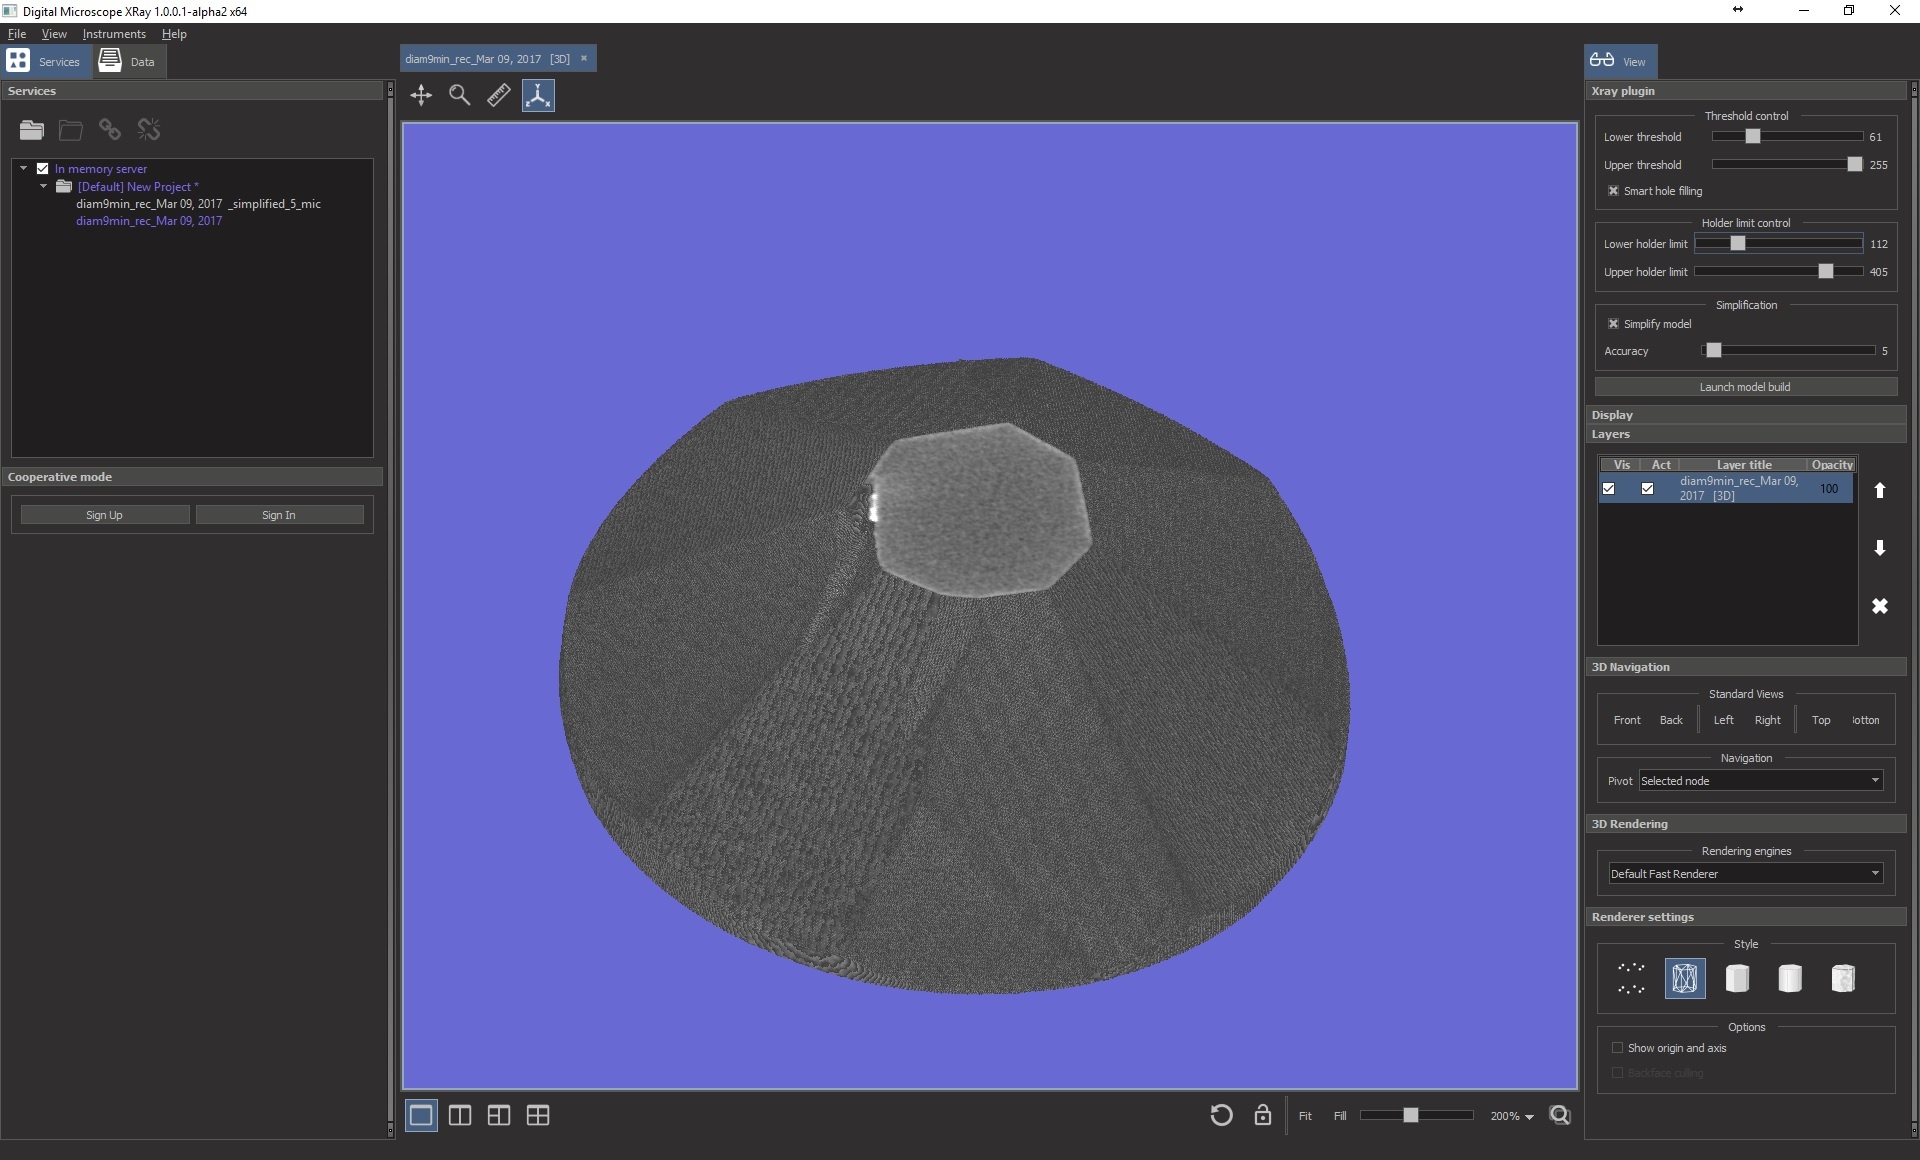
Here you can see the example of clipping and thresholding the model:
Launch algorithm
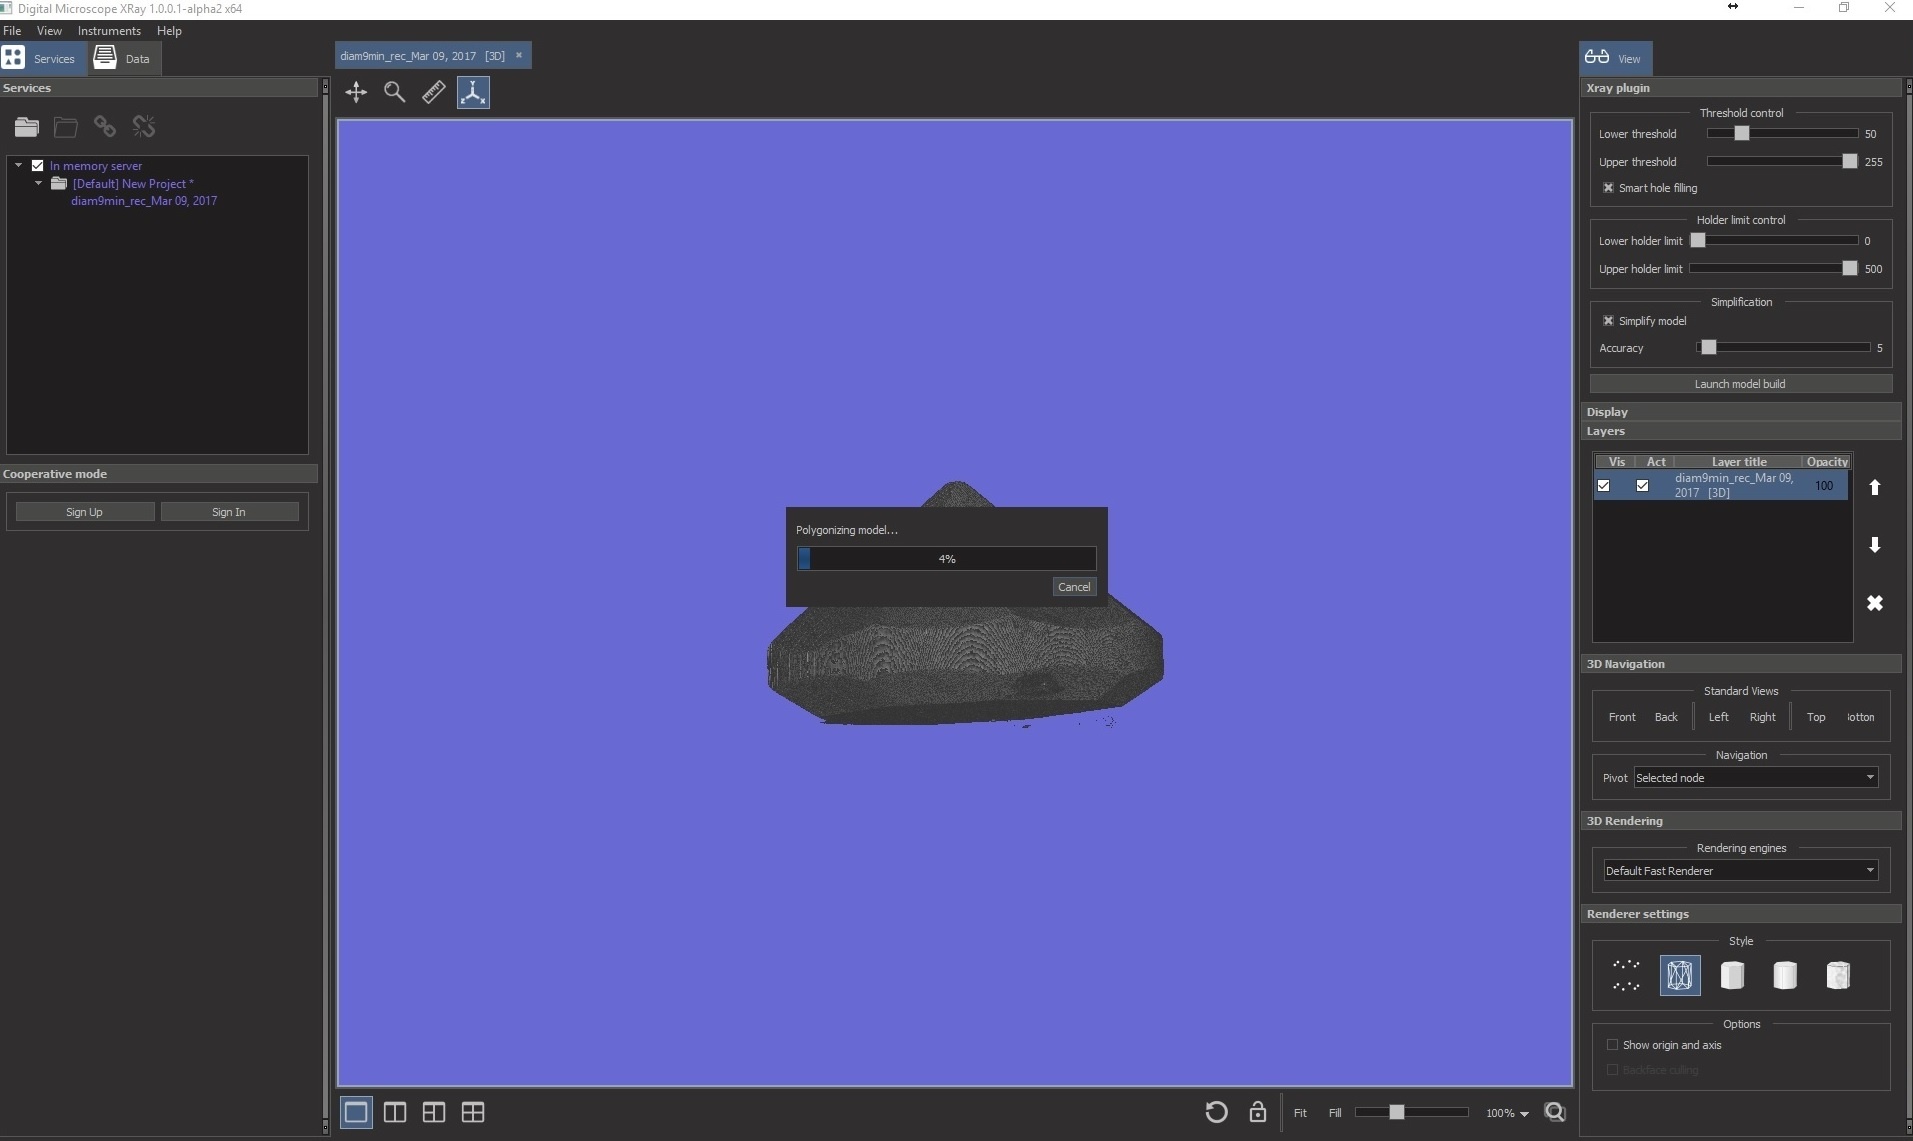
To launch press 'Launch model build' button. After that you will see the progress bar with running polygonization and simplification stages:
Obtaining and saving the result
When the process is finished, you will see the resulting model in a list:
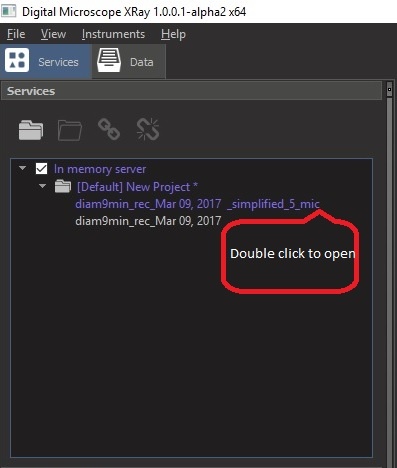
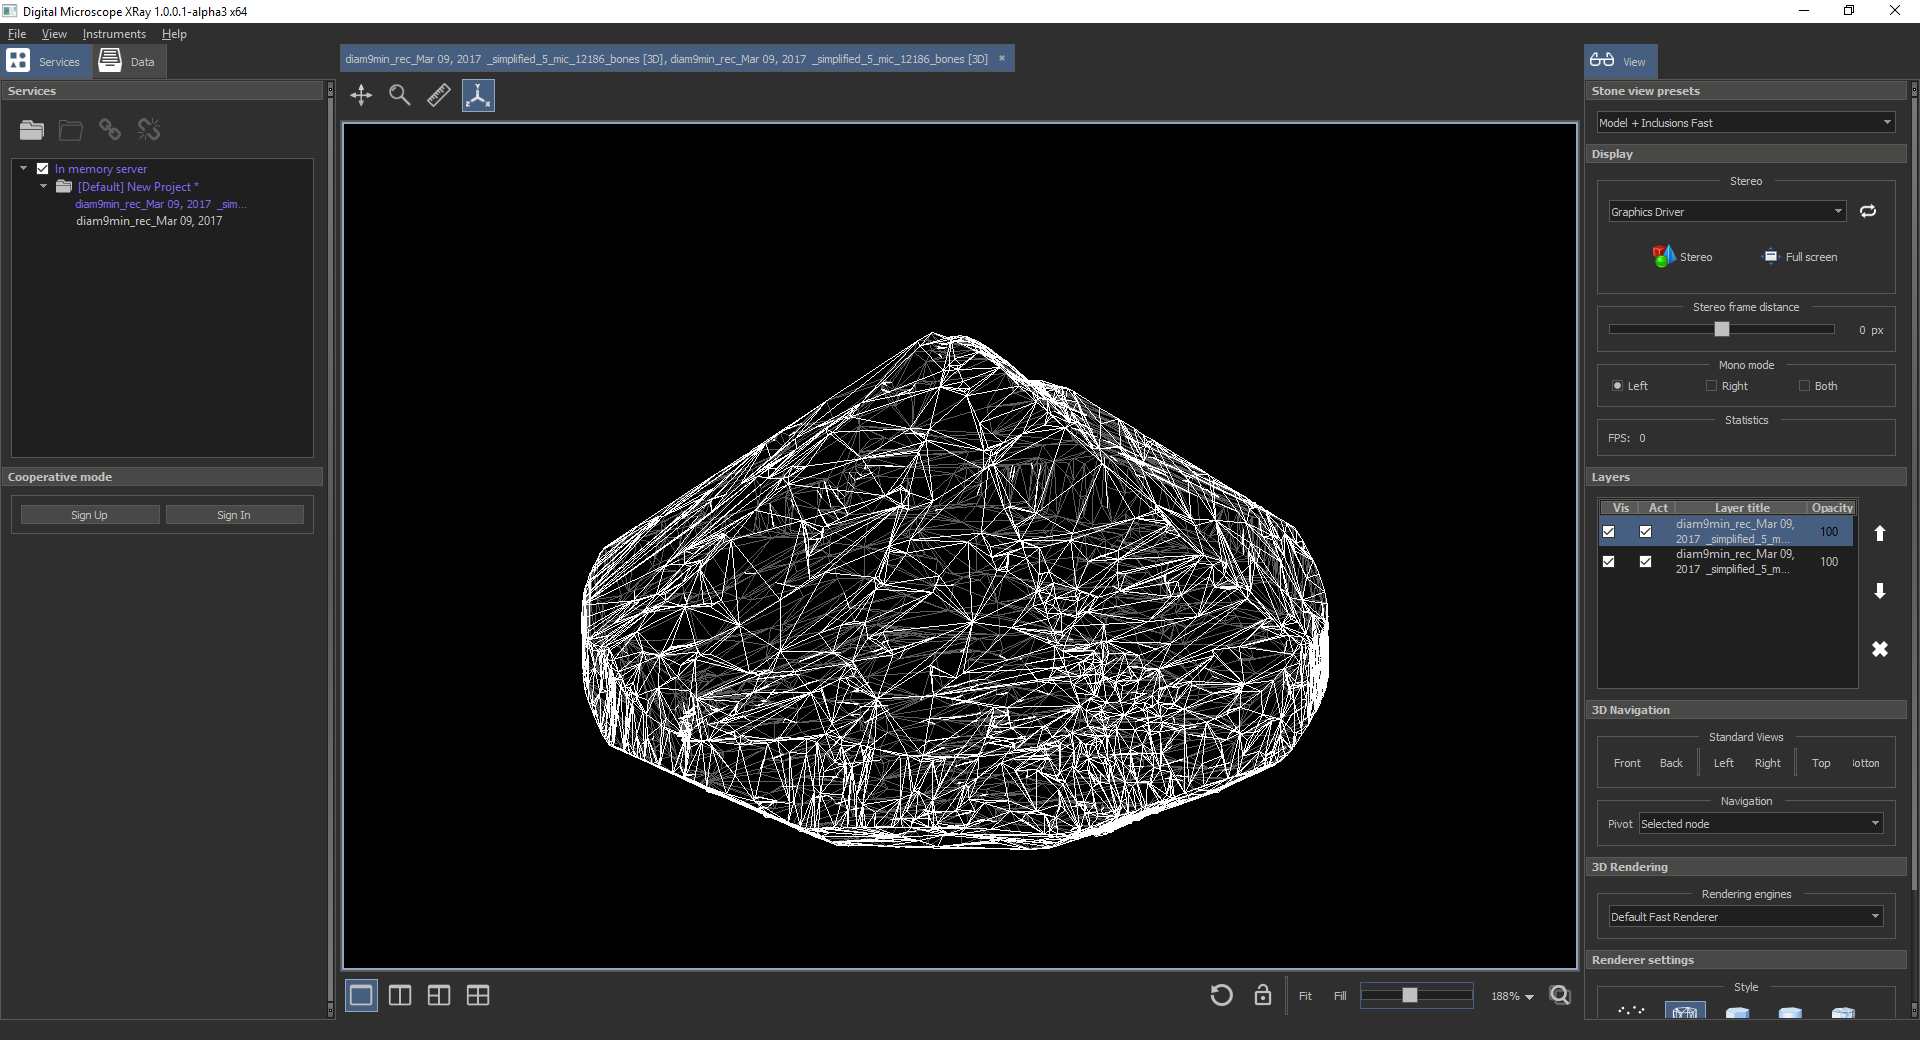
After double-clicking on it you can open it and rotate by dragging mouse. In the name of the model you will see:
- The date when the Xray model was scanned
- Actual accuracy of the model (please, pay attention to the fact that it can be larger than start accuracy (due to max bones parameter)
- Number of bones in a model.
To save the model - double click on model and than save it to STL-file by 'File->Save...'.