Applicable to 3DDM 1.0-Beta5 or above
Sometimes you need to save original unprocessed data from the image sensor. This walk-through will guide you on how do this in 3DDM.
Step-by-step guide
- Start DM as usual, tune object position, lighting, etc
- Switch to "Data" panel and scroll to the "Recording" dialog:
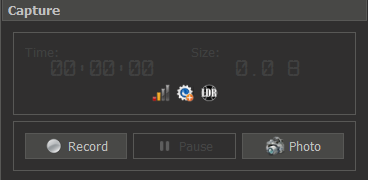
- Press "Photo" button to record both RAW and 8bit images. They will appear in "Services" panel, under "[Default] New Project" folder":
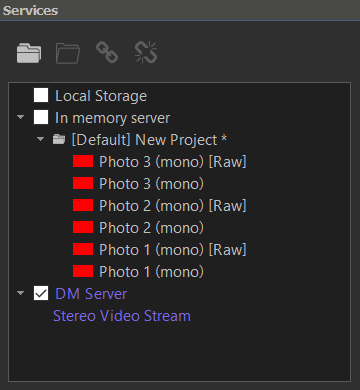
- Select the data with [Raw] label by double-clicking by mouse left button in the list.
- Go to File -> Save as and a) select file type "Portable Network Graphics (*.png)" and b) type the name of the. You can
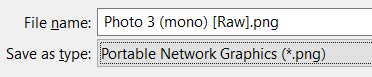
- Press "Save".
Alternatively, you can save all the data you captured by the following:
- Select some data, this will activate the project
- Go to File -> Save Project (or press Ctrl + Shift + S), select folder for project and project name. All the data will be saved in the folder you selected together with the project file (.msaprj). You can later open the project file and all the data will be opened as well.
Related articles