...
- Upload your exported files to the Cutwise if you choose Option 1 – Upload only (product will be created on the Cutwise).
- Upload your exported files and save source .jpg and .mp4 files if you choose Option 2 – Upload and save (product will be created on the Cutwise too).
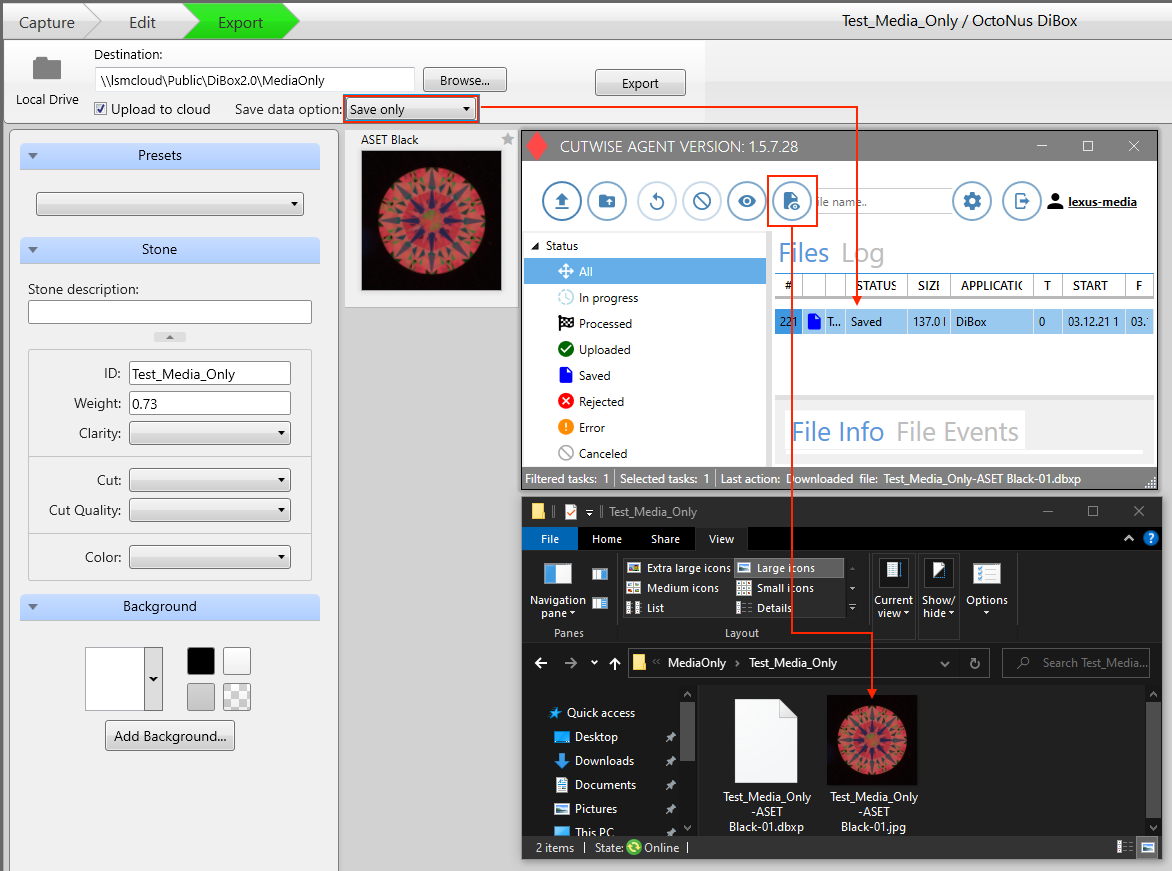
- Only save source .jpg and .mp4 files if you choose Option 3 – Save only (without creating products on Cutwise).
2. Save DiBox2.0 Files to Local Folder
Upload and save and Save only options allow you to save DiBox 2.0 files in the local destination folder:
 If you have to upload to the Cutwise files exported from DiBox2.0 created on a computer without Internet connection (or created earlier), you can do it manually. Detailed documentation about manual uploading: From ViBox, DiBox1 and HP Oxygen (Manual Upload)
| Note |
|---|
All export data options are subject to a fee-paying. Current rates for uploading to Cutwise and saving files can be seen see on pricing page, for more information, please contact usinformations contact us. |
...
3. Save .mp4 and .jpg Files with Cutwise Agent
If you have to upload to the Cutwise files exported from DiBox2.0 created on a computer without Internet connection (or created earlier), you can do it manually.
Choose the same setting in Cutwise Agent Interface: Settings → Processed files → Upload only or Upload and save or Save only
And For saving data choose the folder for the saved datadestination.
| Multimedia | ||||||
|---|---|---|---|---|---|---|
|
Then copy DiBox2.0 source files to the monitoring folder manually (or via drag-n-drop the files to the area of the Cutwise Agent interface).Your .jpg and .mp4 files saving in chosen folder.