...
- Mount the stone in the Helium Pavilion Reflect scanner.
- Start HP Oxygen.
- Use the
 mode.
mode. - On the left panel, in the Cutting & Method section, do one of the following:
select the appropriate cutting type from the predefined list
expand the list, then, use of the samples from the Samples section or click
 to load a new sample
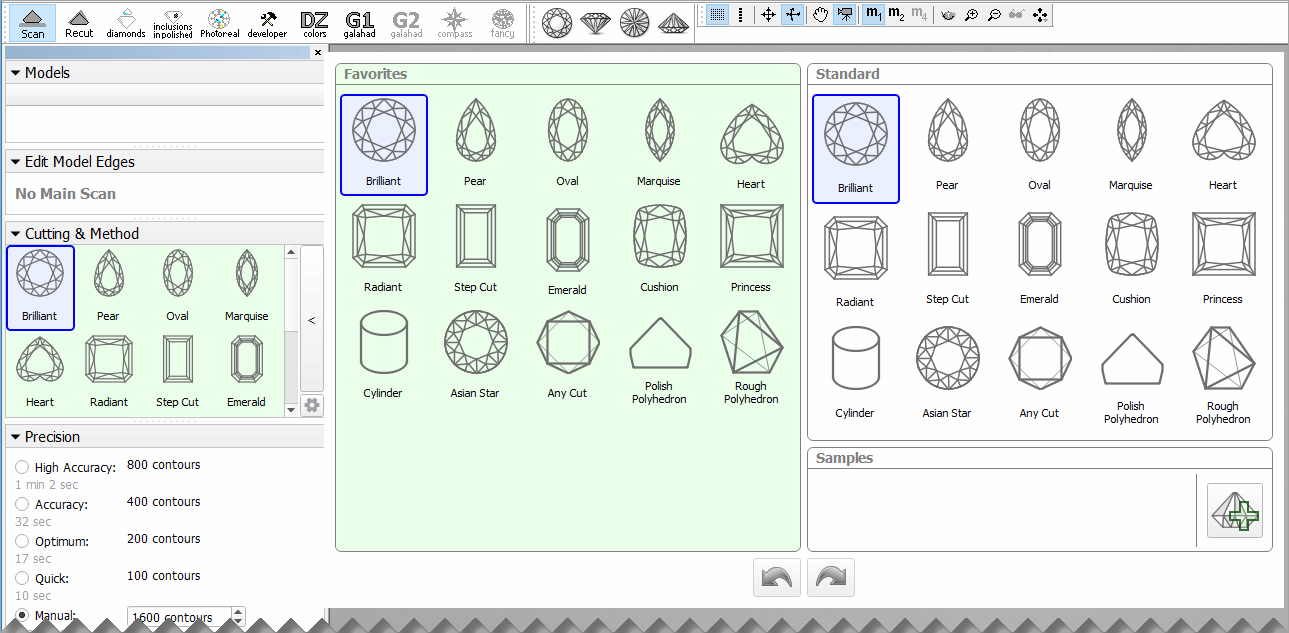
Info A sample can be loaded from a file ( *.dmc,*.mme, or*.gem). Once loaded, it remains in your list of models (see Models management ) under the name Sample. Under Precision, select the desired precision.
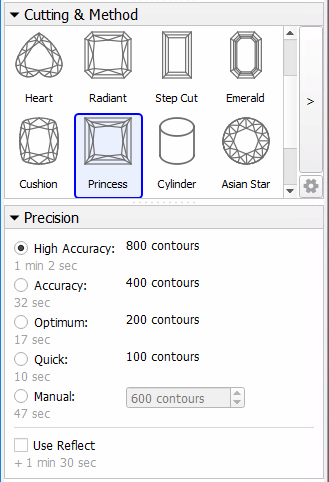
HPOxygen stores the most recent precision setting for each particular cutting type separately. The stored precision setting is applied automatically whenever the cutting type selection is changed. In a typical workflow, it is recommended to scan round brilliants with 400 contours and Princess cuts with 800 contours since the latter cutting contains more facets with a nearly similar orientation which requires higher precision to resolve.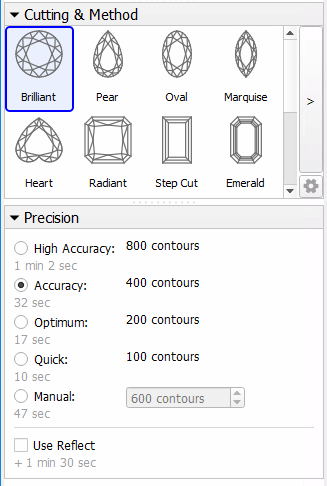
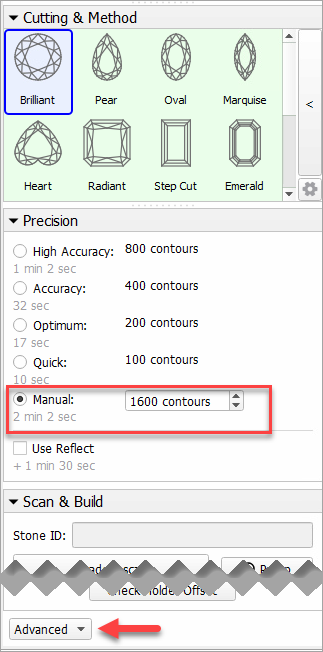
Note that you may also enter a custom number of contours. This requires switching the panel to Advanced mode with the dropdown switch down below:
To perform shadow and reflect scanning sequentially, check Use Reflect.
Tip Alternatively, you can perform shadow and reflect scanning separately: uncheck Use Reflect, then use the Shadow scan, then Pavilion Reflect Scan buttons separately.
- Click Shadow & Reflect scan to start scanning. You may or may not be prompted to enter the Stone ID and Measured weight, depending on the settings (see Entering Stone ID and Measured Weight for more details).
The following operations will proceed automatically:- As the shadow scan progresses, the shadow photos of the model in different orientations are taken and displayed on the screen, together with overlaid contours and a progress bar.
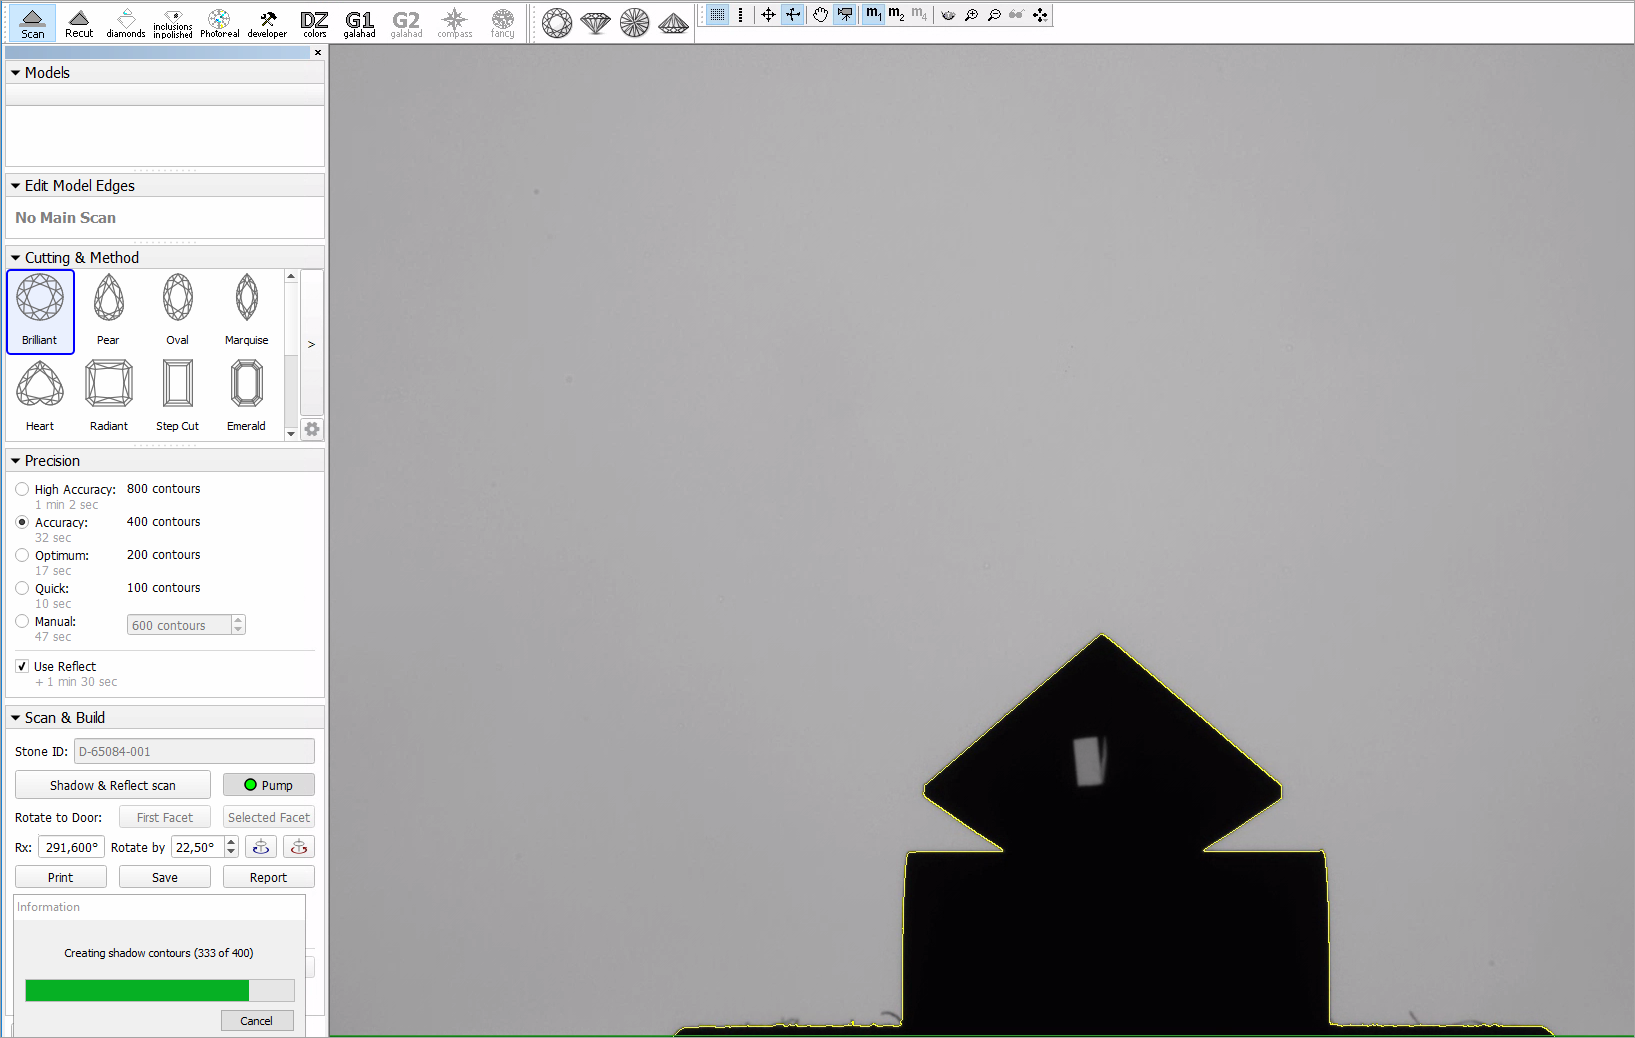
- After the shadow scan is completed, the model is built based on the scanned contours.
- The next step is pavilion reflect scanning. The stone is lighted from above and oriented so that a reflection from one particular facet may be observed. Then a few photos are made at slightly different orientations. This is done with each pavilion facet in turn. As the scanning progresses, new photos are displayed on the screen, together with the complete model (built from shadow contours) and a progress bar. The photos of the reflect scan are saved and can be reviewed later.
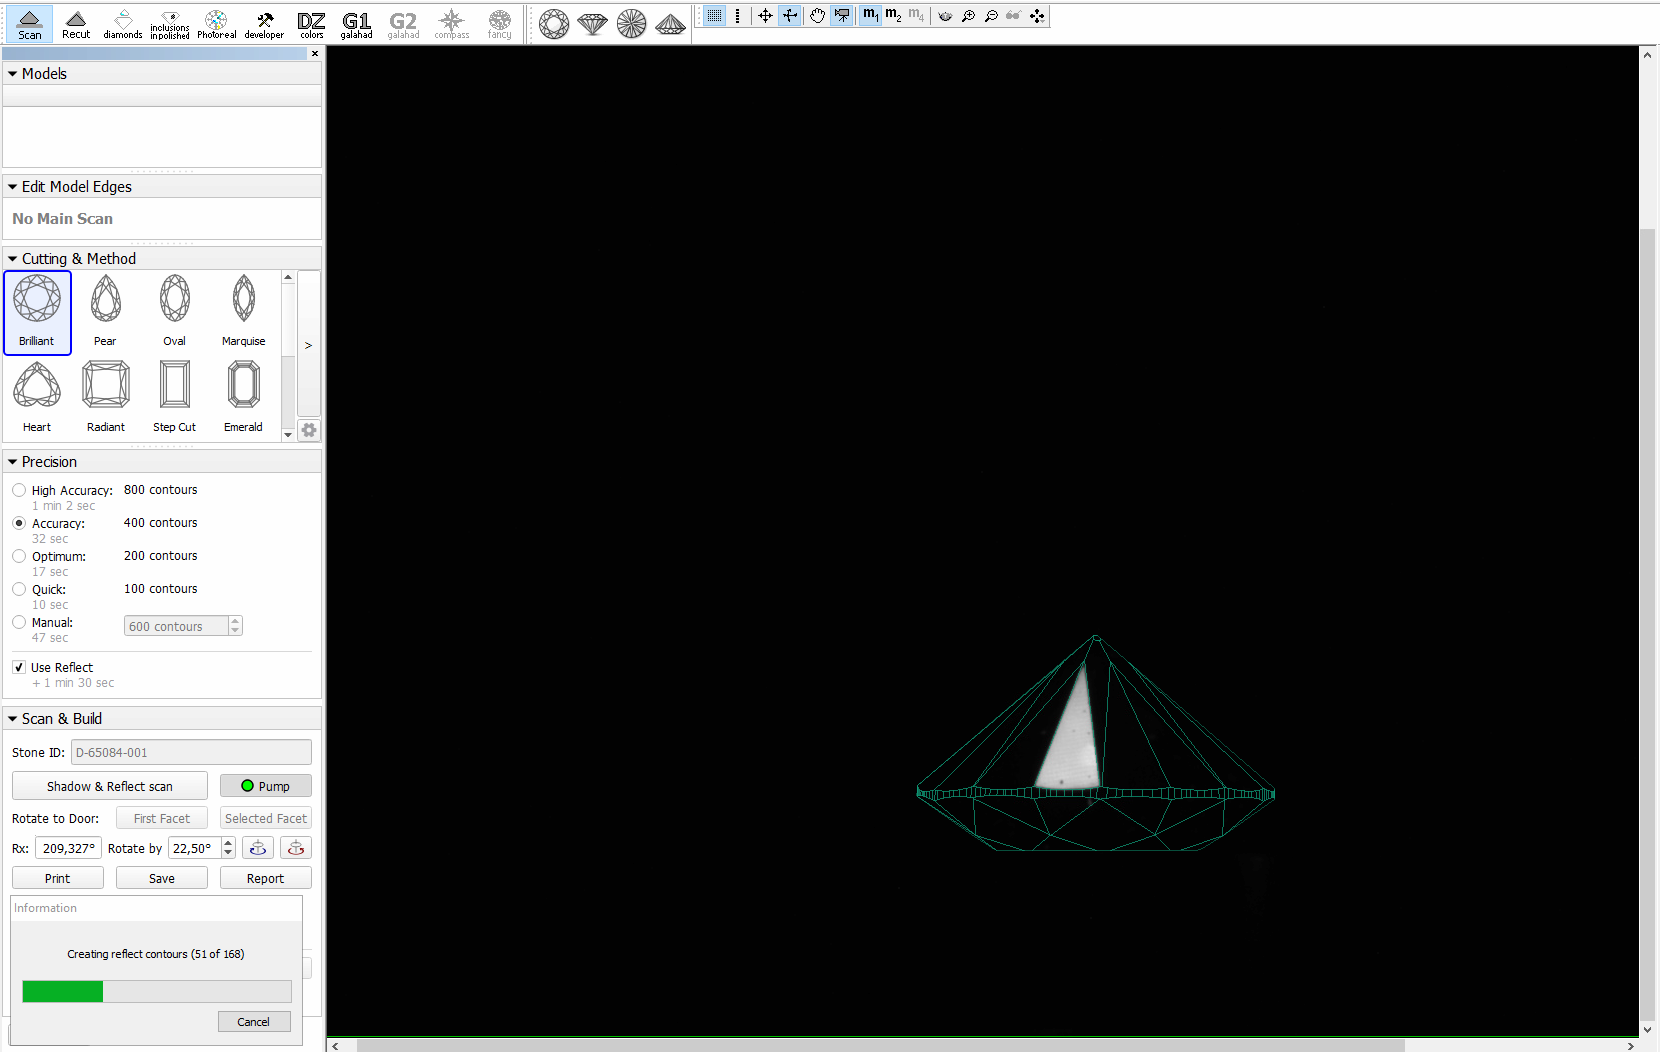
- After the reflect scan is completed, the model is refined based on the reflection data. Both shadow and reflect models appear in the list (see see Models management for more details on working with multiple models).
- As the shadow scan progresses, the shadow photos of the model in different orientations are taken and displayed on the screen, together with overlaid contours and a progress bar.
- Save the model (optionally, together with the photosets).
...
- A shadow photo is taken in order to determine the orientation of the stone.

- A reflection photo of the table is taken to further adjust the orientation.
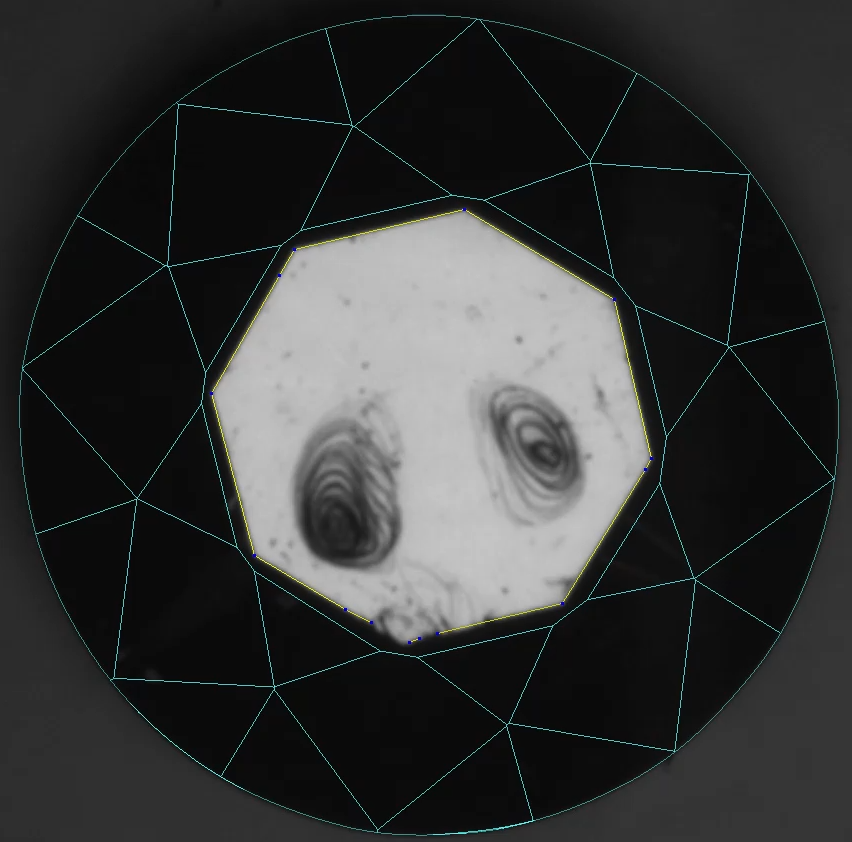
The stone is lighted from below at different angles so as to observe a reflection from each particular facet in turn. The photos of the crown reflect scan are saved and can be reviewed later.
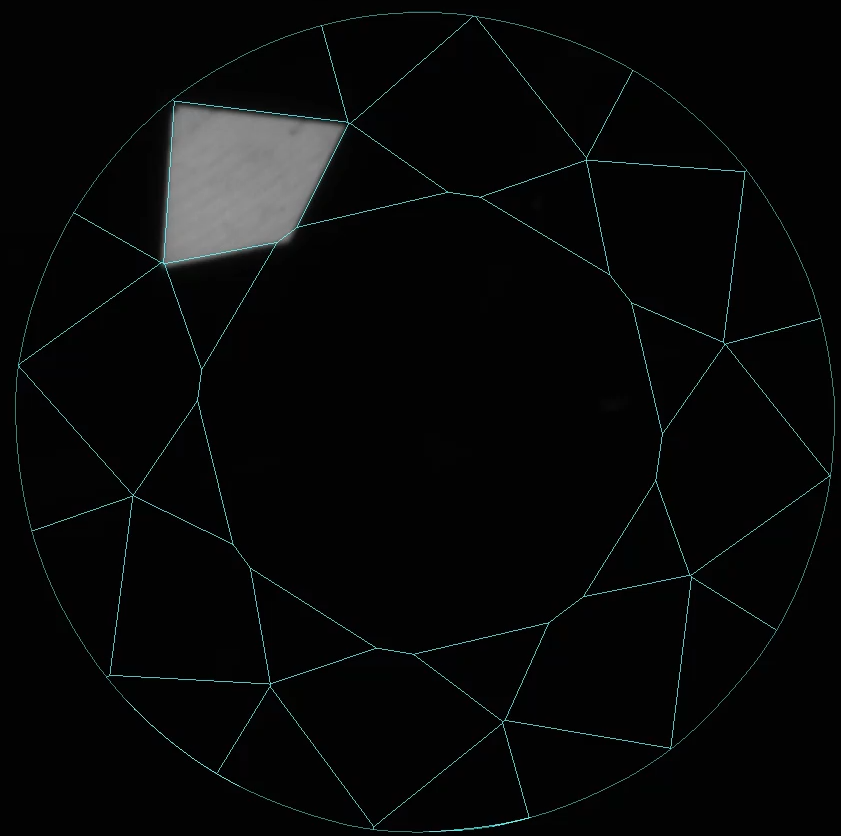
Info Crown reflect scanner is capable of highlighting the facets with slope < 40°.
- After the crown reflect scan is completed, the model is refined based on the new reflection data. Now the list will contain a shadow model and two reflect models (see Models management for more details on working with multiple models).
- A shadow photo is taken in order to determine the orientation of the stone.
- In case if the scanning failed to resolve edges between some nearly coplanar facets, or, conversely, produced some artificial edges, edit the model manually by adding or removing edges (see Model Adjustment for more details on the procedure).
...