| Panel | ||||||
|---|---|---|---|---|---|---|
| ||||||
|
Description
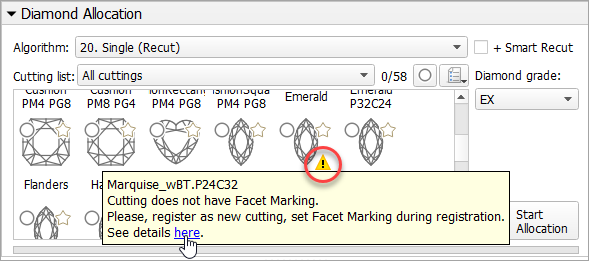
In Recut mode, in the Cutting list section, your cutting is marked as the one that does not have facet marking. On mouseover, the following message is displayed: "Cutting does not have Facet Marking. Please, register as new cutting, set Facet Marking during registration."
Possible Reasons
Your cutting does not have Facet Marking.
How to Solve
Re-Registering Your Cutting as New
A facet marking can be added to the cutting during its registration. So, to add a facet marking to an existing cutting, you need to re-register it and add a facet marking during registration.
To re-register an existing cutting:
- Recommended: to empty your solution list, click File > New.
- Use the Recut mode.
- In the Cutting list, right-click your cutting and then from the context menu, select Show Allocation forms in solution list. Allocation forms are displayed in the solution list.
- In the solution list, right-click the base form (cutting itself) and then from the context menu, select Register as new cutting... The Register new cutting dialog is displayed.
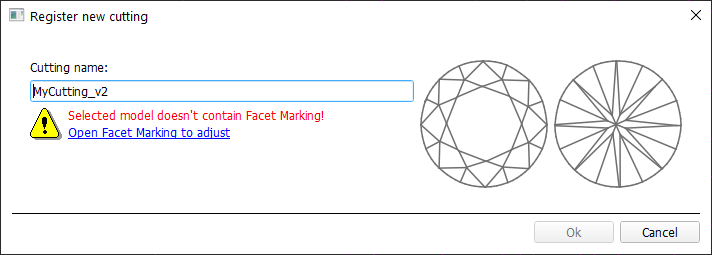
- In the Register new cutting dialog, to specify a facet marking, click Open Facet Marking to adjust. The Facet Marking dialog is displayed.
- In the Facet Marking dialog, define a facet marking.
- Click Apply. Now cutting being registered has a facet marking.
- Close the Facet Marking dialog.
- Set your new cutting name. Note that the system does not allow two cuttings with the same names.
- Click Ok.
Your cutting is registered and displayed in the Cutting list, under Client cuttings. Your new cutting has facet marking. - Delete the cutting you started from as described in the sections below.
- If you want to revert your new cutting to the old name, re-register it again with renaming to old name. Details can be found in the sections below.
Deleting Cutting
To avoid cutting duplication, after registering the cutting as the new one, you can delete the old one.
To delete a cutting:
- In the Cutting list, find you cutting and copy its name. Tip: UseShow Allocation forms in solution list >Register as new cutting... then copy from Cutting name and close dialog without finishing.
- Close HP Oxygen.
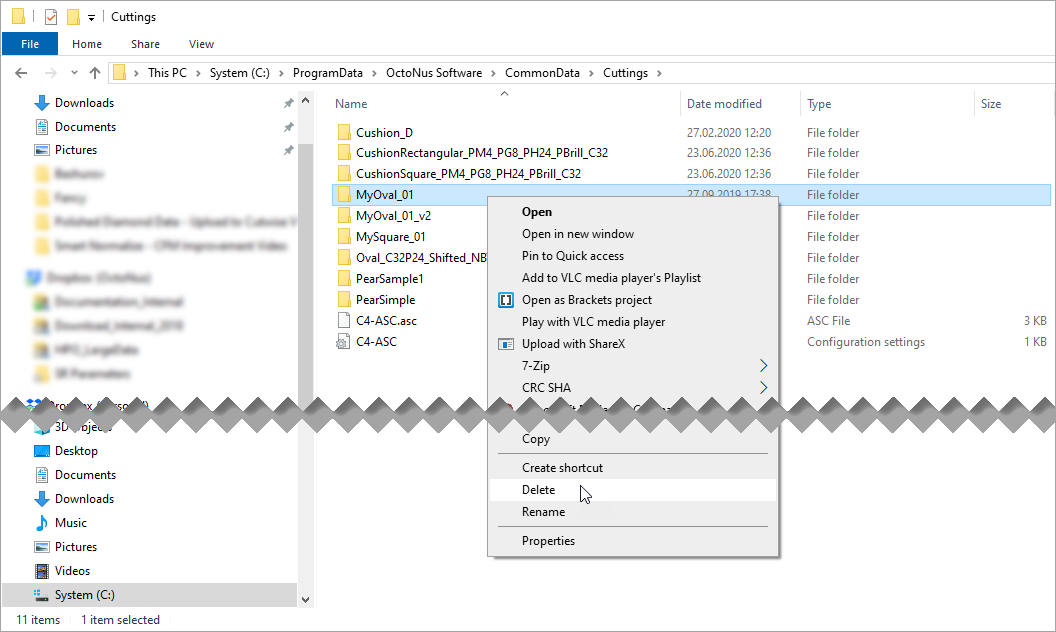
In your file manager, go to the appropriate folder.
Panel bgColor #E0E0E0 ...\ProgramData\OctoNus Software\CommonData\Cuttings
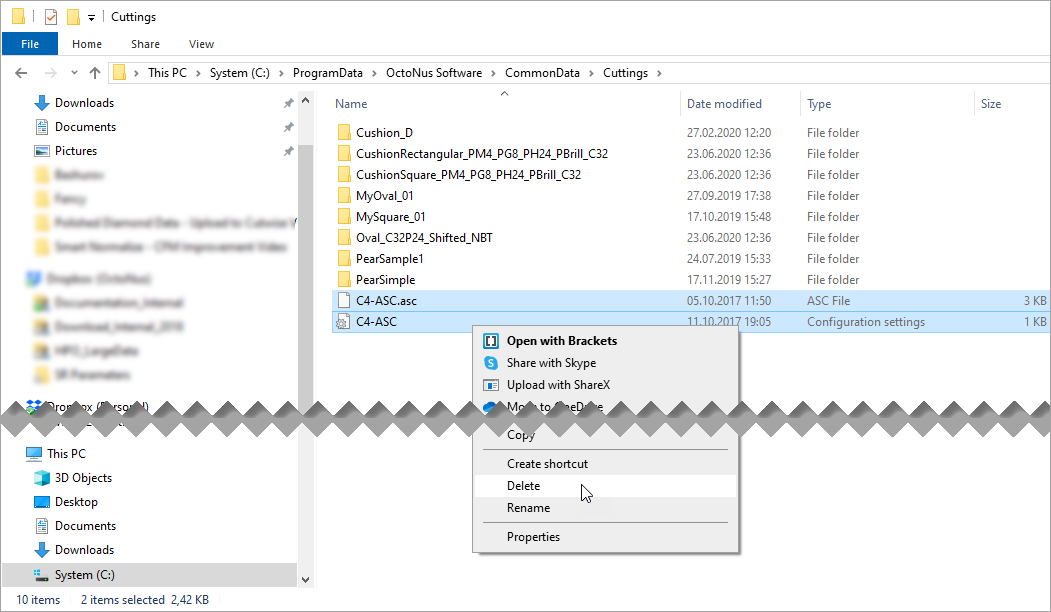
- Find by previously copied name and then delete one of the following:
- ASC file of an ASCII cutting and related INI.
- Folder with DMC cutting and related data.
- Re-start HP Oxygen. Deleted cutting is not presented in the system anymore.
Revert to Old Name
As the system does not allow two cuttings with the same names, re-registering + deletion described above creates cutting with the new name. For example:
- Your "Cutting A" does not have a facet marking.
- You re-register it, add a facet marking, and name a new copy "Cutting A-v.2".
- Then you delete initial "Cutting A".
- In your previously created HP Oxygen projects, you may have a number of solutions with Cutting = "Cutting A". As cutting with this name is not presented in the system now, the appraisers will not be able to display parameter values and grades for these solutions.
- You may have other reasons to wish to keep the old name.
- To revert to the old name, re-register your "Cutting A-v.2" once again, changing the name back to "Cutting A".
- Then delete "Cutting A-v.2".
Now you have "Cutting A" with the facet marking.