| Table of Contentschildren |
|---|
Get the OSV
Download and install the latest OctoNus Stereo Viewer version.
...
|
...
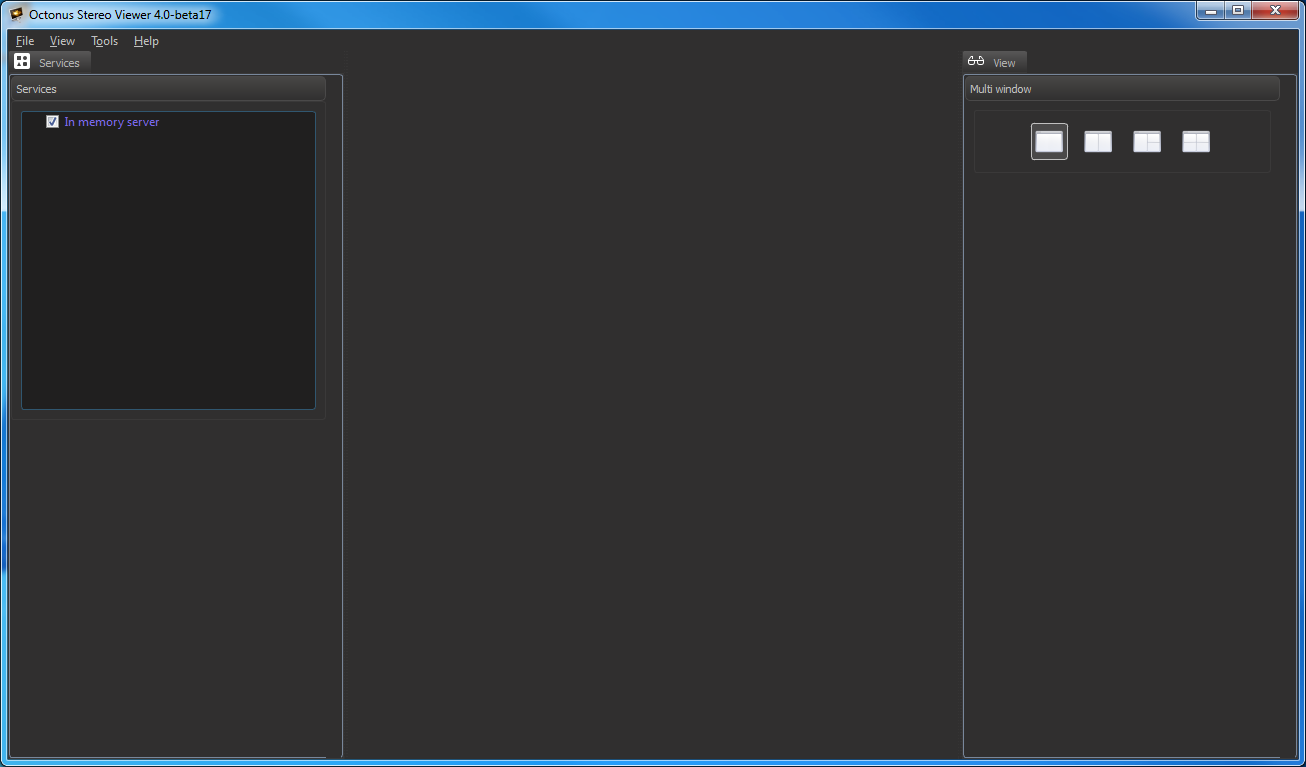
- Start the OSV program:
- Select 'File > Open' in menu or press CTRL + 'O'.
- In the appeared file dialog select your data for opening (see supported data types table below).
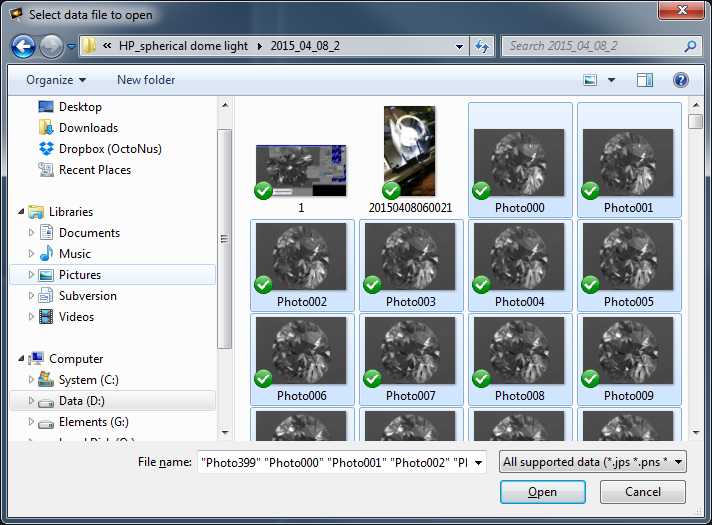
On the screenshot illustrated opening of the movie stored as photos series. - Press Open button.
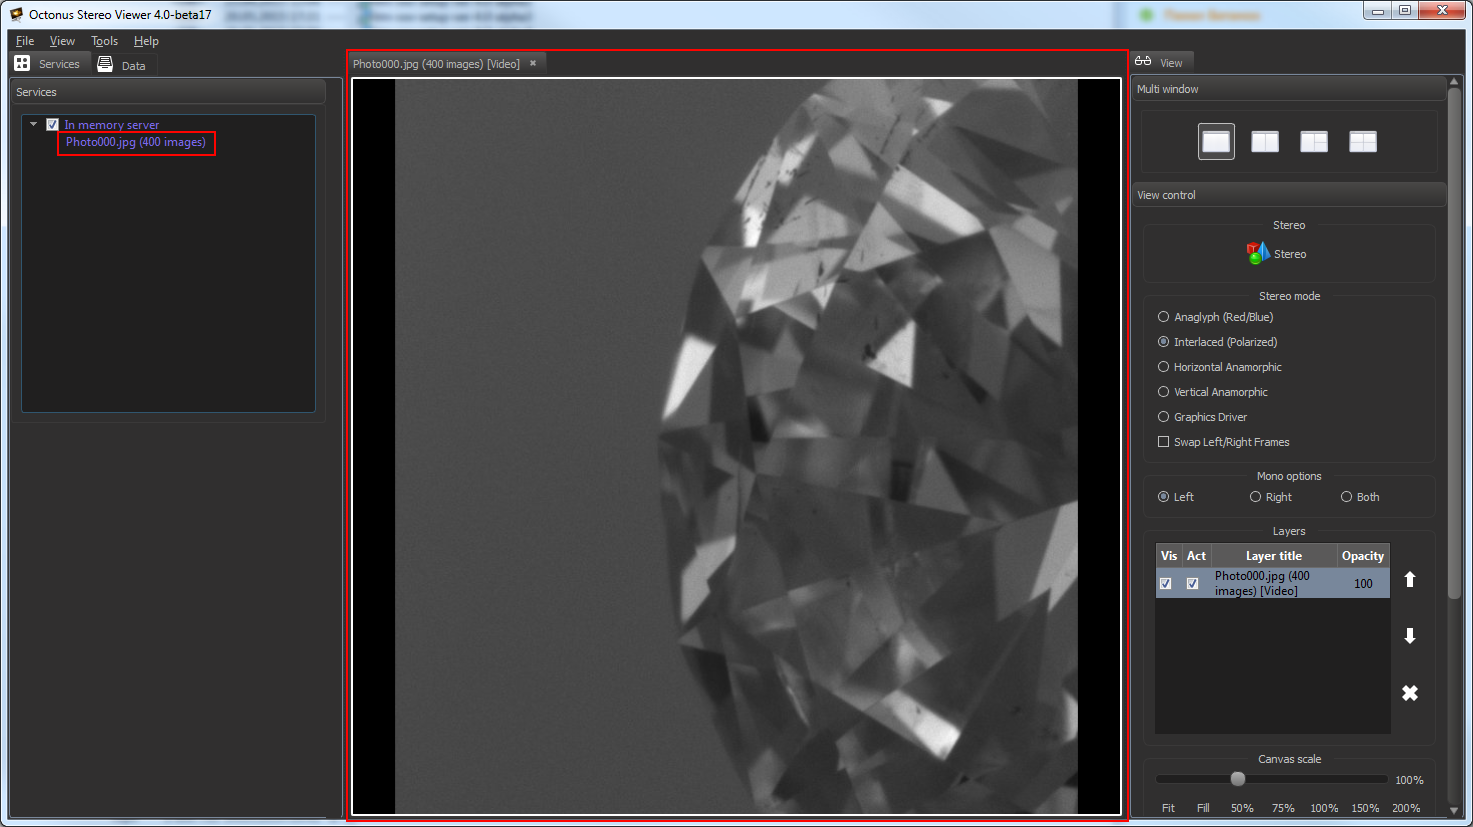
Then you'll see selected data in the center program panel and in the 'Services' section in the left program panel:
Supported for opening data types
| Data description | Supported extensions | File selection |
|---|---|---|
| Movie stored as single file | avi, mov, mp4, flm | single |
| Movie stored as photos set | jpg, bmp | multiple |
| 3d model | mme, osgb, osgt, obj | single |
| Image | jpg, jpeg, tif, tiff, png, cr2, nef, dng | single |
| Stereo image | jps, pns | single |
Setup and play movie
First, open necessary movie.
Switch play/pause, move frame forward/backward
Find on the right program panel the 'Video play' section:
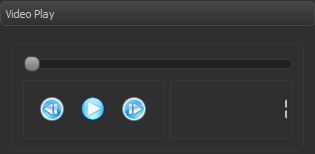
- To play (or pause) the movie and press
 (or
(or  ) button. Also you can switch on/off movie playback by pressing 'Space' key.
 - To go to the next (or previous) movie frame press on
 (or
(or  ) button or scroll mouse wheel forward (backward).
Play settings
- Select 'Data' Tab on the left program panel:

- Find 'Video Source' section on the appeared panel:
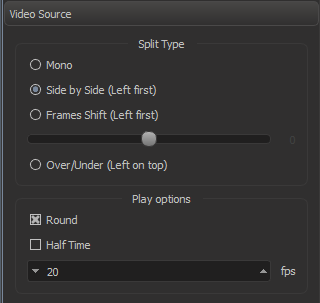
Setup split type, round mode, half time mode, fps if necessary:
Parameter Value Description Split type Mono Images will be shown as in the initial images stream without any modifications. Side by Side (Left first) 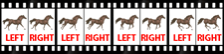
The initial frame is split by a vertical line into two images intended for the left and the right eye, respectively. This is a widespread content type.
Frames Shift (Left first) 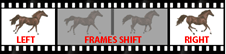
Images for the left and the right eye produced from initial images stream and shifted initial images stream. This split type is suitable for movies with rotating objects.
Over/Under (Left on top) 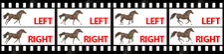
The initial frame is split by a horizontal line into two images intended for the left and the right eye, respectively. This is a rare content type.
Round checked or unchecked Loop or not the movie. Half Time checked or unchecked Play full movie or only the half of it. FPS Integer from 1 to 60 Frames rate. - To setup stereo mode and switch it on/off, find on the right program panel the 'View control' section:
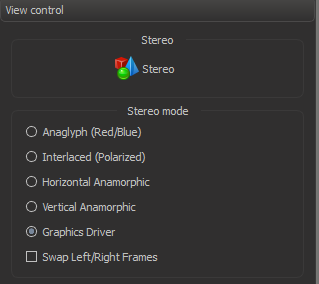
- Select the Stereo Mode:
- Anaglyph (Red/Blue) - for red-blue stereo glasses;
- Interlaced (Polarized) - for interlaced polarized stereo glasses;
- HorizontalAnamorphic or Vertical Anamorphic - for TV via HDMI
- Graphics Driver - for NVIDIA 3D Vision stereo glasses
- Swap Left and Right Frames if necessary
- Select the Stereo Mode:
View scaling and shifting
Scaling
To scale the shown data inside its view, use any of the following options:
- find on the right program panel the 'View control' section and find on it 'Canvas scale' section:
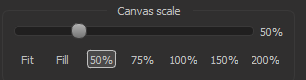
move the slider on the seekbar or press one of bottom buttons for scaling. - press CTRL + '+' for scaling in or CTRL + '-' for scaling out.
- press and keep CTRL and wheel the mouse wheel in different directions for scaling in/out.
Shifting
To shift the shown data inside its view, use any of the following options:
- press and keep middle mouse button and move the mouse.
- press and keep SHIFT key, press and keep right mouse button and move the mouse.
- to reset shift:
- press CTRL + SHIFT + 0
- or find on the right program panel the 'View Control' section, find on it 'Canvas shift' section and press 'Reset shift' button:

Open movies in different tabs
To open movie in new tab do these steps or open the previously opened movie from 'Services' section:
- Select 'Services' tab on the left program panel

- Select necessary previously opened movie in the 'Services' section:
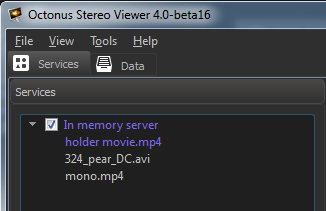
- do left mouse double click on the necessary movie.
| Note |
|---|
Now you can open the selected movie only in the one tab, the one view or the one layer. |
Open several views in one tab
You can open several movies in one program tab. To do this, find on the right program panel the 'Multi window' section and select the multiview mode:
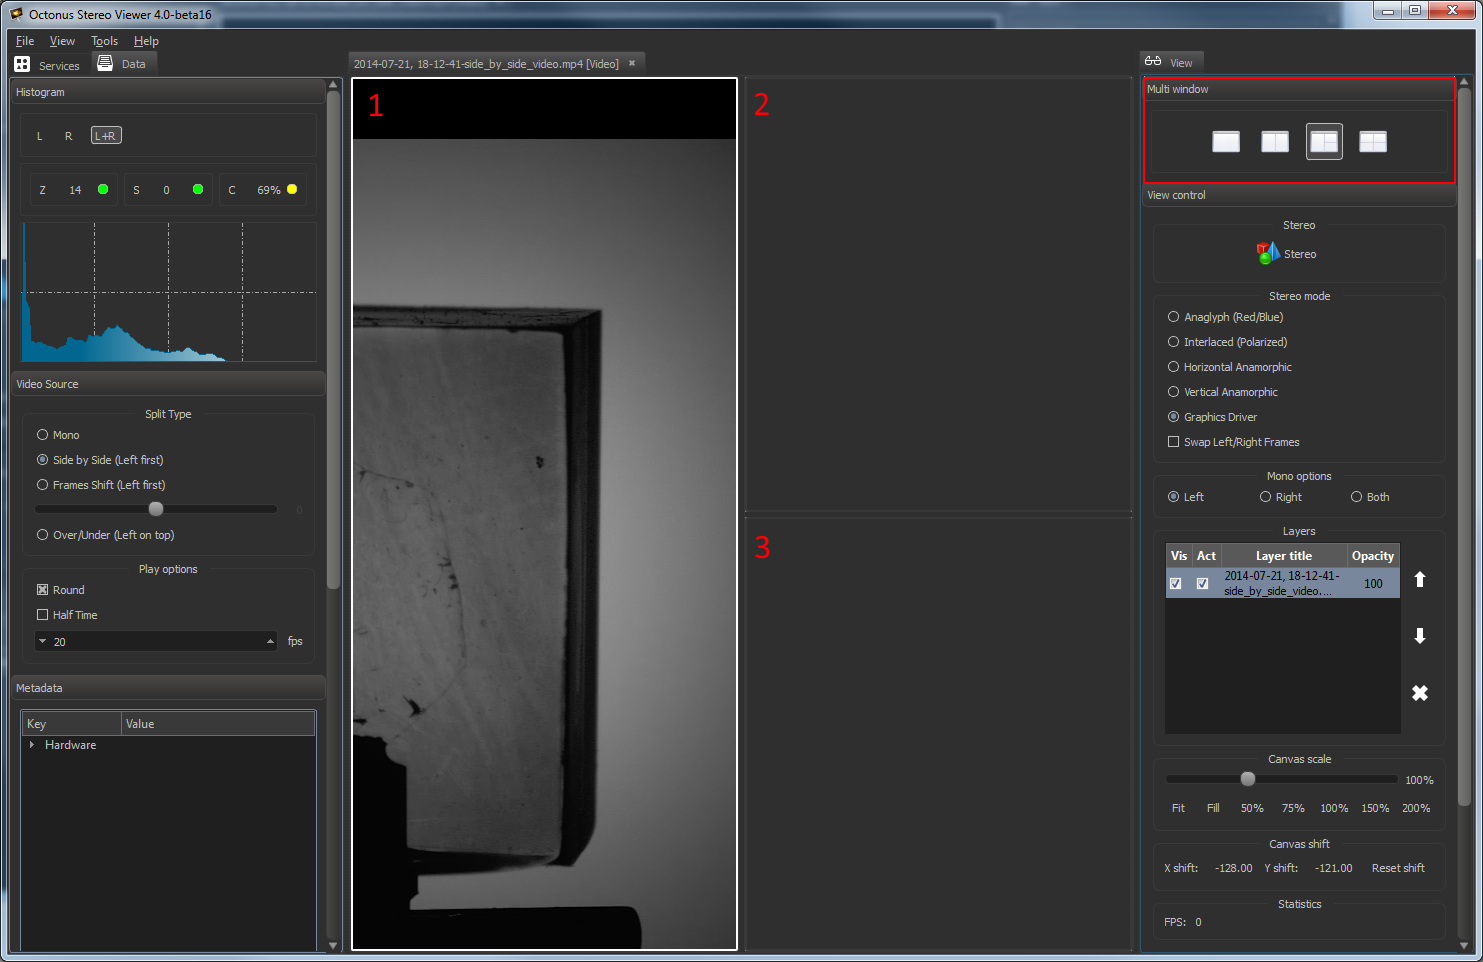
The 'Three views' mode selected on the screenshot above.
You can drag previously opened movie from 'Services' section and drop it into any of empty views.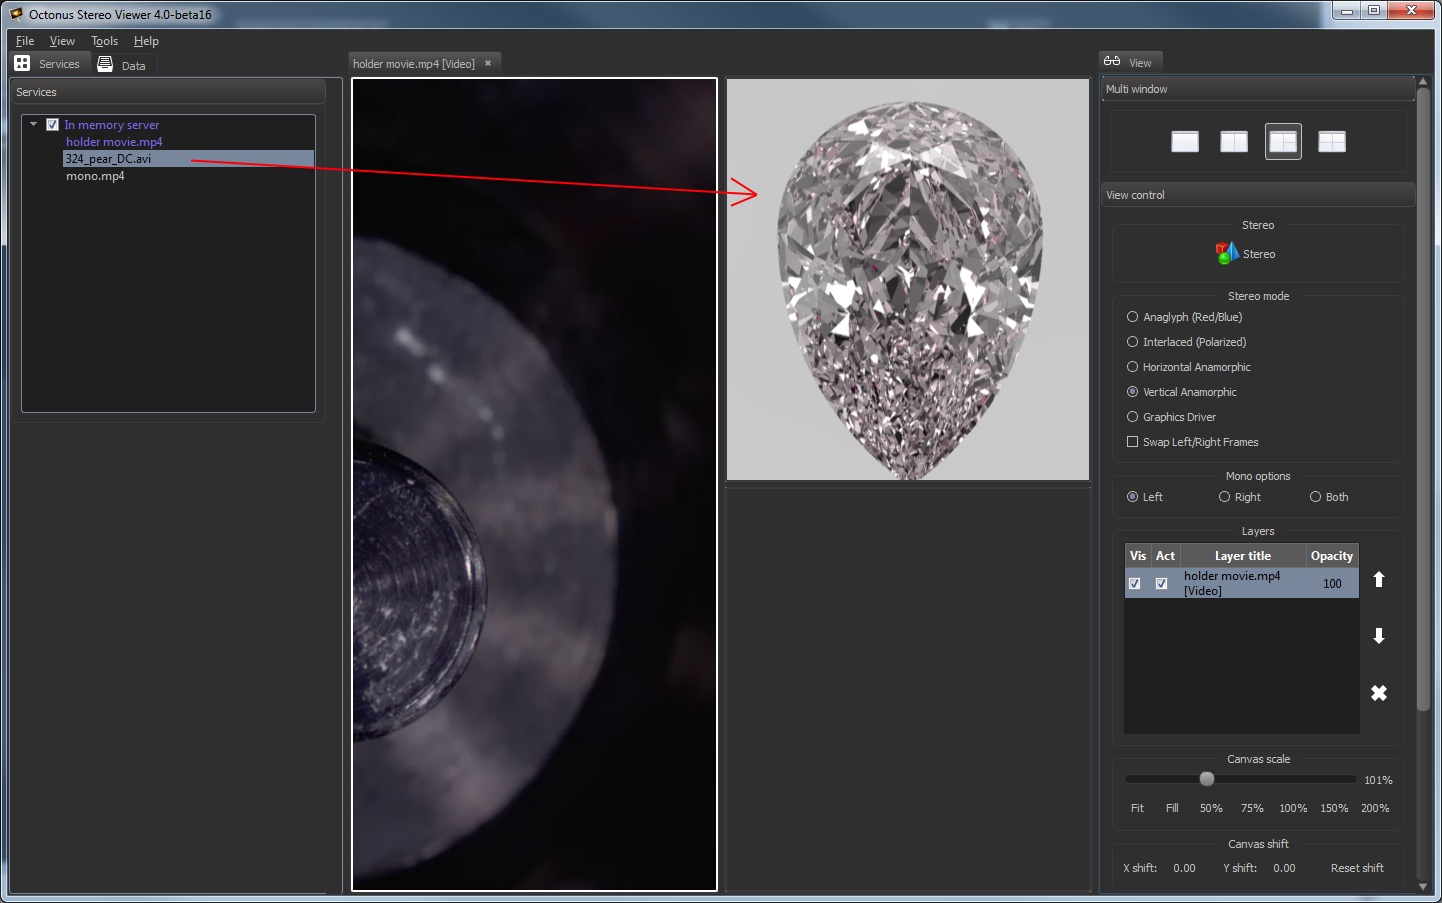
Selected view has the white bounding frame around it.
If you want to to select and take control over the view with opened movie, click on that view.
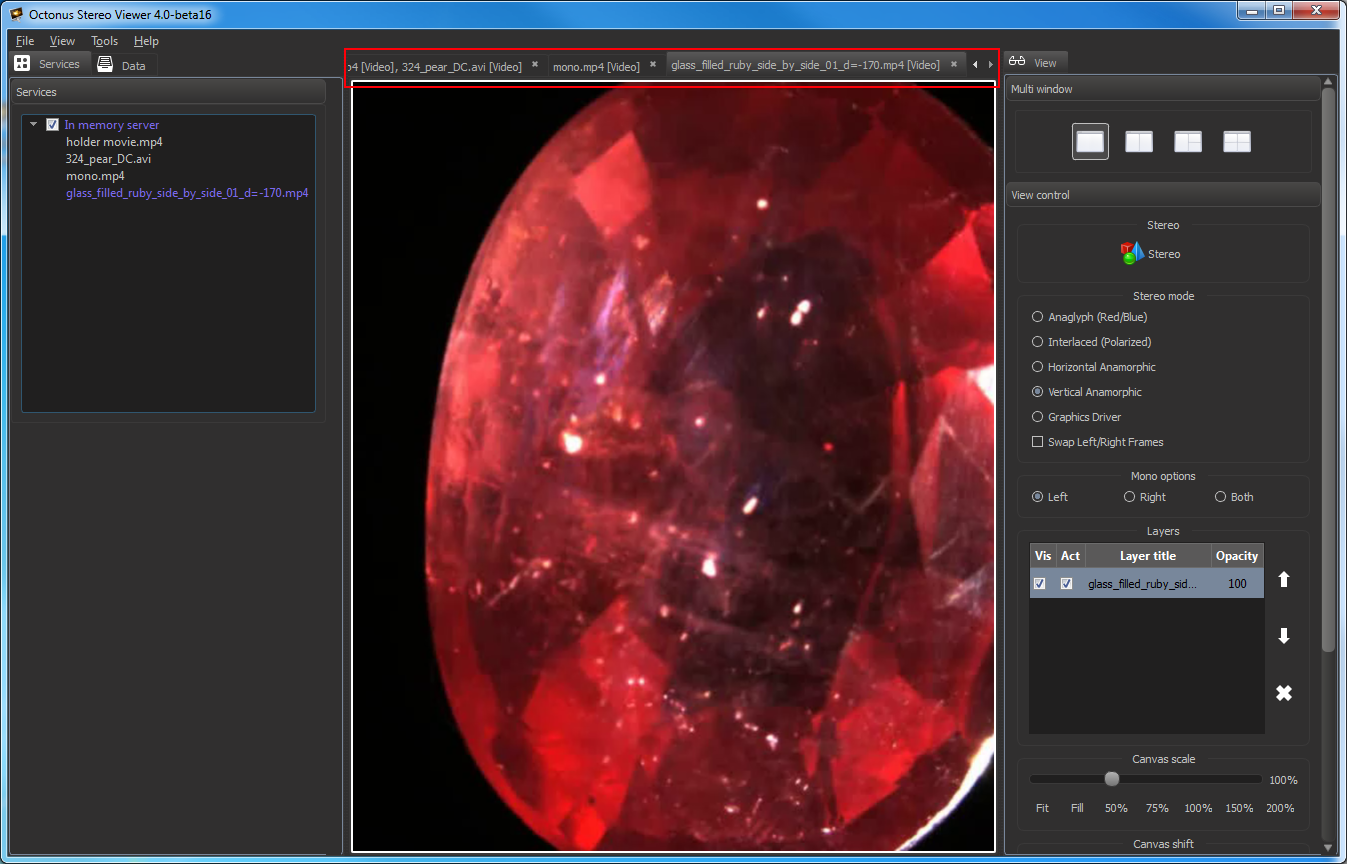
Open several movies in one view
To add new movie as layer to view, press CTRL + SHIFT + 'O' or by selecting 'File > Open to layer' menu item.
You can also drag previously opened movie and drop it to view with already dropped movie to add it as new view layer:
You can add any number of movies to one view.
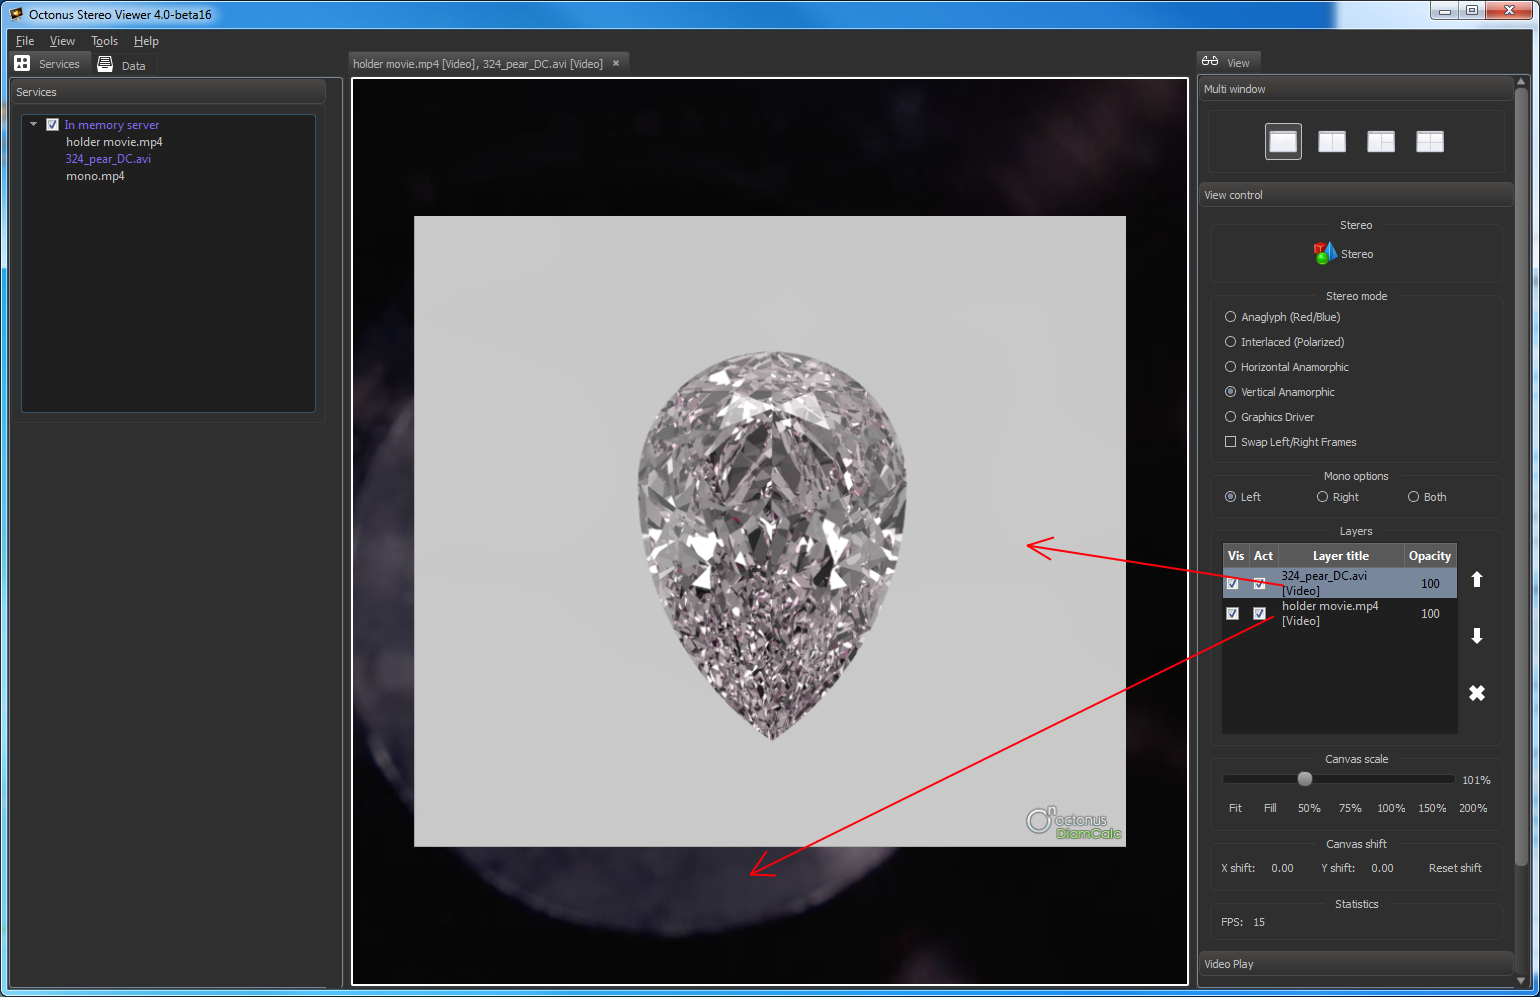
To manage the layers use the section 'Layers' in the section 'View control' on the right program panel:
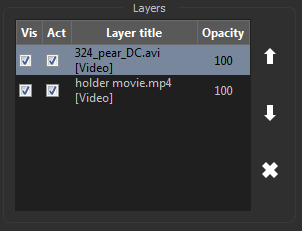
- To select layer click on it in the Layers table.
- To delete layer press
 button.
 - To change layers order use
 and
and  buttons.
 - Checkbox 'Act' means 'Active'. Active layers process mouse events, unactive layers don't.
- Check or uncheck 'Vis' checkbox to change layer visibility.
- To change opacity do left mouse double click on layer opacity value. You should see the seekbar
 . Move the slider on the seekbar and press Enter to change opacity.
Note. To change the parameter values, use the mouse or the left and the right arrow keys of the keyboard.