...
- Select 3d inclusion (this option works in polygonal mode, not in voxel QC mode).
- Right-click on it, in context menu select 'Subtract contour'
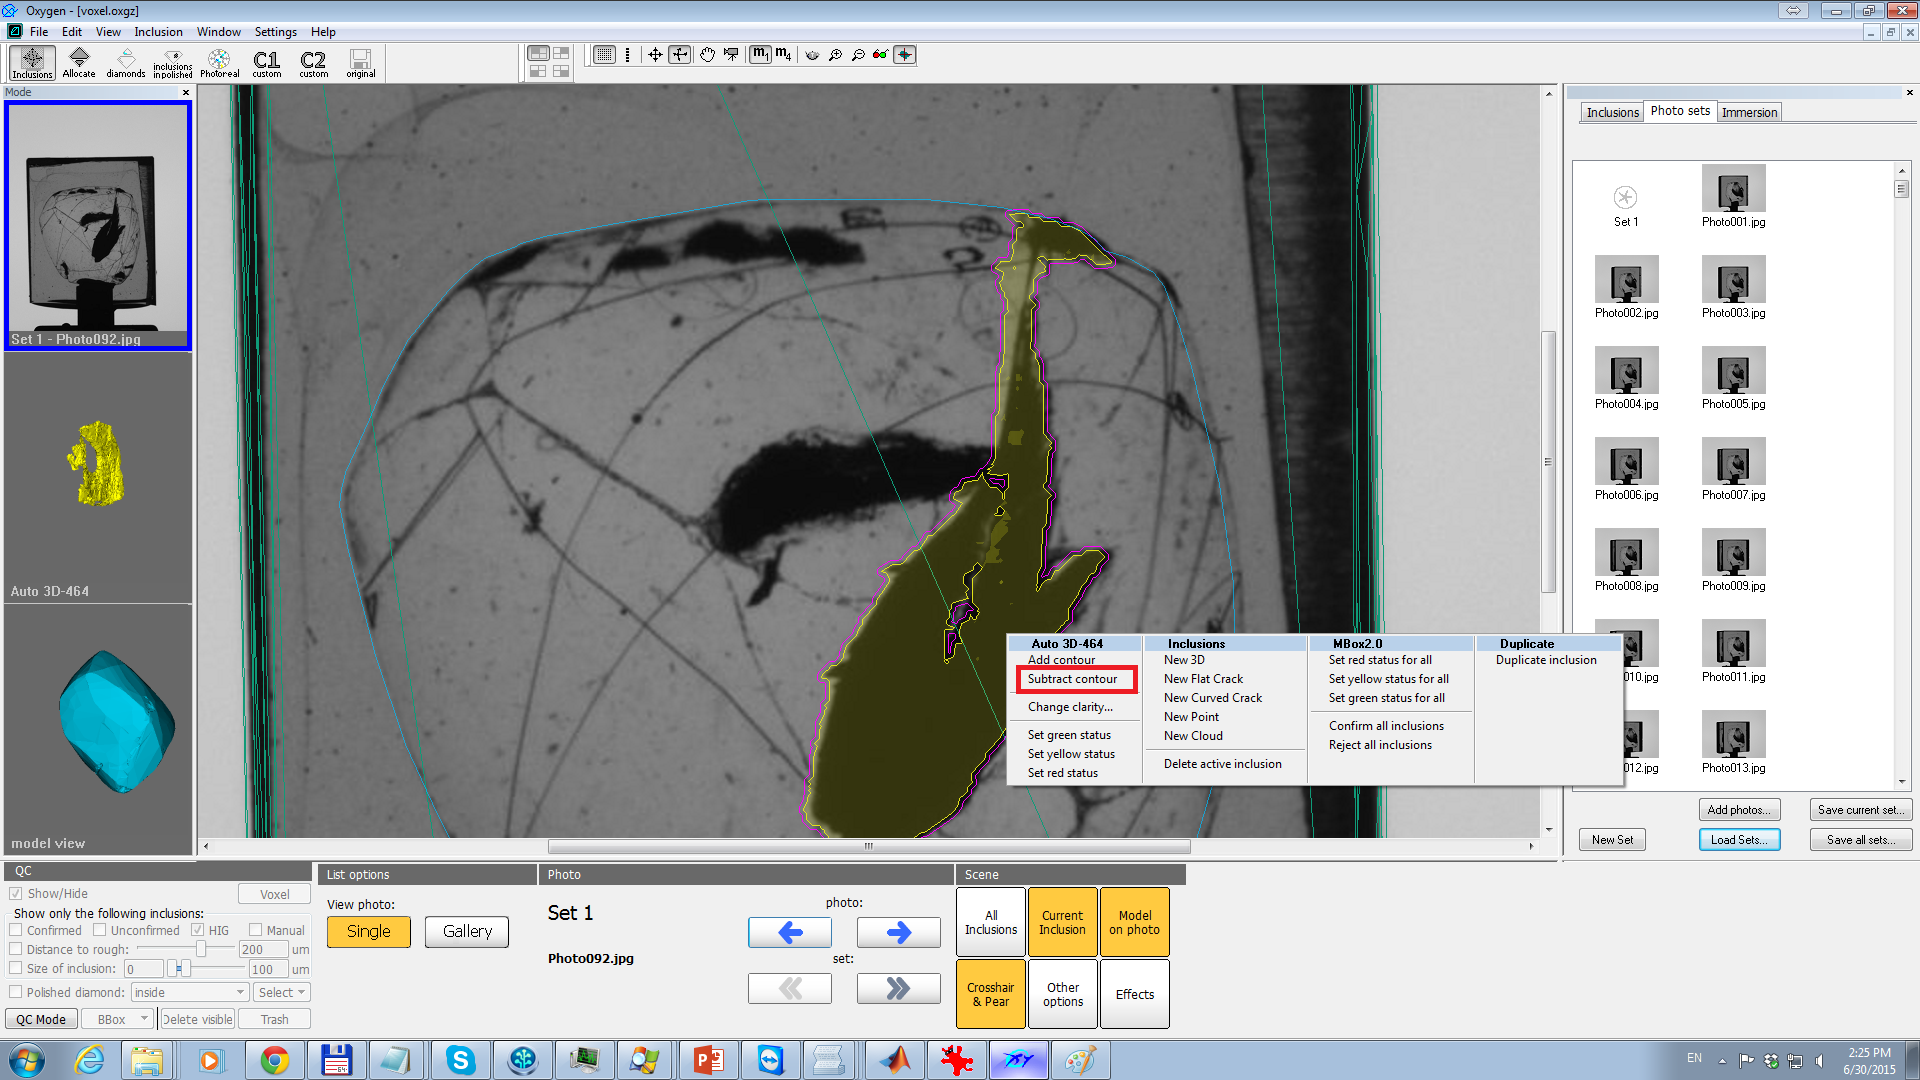
- Draw a contour you want to remove:
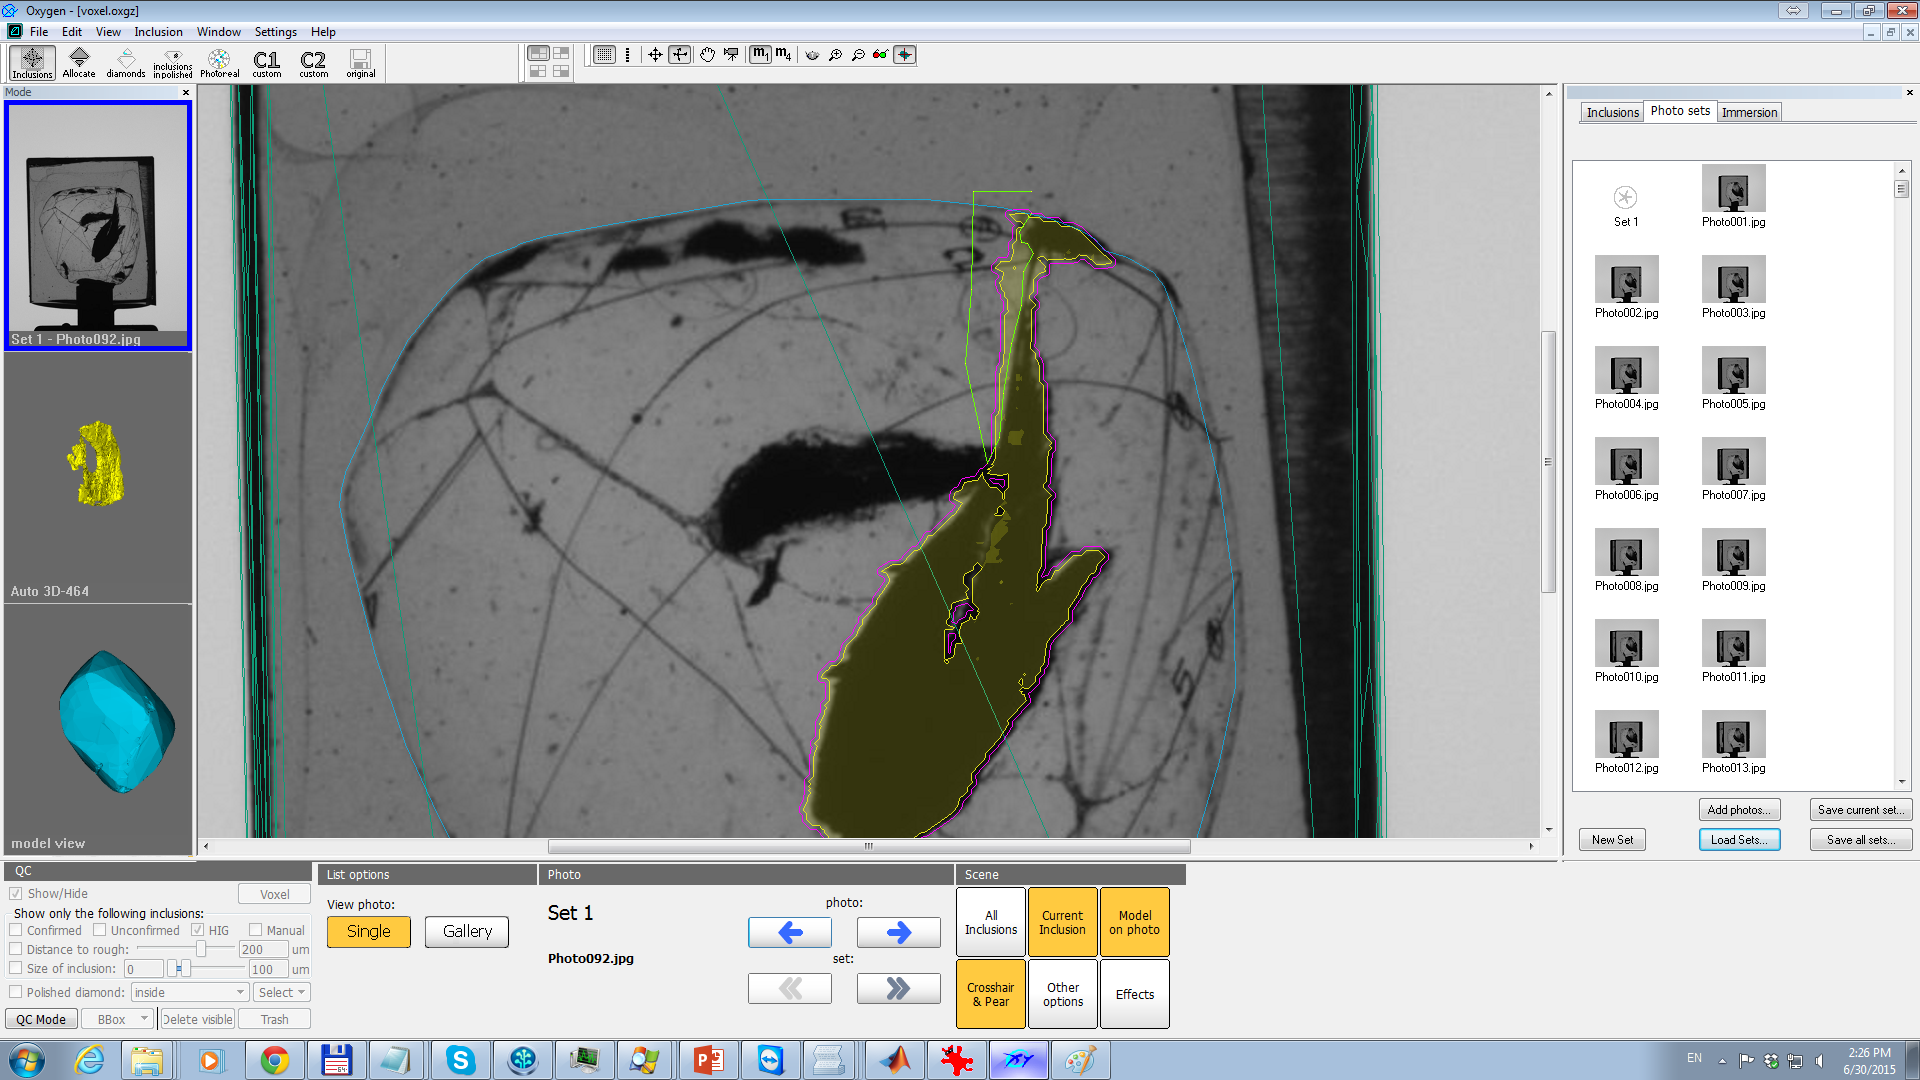
- Right click and select 'Finish'. After that you will see something like this:
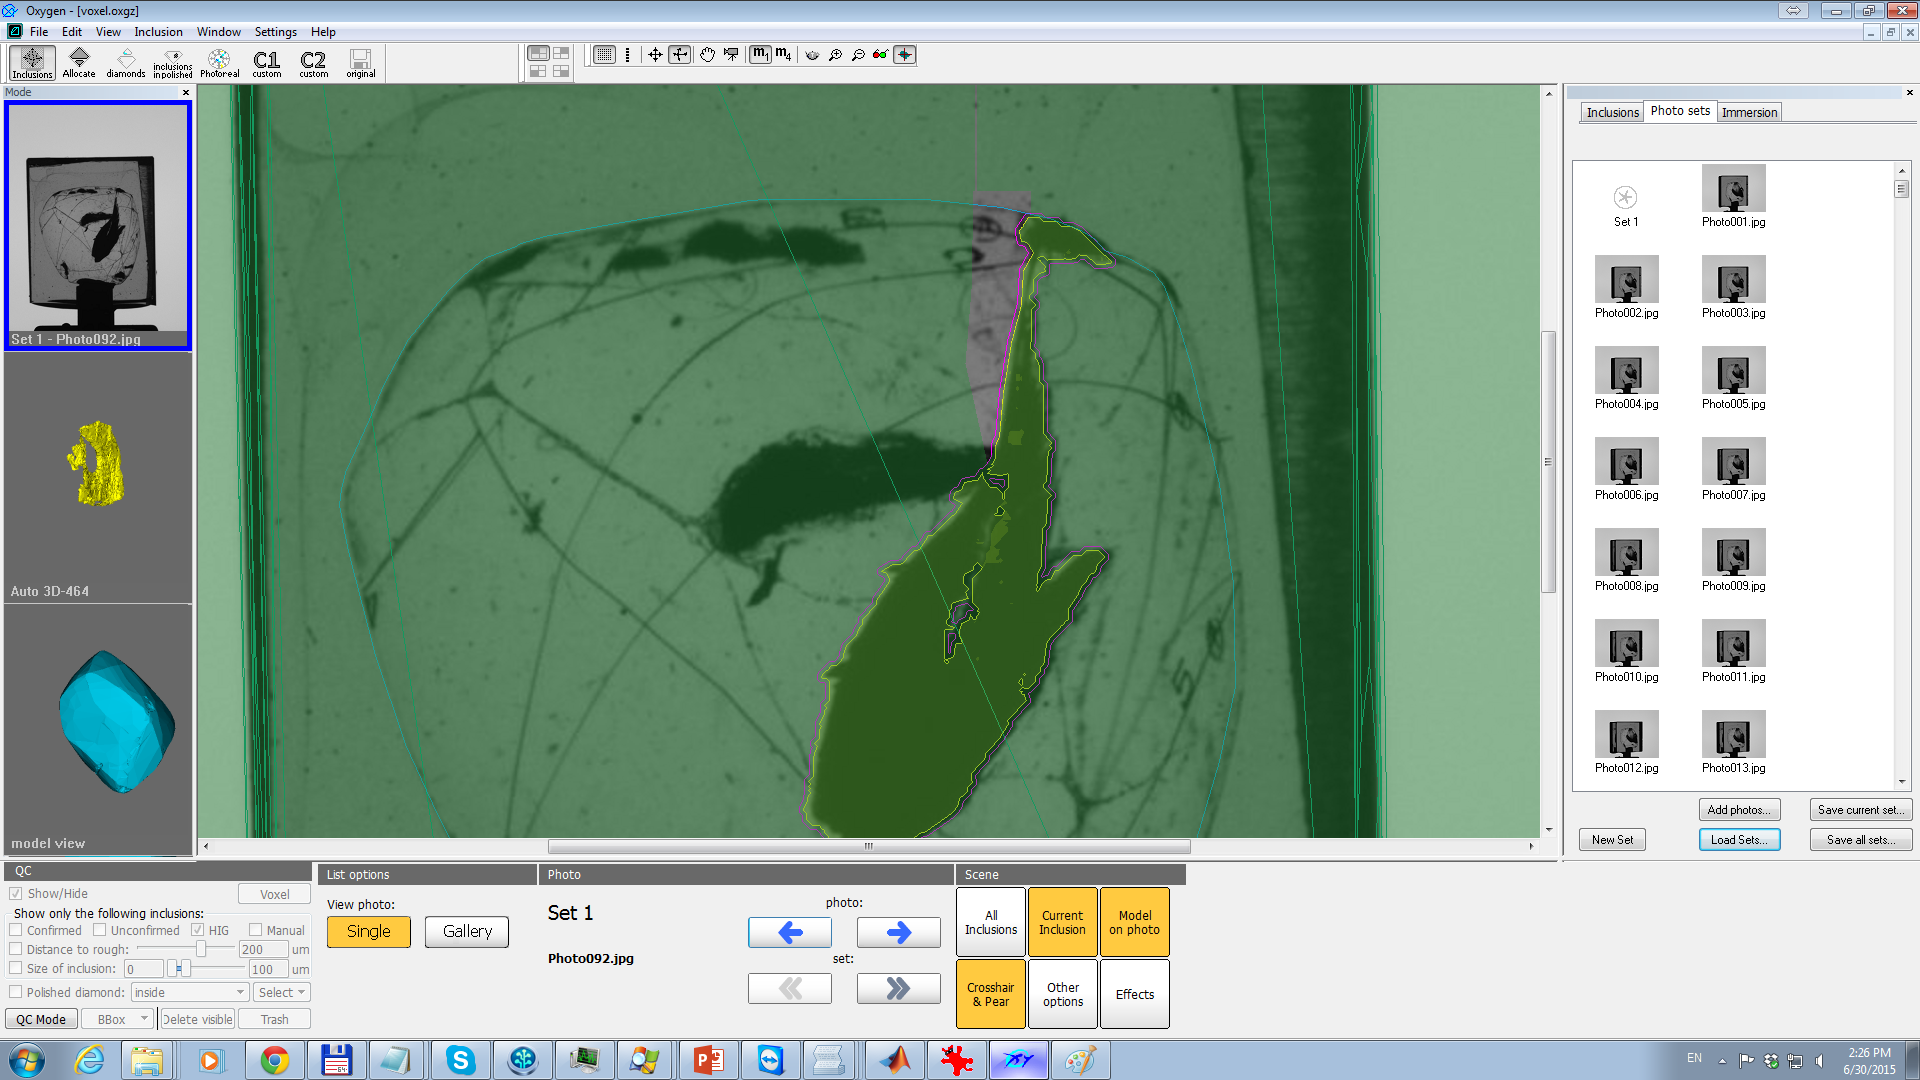
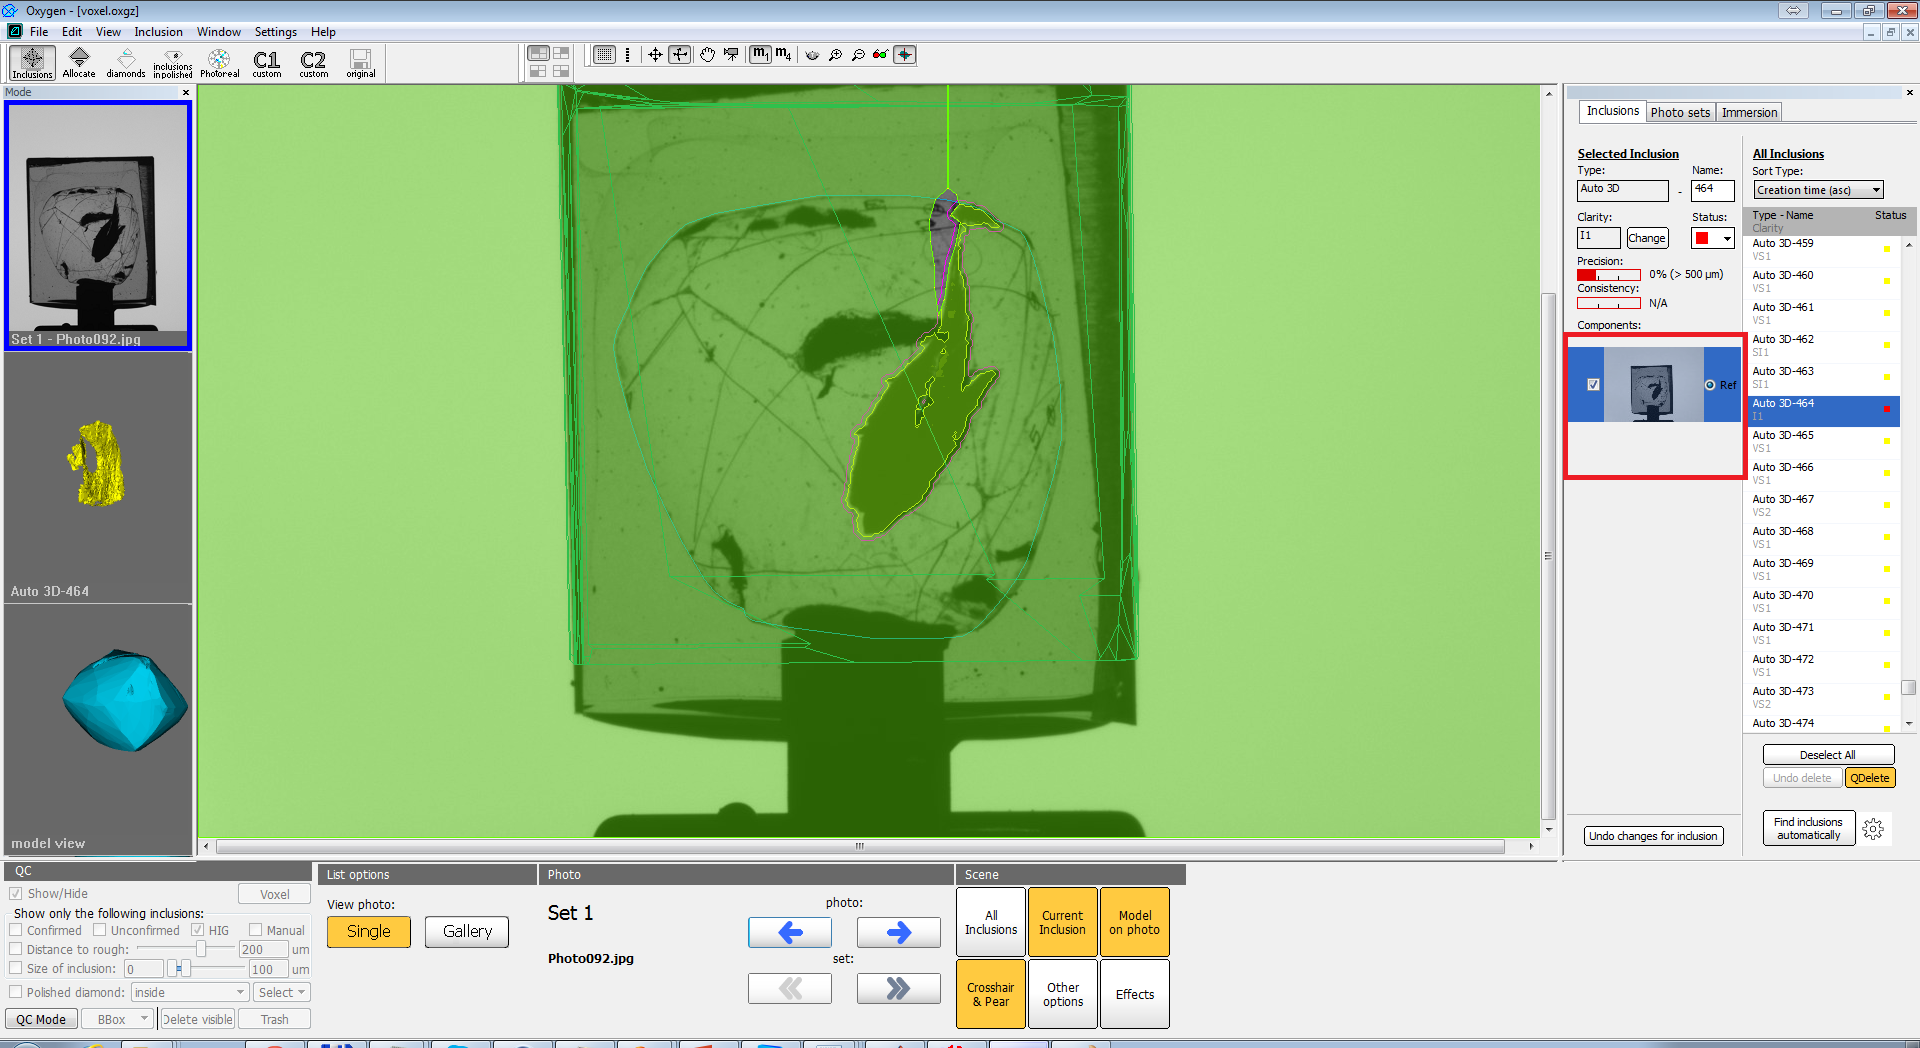
After these steps the contour will be subtracted from initial inclusion. You may enable/disable/edit this contour, it will be in the same list, as contours build by 'Add contour' option:
NOTE: 'Subtract contour' special cases
In this chapter we discuss special cases when 'Subtract contour' cannot not be used or it gives nonstandart results.
- Self-intersecting contour. As in 'Add contour' operation such contours are invalid and 'Subtract contour' will not work.
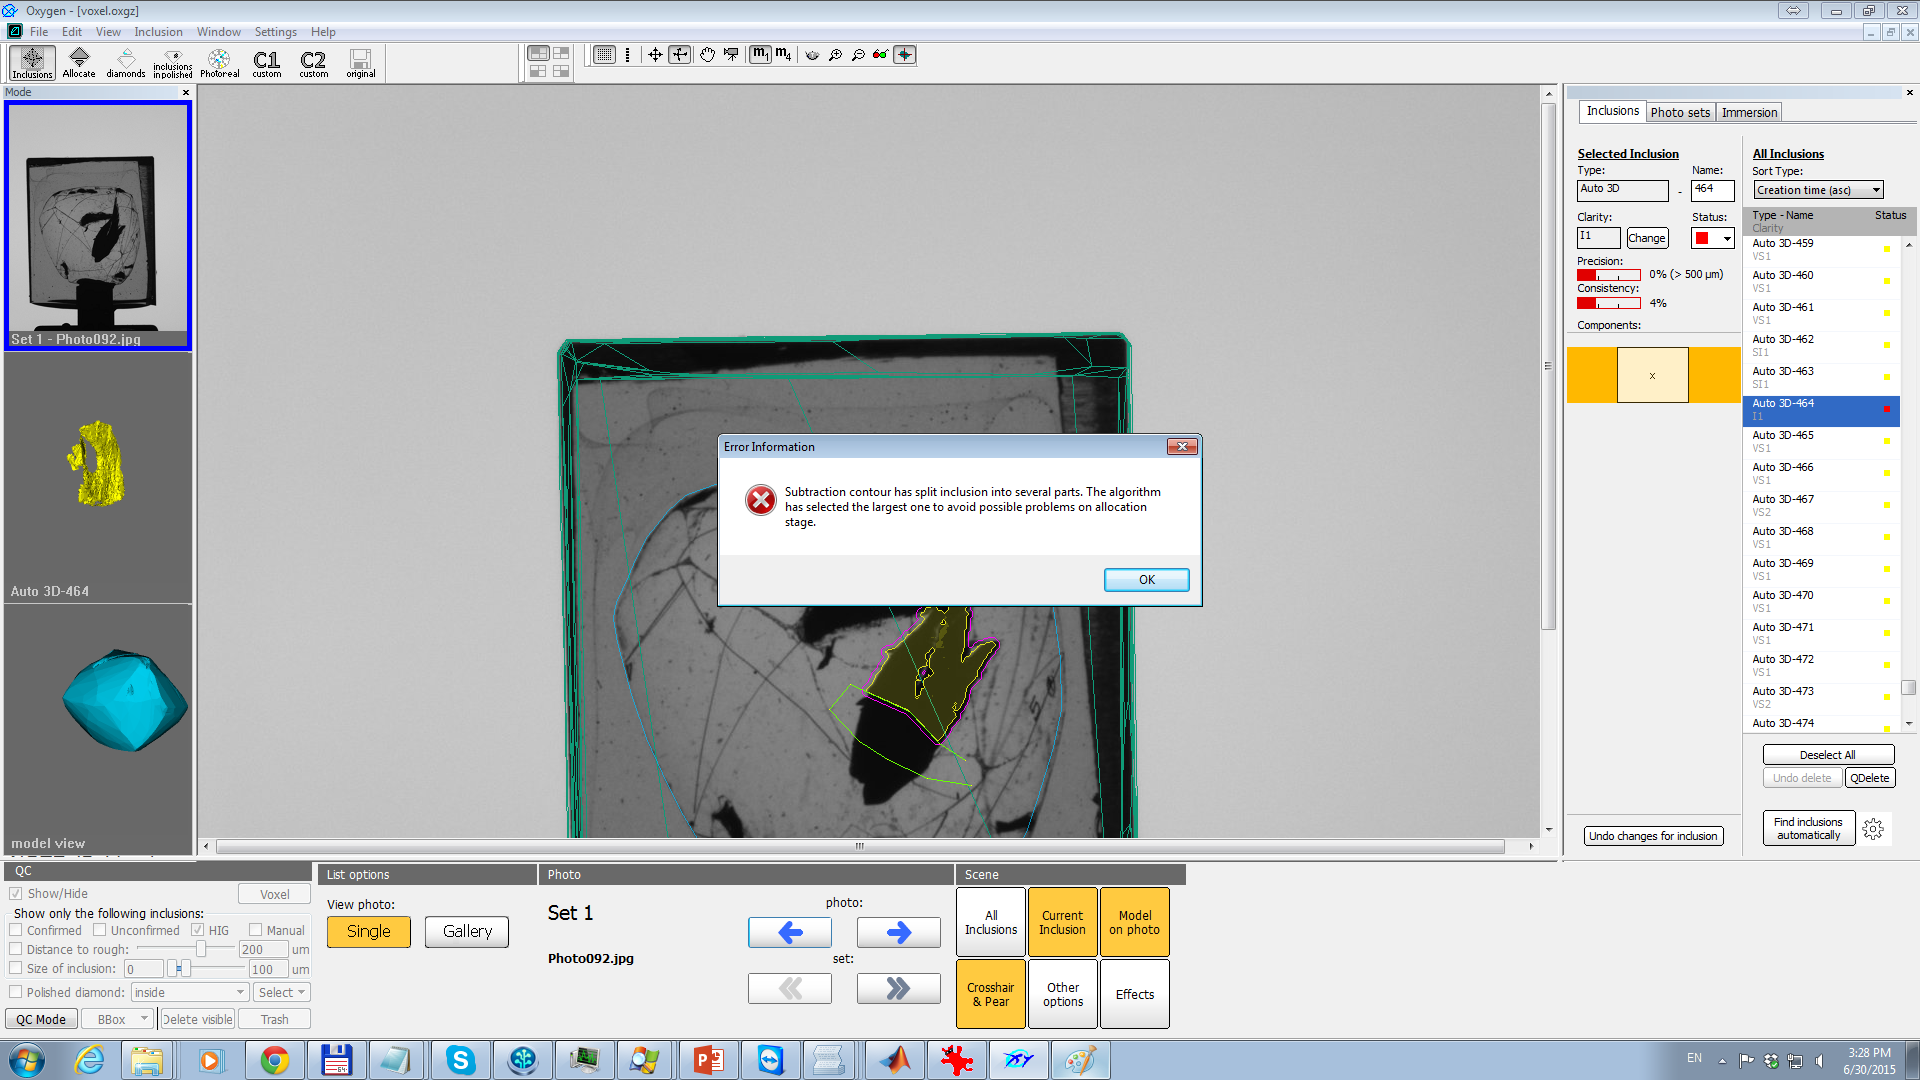
- Contour splits inclusion into several parts. In this case you will see the warning message. As the result only the largest part will be selected as the result. We recommend you not to use such contours, because you may lose some parts of inclusion:
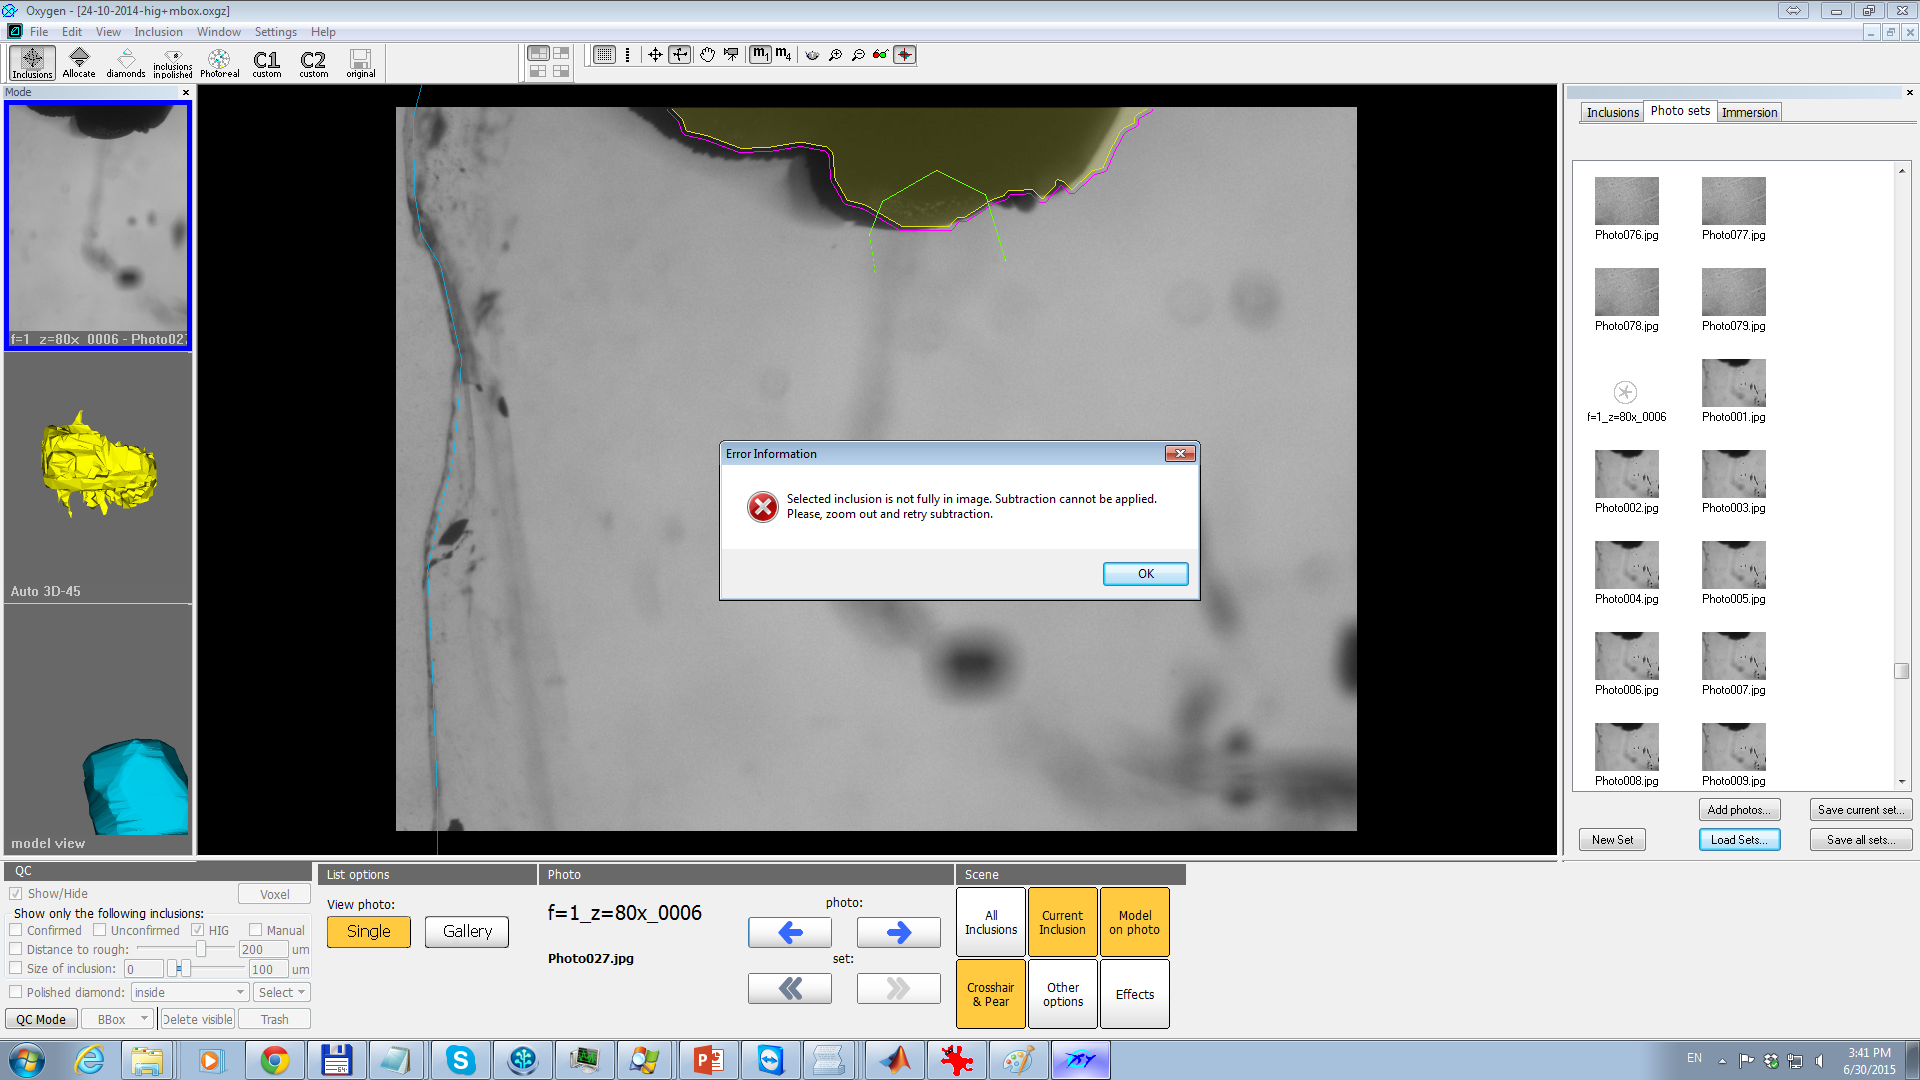
- Inclusion reprojection is not fully on the current image. This case is rare for HIG data, but for Mbox one it may occur. On this image you can see the inclusion that is intersected by the image border, for such inclusions, unfortunately you cannot apply this tool:
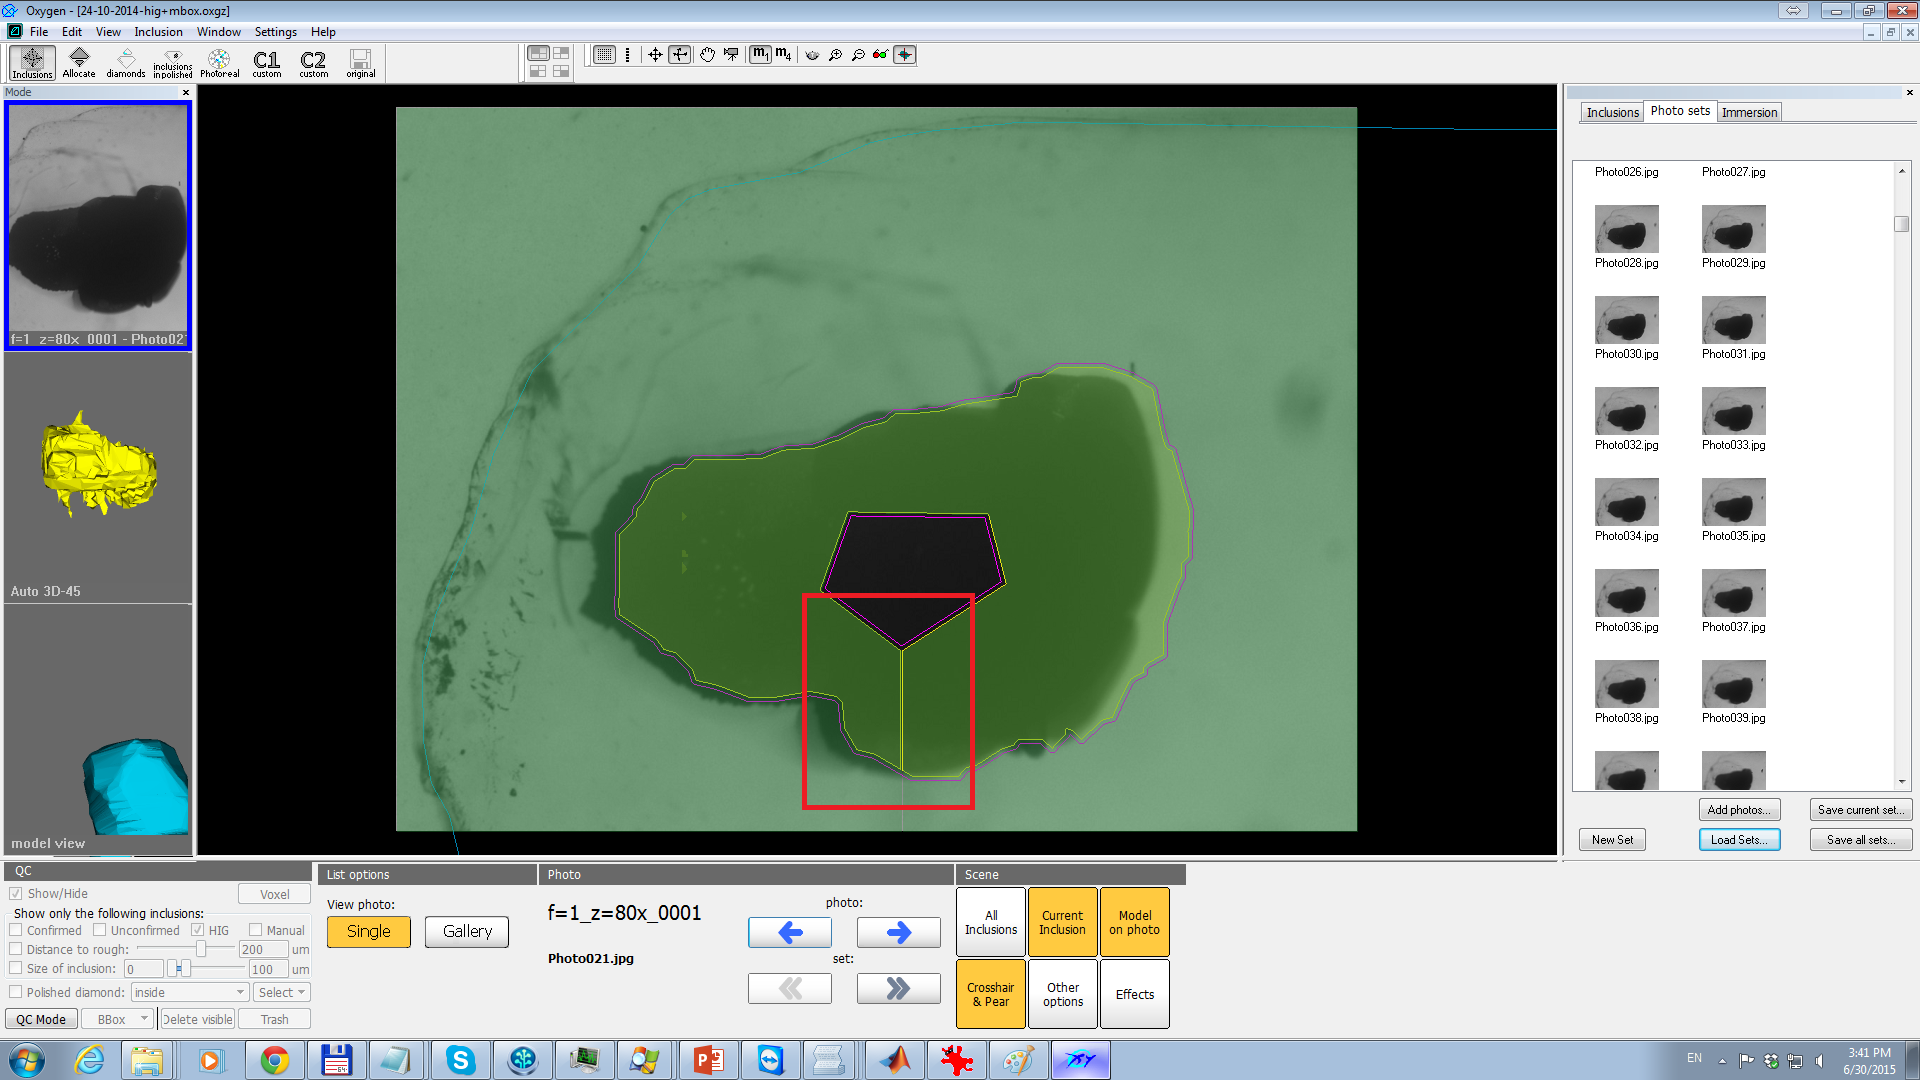
- Hole inside inclusion. Using subtract contour tool you may theoretically make a hole in inclusion (hole is not connected with inclusion surface). Actually we do not recommend to do this. But if for some reason you need to make a hole, please remember that in fact the subtraction algorithm will cut a thin path from hole to the inclusion surface. You can see the result and the thin cut on this image:
Closed-contour inclusion split in voxel QC mode