Octonus Support Client is application for connecting to:
- Remote workstations with Octonus Support Agent for remote desktop management.
- Remote presence robots to overlook situation near Octonus hardware.
- Any other Octonus provided video streams.
To connect to remote video stream you need to know its ID and PIN, for example remote desktop:
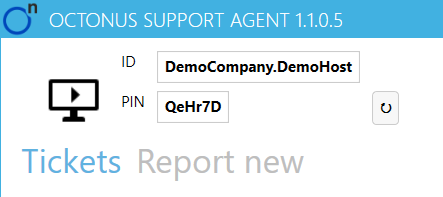
Suppose customer's user needs remote assistance, he can tell you above ID and PIN using help-desk ticket system, email, phone or messenger.
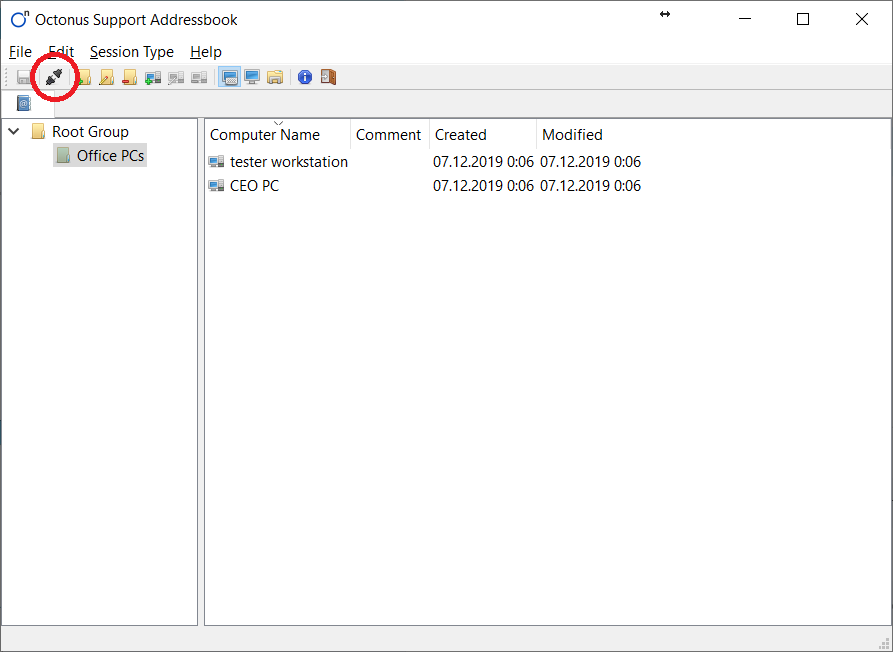
Launch Octonus Support Client application and click quick connect button:
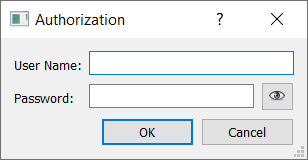
In appeared dialog enter ID as User Name and PIN as Password, use eye button to check correctness of the password:
Window with remote desktop will appear:
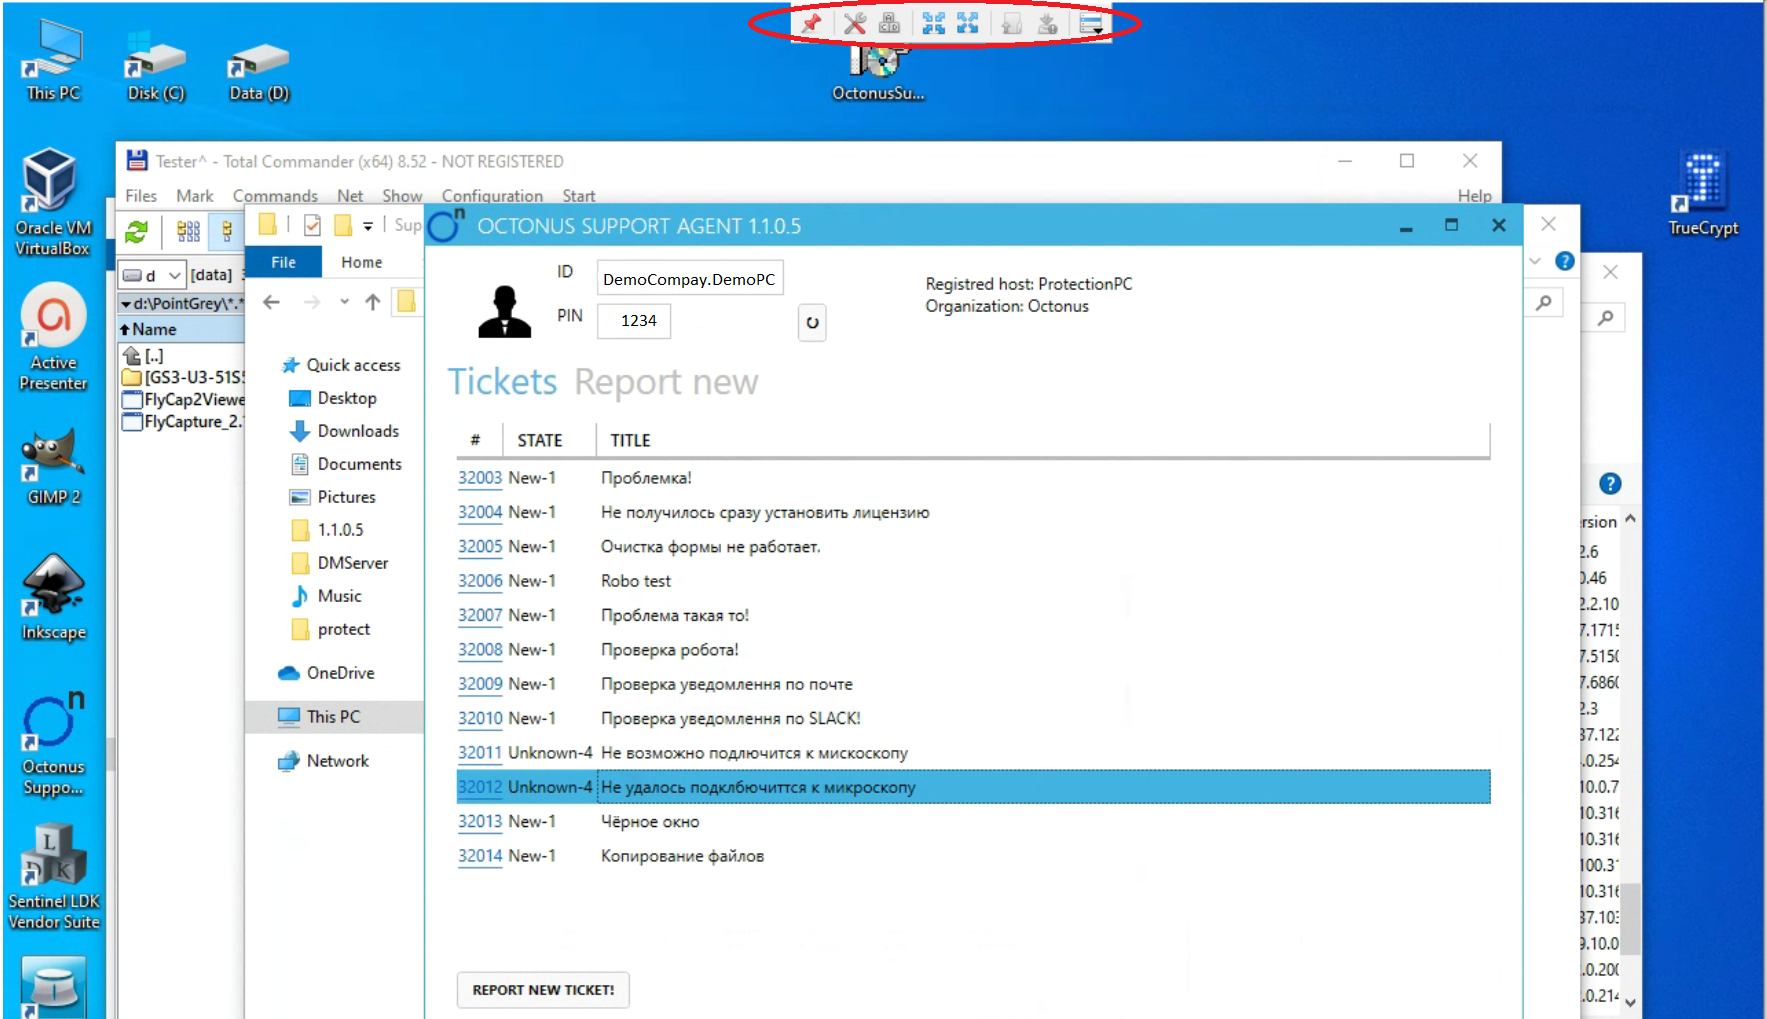
When you connect to desktop management, a toolbar appears at the top of the window.

| Name | Description |
|---|---|
 Lock toolbar Lock toolbar | If the button is clamped, the toolbar will always be displayed. Otherwise, after a few seconds after moving the mouse pointer outside the panel, it will be hidden. |
| Sends Ctrl+Alt+Del to remote PC |
 Automatic window size Automatic window size | Changes the window size to the optimal one based on the size of the monitors of the remote and local computers. |
 Full screen Full screen | Switches the control window to full screen or returns the original state. |
| If you have file in your PC's clipboard, press this button to upload this file to the remote PC, after upload it will be in remote PC clipboard. |
| If you have file in remote PC's clipboard, press this button to download this file to your PC, after download it will be in your PC clipboard. |
 Extended menu Extended menu | Displays an advanced menu of advanced features. |


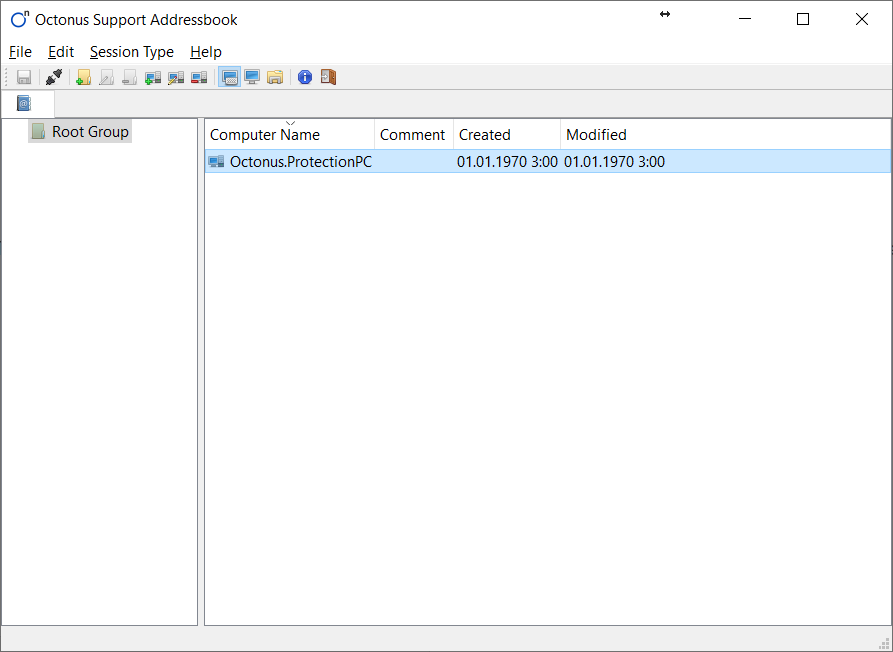
Address book
Address book is used to perform a quick connection to computers. You can add computer groups, computers, manage connection settings to computers.
To organize computers is convenient to use groups. You can create an unlimited number of groups of varying degrees of nesting. To add, change and delete computer groups, use the corresponding items on the toolbar or in the context menus.
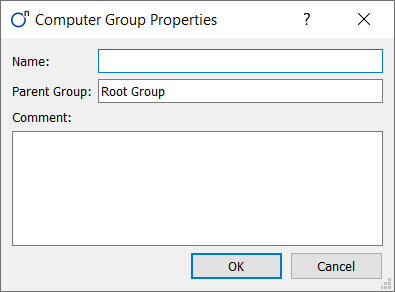
Fields in the dialogue
| Name | Description |
|---|---|
| Name | The name of the computer group. The field is required. |
| Comment | Freely editable field for making notes. Not required. |
Computer management
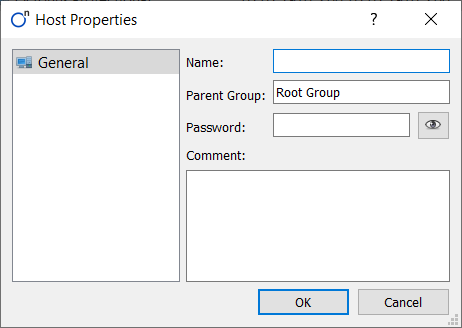
To add a computer, select the group to which you want to add it and click “Add Computer”. To change a computer, right-click on it and select “Change Computer”. The computer properties dialog opens.
| Name | Description |
|---|---|
| Name | ID of the video session (Remote desktop or Robot) |
| Password | PIN to connect to a remote computer. Not required. If the field is empty, then a login dialog will be displayed upon connection. |
| Comment | Freely editable field for making notes. Not required. |
To connect to stored record just double click on computer row: