
What is Image Stitching with Stacking?
Image stitching with stacking allows creating "all-in-focus" high-resolution images combining several images, automatically taken at higher zooms. The tool is designed to work with objects with a flat surface (like coins) or with some deviations from the main surface plane (like printed circuit boards). In addition, the surface of the object can be located at an angle to the focusing plane
Starting from DM version 1.4.12.52, you may use the flat-field correction tool with the image stitching to compensate for any uneven lighting |
GUI description
The GUI for the Image Stitching tool is located in the right panel of the Processes tab and looks like this (all data on the presented image is for informational purposes only):
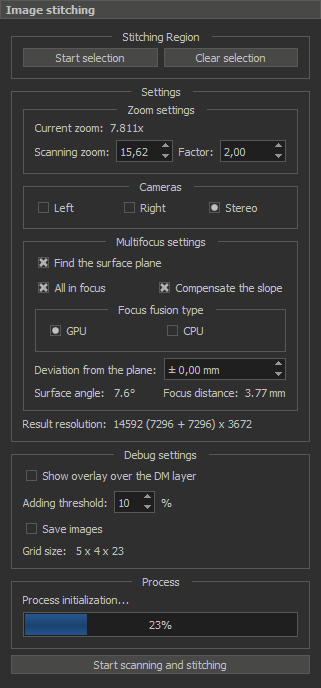
Details for each section are given below.
Stitching region

- The Start selection button for starting the selection of the scanning region (enabled only before selection)
- The Clear selection button for clearing the selected region (enabled only after selection)
Zoom settings (Settings box)

Here you can view the Current zoom and adjust the Scanning zoom or the scaling Factor (the Scanning zoom and Factor parameters are interrelated)
Cameras (Settings box)

Here you can choose which cameras will be involved when scanning: only left (Left), only right (Right) or both (Stereo)
Multifocus settings (Settings box)
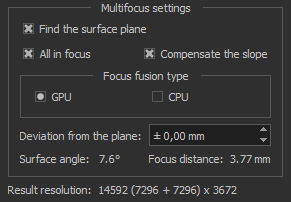
- The Find the surface plane flag. Select this check box if you want to run the surface plane analysis stage before stitching (determining the position of the surface and the angle of inclination relative to the focus plane)
For the correct operation of this step, you must manually focus on the object surface in the center of the selected region on the scanning zoom |
- The All in focus flag. Select this check box for obtaining "all-in-focus" result. Enabled only when checked the Find the surface plane
- The Compensate the slope flag. Select this check box for obtaining result with compensation of the surface plane slope (as if we were looking at the object surface at right angle). Enabled only when checked the Find the surface plane
- The Focus fusion type group. Here you can choose the type of focus fusion algorithm: by using GPU (default) or CPU
- The Deviation from the plane to set the deviation from the object plane in millimeters
Also here you can view the found Surface angle of the object plane, the Focus distance which will be passed in the process of stacking, and the Result resolution of the stitched image
Debug settings
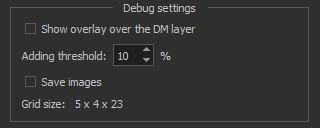
- The Show overlay over the DM layer flag to toggle of the sketch overlay showing over/under the DM stream layer
- The Adding threshold parameter to change the threshold (in percentage of frame size) of adding new frame to the sketch
- The Save images flag for enable/disable saving source frames during scanning
Also information about the Grid size is displayed here (Number of frames horizontally x Number of frames vertically x Number of stacking frames)
Process
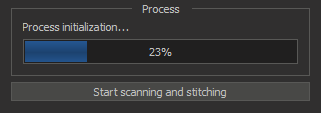
Here you can view the processing status, current progress and start or cancel the process using the Start/Cancel scanning and stitching button
How to use (Step-by-Step Guide)
- Set the object to be scanned
- Set the Scanning zoom or Factor
- Select Cameras for scanning
- Push the Start selection button
- Select the scanning region via joystick or others tools. The selected area is represented by a green frame in the view area
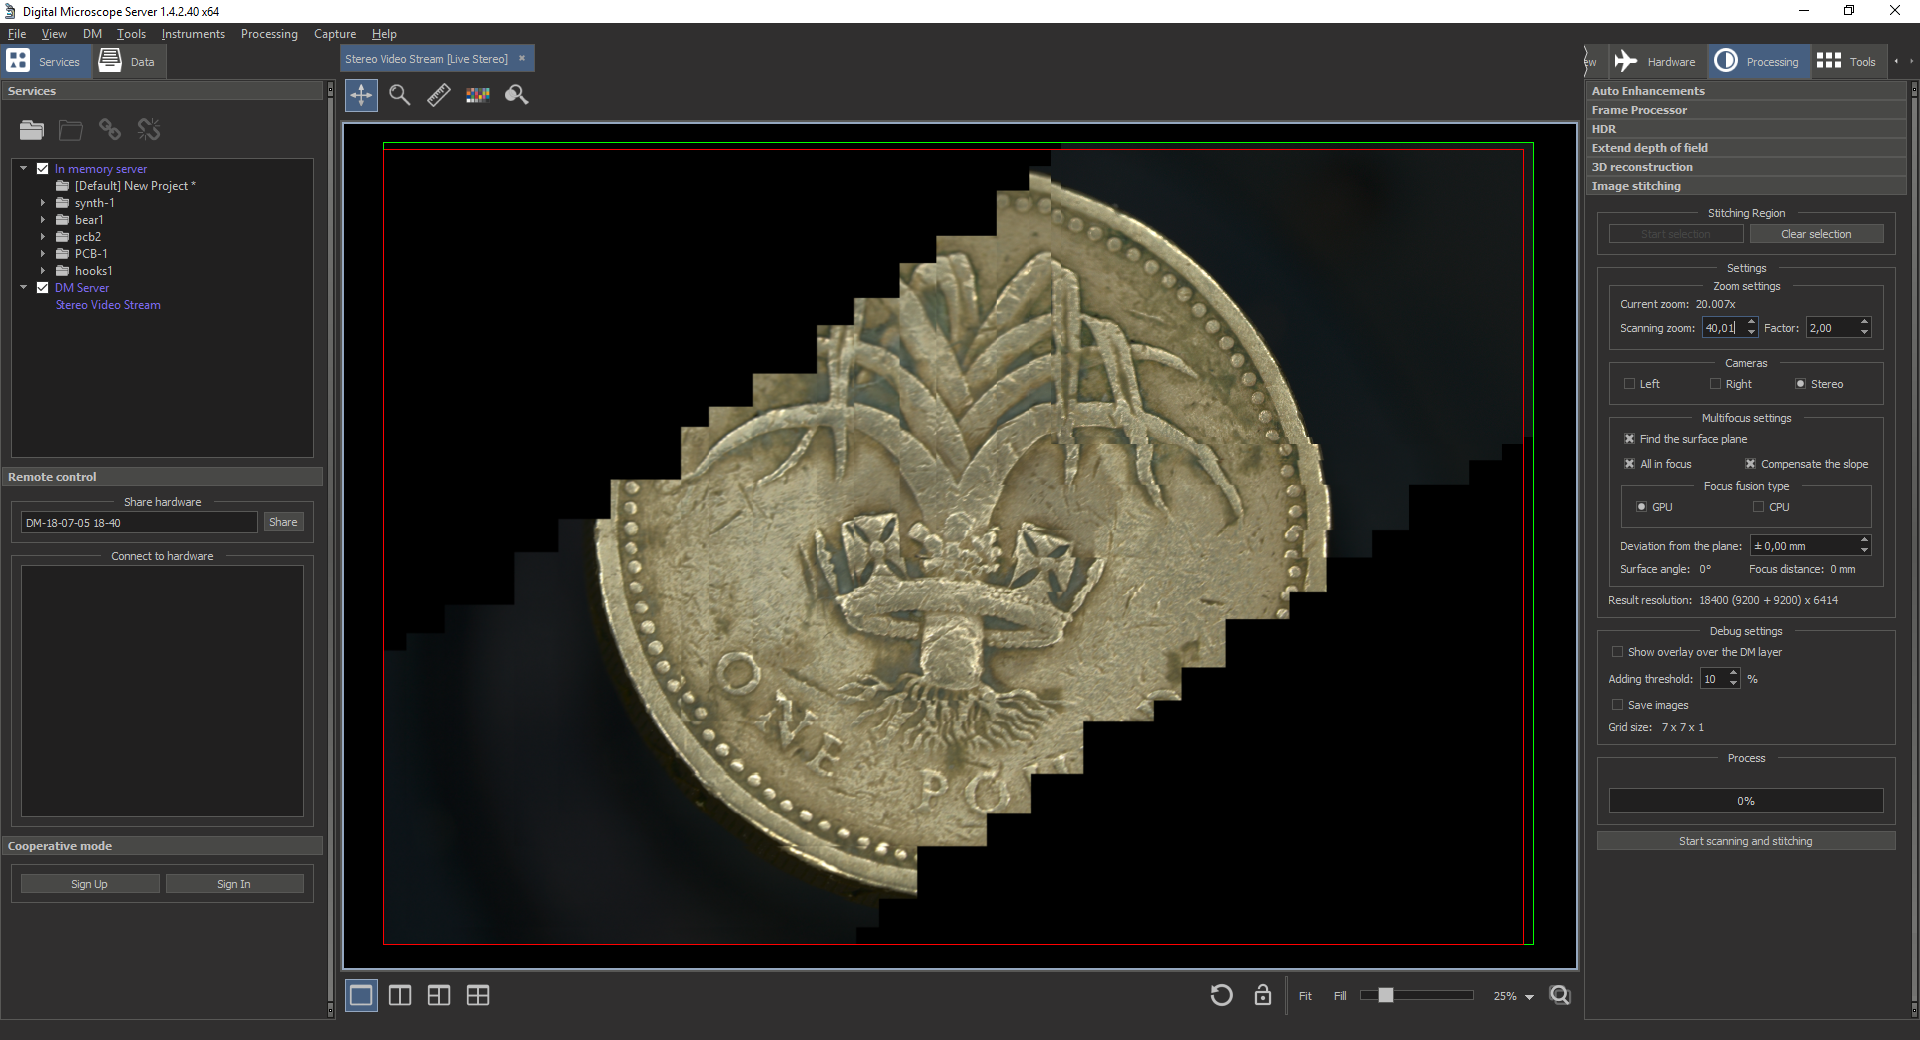
- Set the scanning zoom and focus to the object surface plane in the center of selected area. Change zoom back
- Set all the Multifocus settings you need
- If something is wrong, reset the selected area with the Clear selection button. Otherwise, start the scan with the Start scanning and stitching button
- Wait for the process to finish
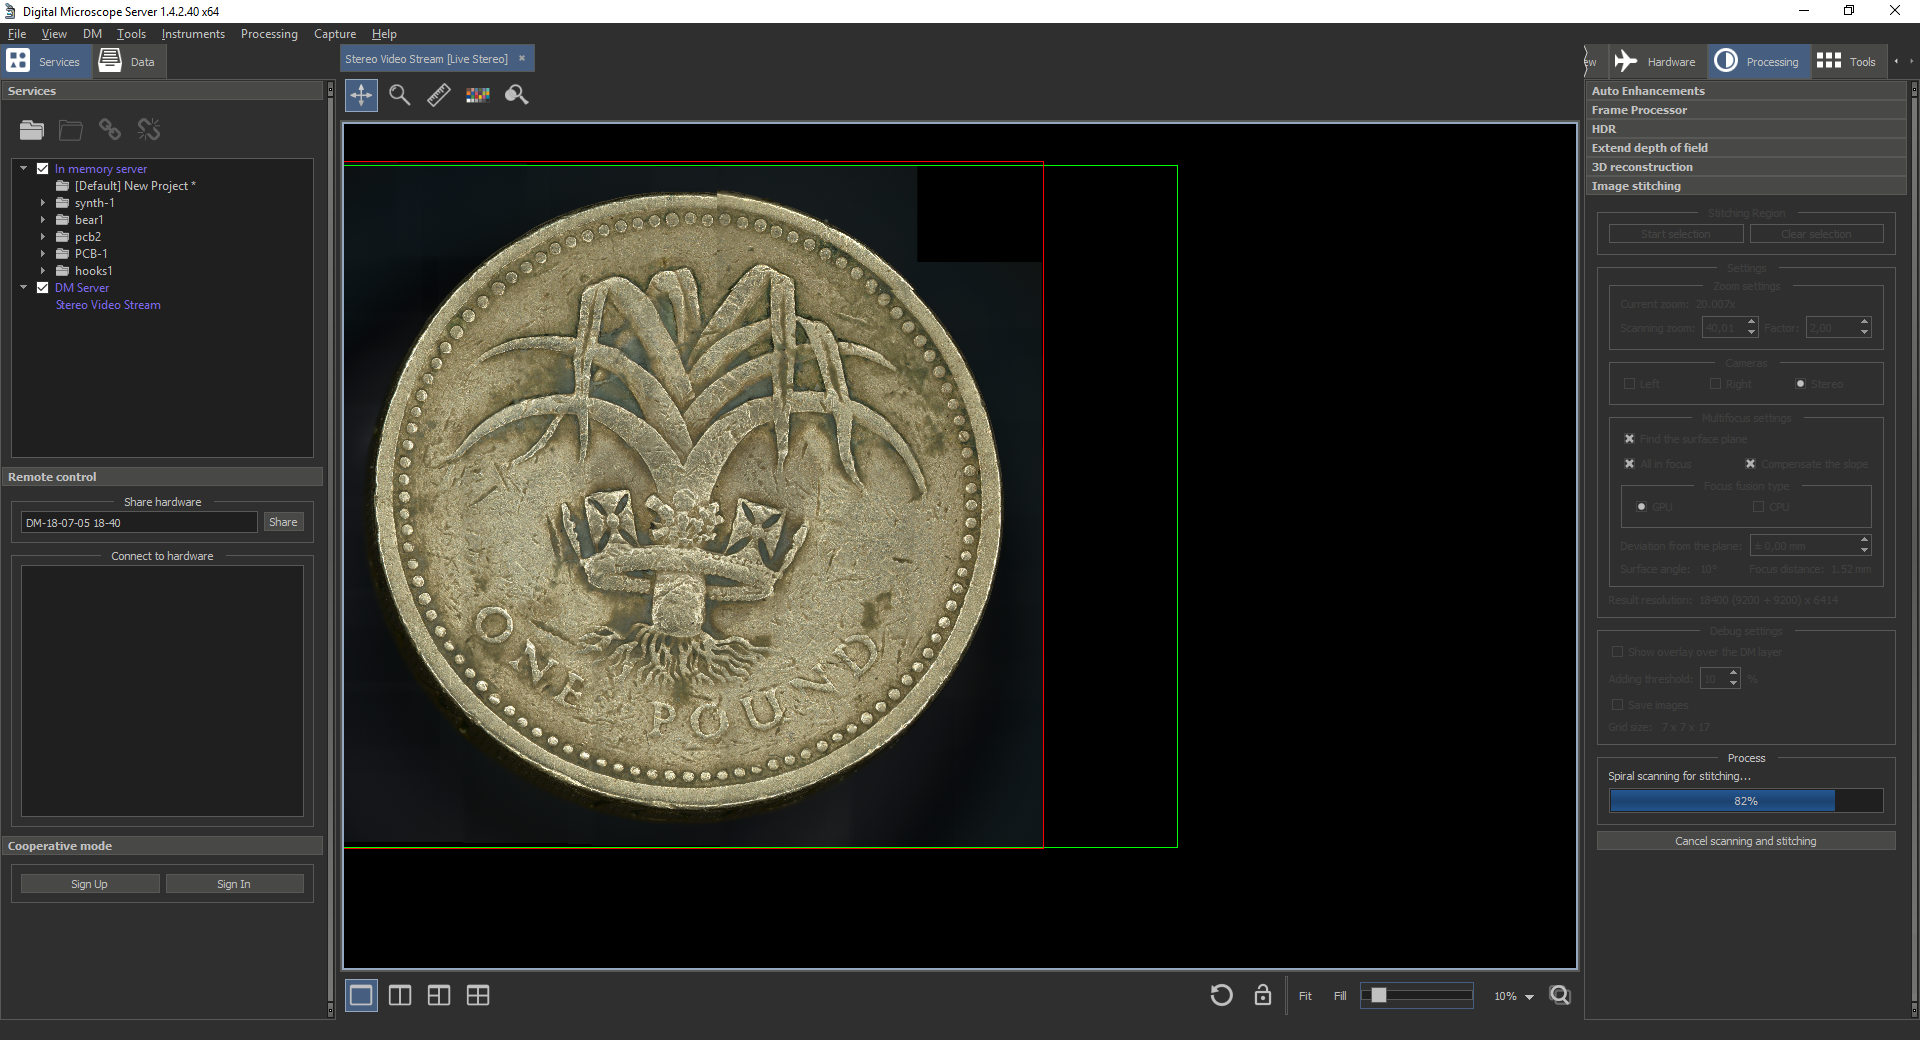
If everything is successful, new stitched image data will appear in the Services list. This data can be opened for viewing or saved to disk
| Result stitched image with scale 13% | Result stitched image with scale 100% |
|---|
| |


