After the model was scanned and built with reflect, you can create a Polish Report for it.
Accessing Polish Report
The Polish Report can be accessed in one of the following ways:
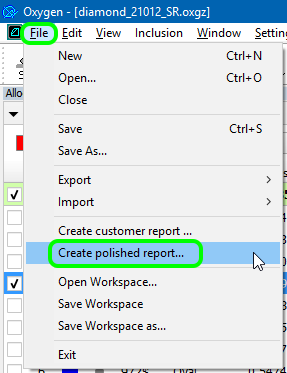
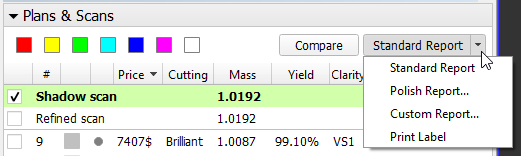
Select Polish report from the Reports section of the right panel, | select File - Create polished report from the top menu, | or press Polish report button in the Plans & Scans panel. |


Preparing to Make Report
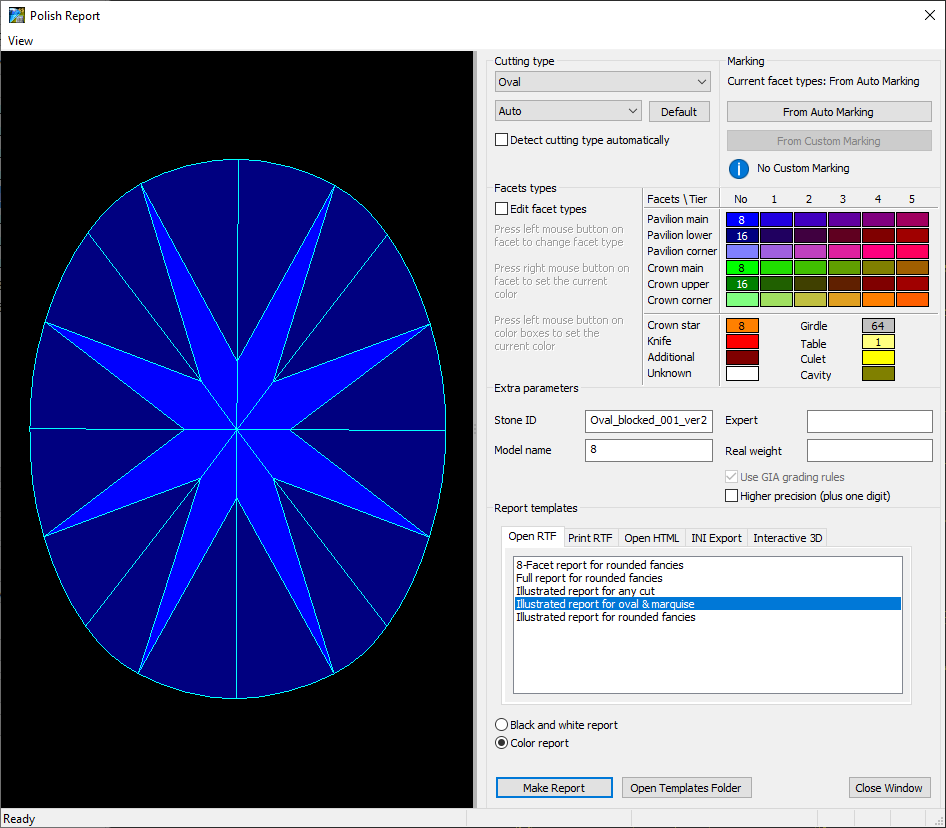
In the Polish Report window, before making a report, you can specify its general settings and specify facet marking to be used.
General Settings
In the Polish Report window, you can set the following general settings:
Set the cutting type (initially it is assigned automatically).
The incorrect cutting type would result in a report with multiple inconsistencies, missing parameters, and poor grades.- Edit facet types, if you need (normally these are assigned automatically, too; if you want more flexibility in dealing with facet types, for example when evaluating a non-standard cut, consider using custom report instead).
- Specify the extra parameters, if needed:
- Stone ID (normally assigned to stone during scanning)
- Model name (normally assigned automatically)
- Expert name
- Real weight
- Make the following settings, if needed:
- Use GIA grading rules
Higher precision (plus one digit)
The extra parameters and settings are not persistent. If you close and reopen the report window, they revert to their default values.
Select the report type and template. The choice of the report template depends on the report type and the particular cut.
Specifying Facet Marking
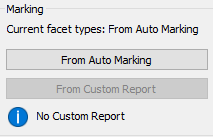
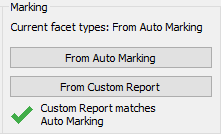
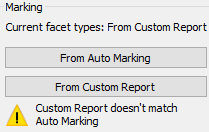
Sometimes, the custom facet marking of a model (if it has this marking) may differ from the facet marking applied to the model in Polish Report (Auto Marking). The Polish Report dialog provides you information about this difference and allows to select which marking to use in the report.
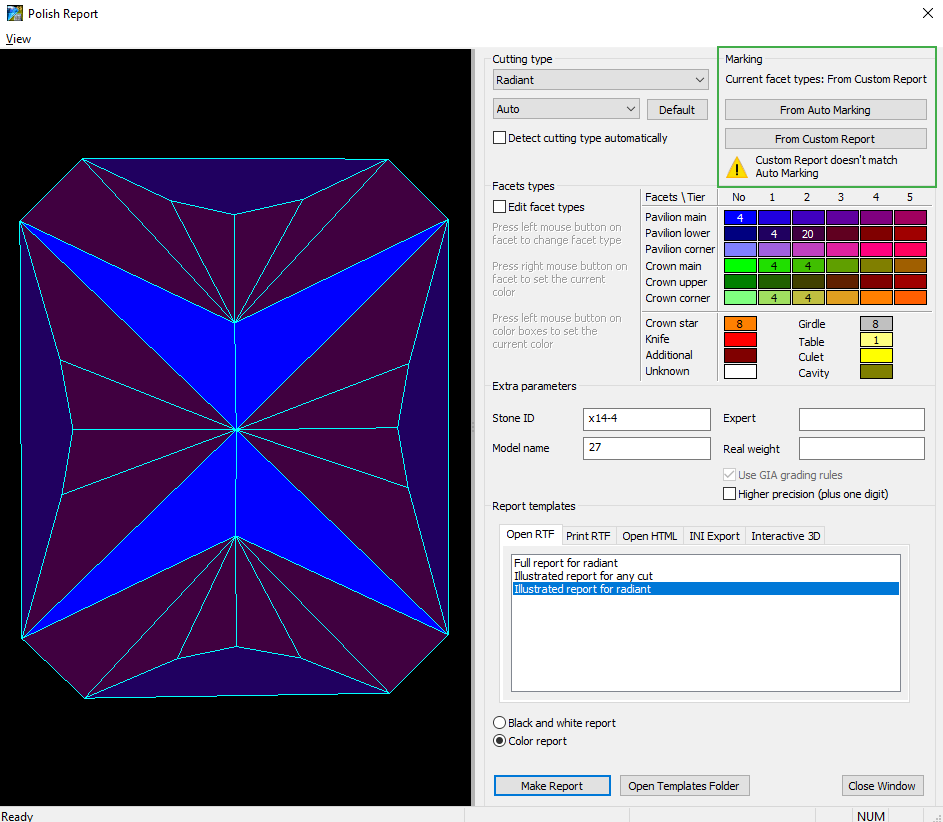
- If the custom facet marking differs from Auto Marking, the custom will be applied by default.
- To change the marking, in the Marking section, click From Auto Marking or From Custom Report. The Current facet types: From ... will change; the View will be updated.
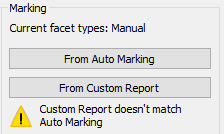
- To edit facet types manually, select the Edit facet types checkbox, in the Facets\Tier table, select the required type, then in the View, click the facet(s) to belong to the type. The Current facet types: will change to Manual.
- If there is no custom facet marking, the Auto Marking will be applied.
No custom marking | Markings identical | Markings differ | |
|---|---|---|---|
|
|
|
|
Rotation for Views without Invisible Edges
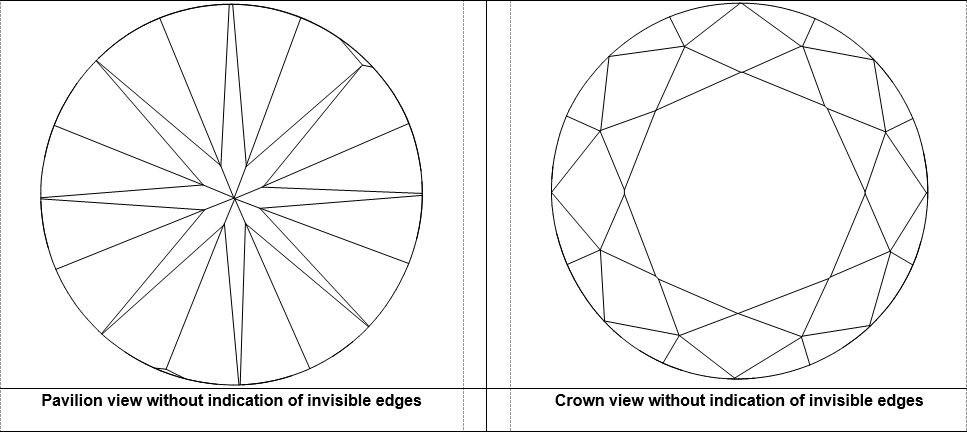
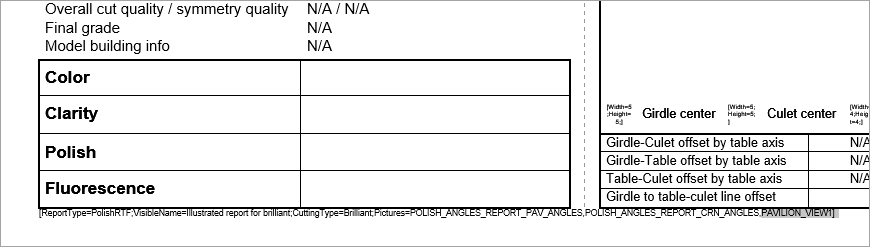
In the Polish RTF Full Report, there are Pavilion and Crown views without indication of invisible edges (PAVILION_VIEW and CROWN_VIEW bookmarks):
Now you can change the rotation of the model presented on these images. To do this:
- In the template, locate PAVILION_VIEW or CROWN_VIEW bookmark.
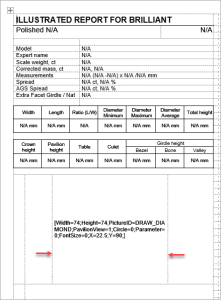
Replace bookmarked text as follows:
Was Now Comment [Width=73;Height=73;]
[Width=74;Height=74;PictureID=DRAW_DIAMOND;PavilionView=1;
Circle=0;Parameter=0;FontSize=0;X=22.5;Y=90;]X and Y with values are responsible for rotation. - Make sure, your bookmark continues to enclose the parameters, including brackets.
- Save the template.
Also, other Polish RTF reports support adding the same images with the rotation you need.
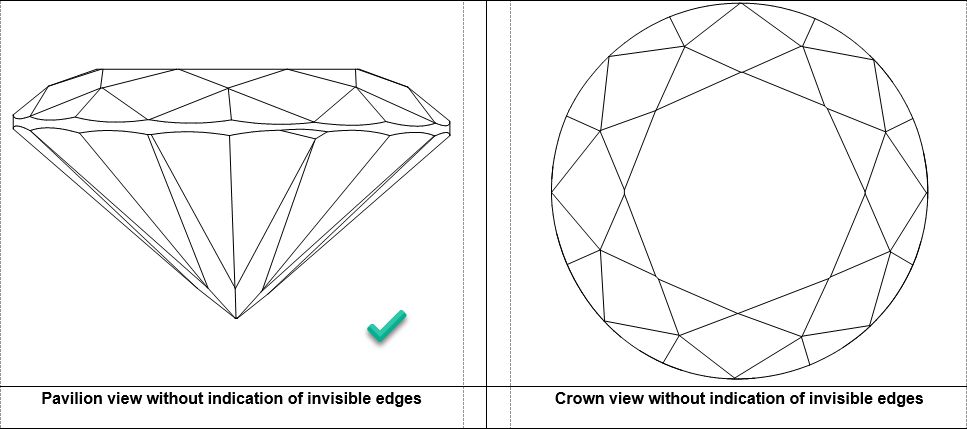
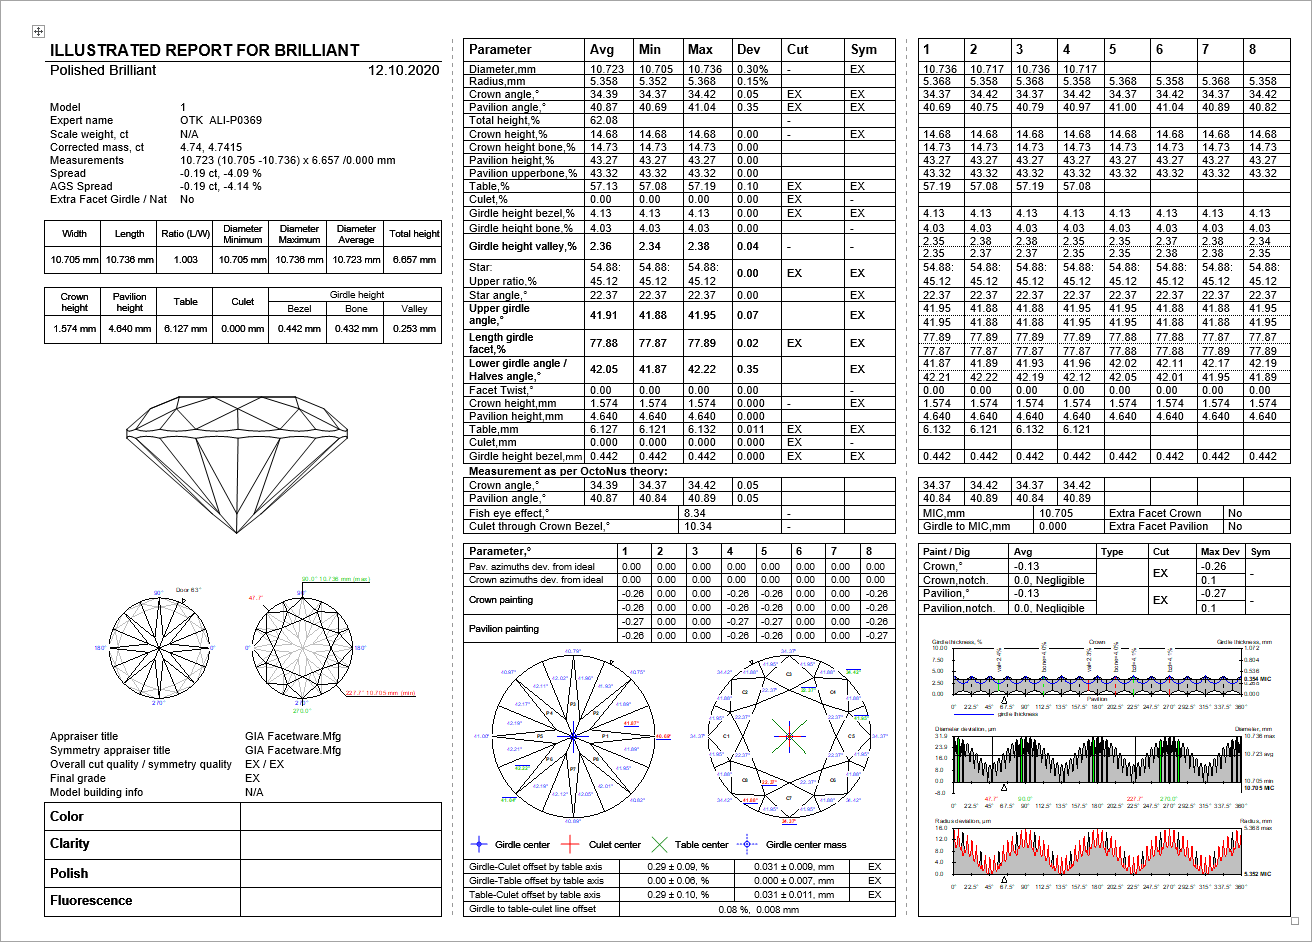
Below is the example showing how the rotated Pavilion view without invisible edges can replace the standard image in the Polish RTF Illustrated report for brilliant:
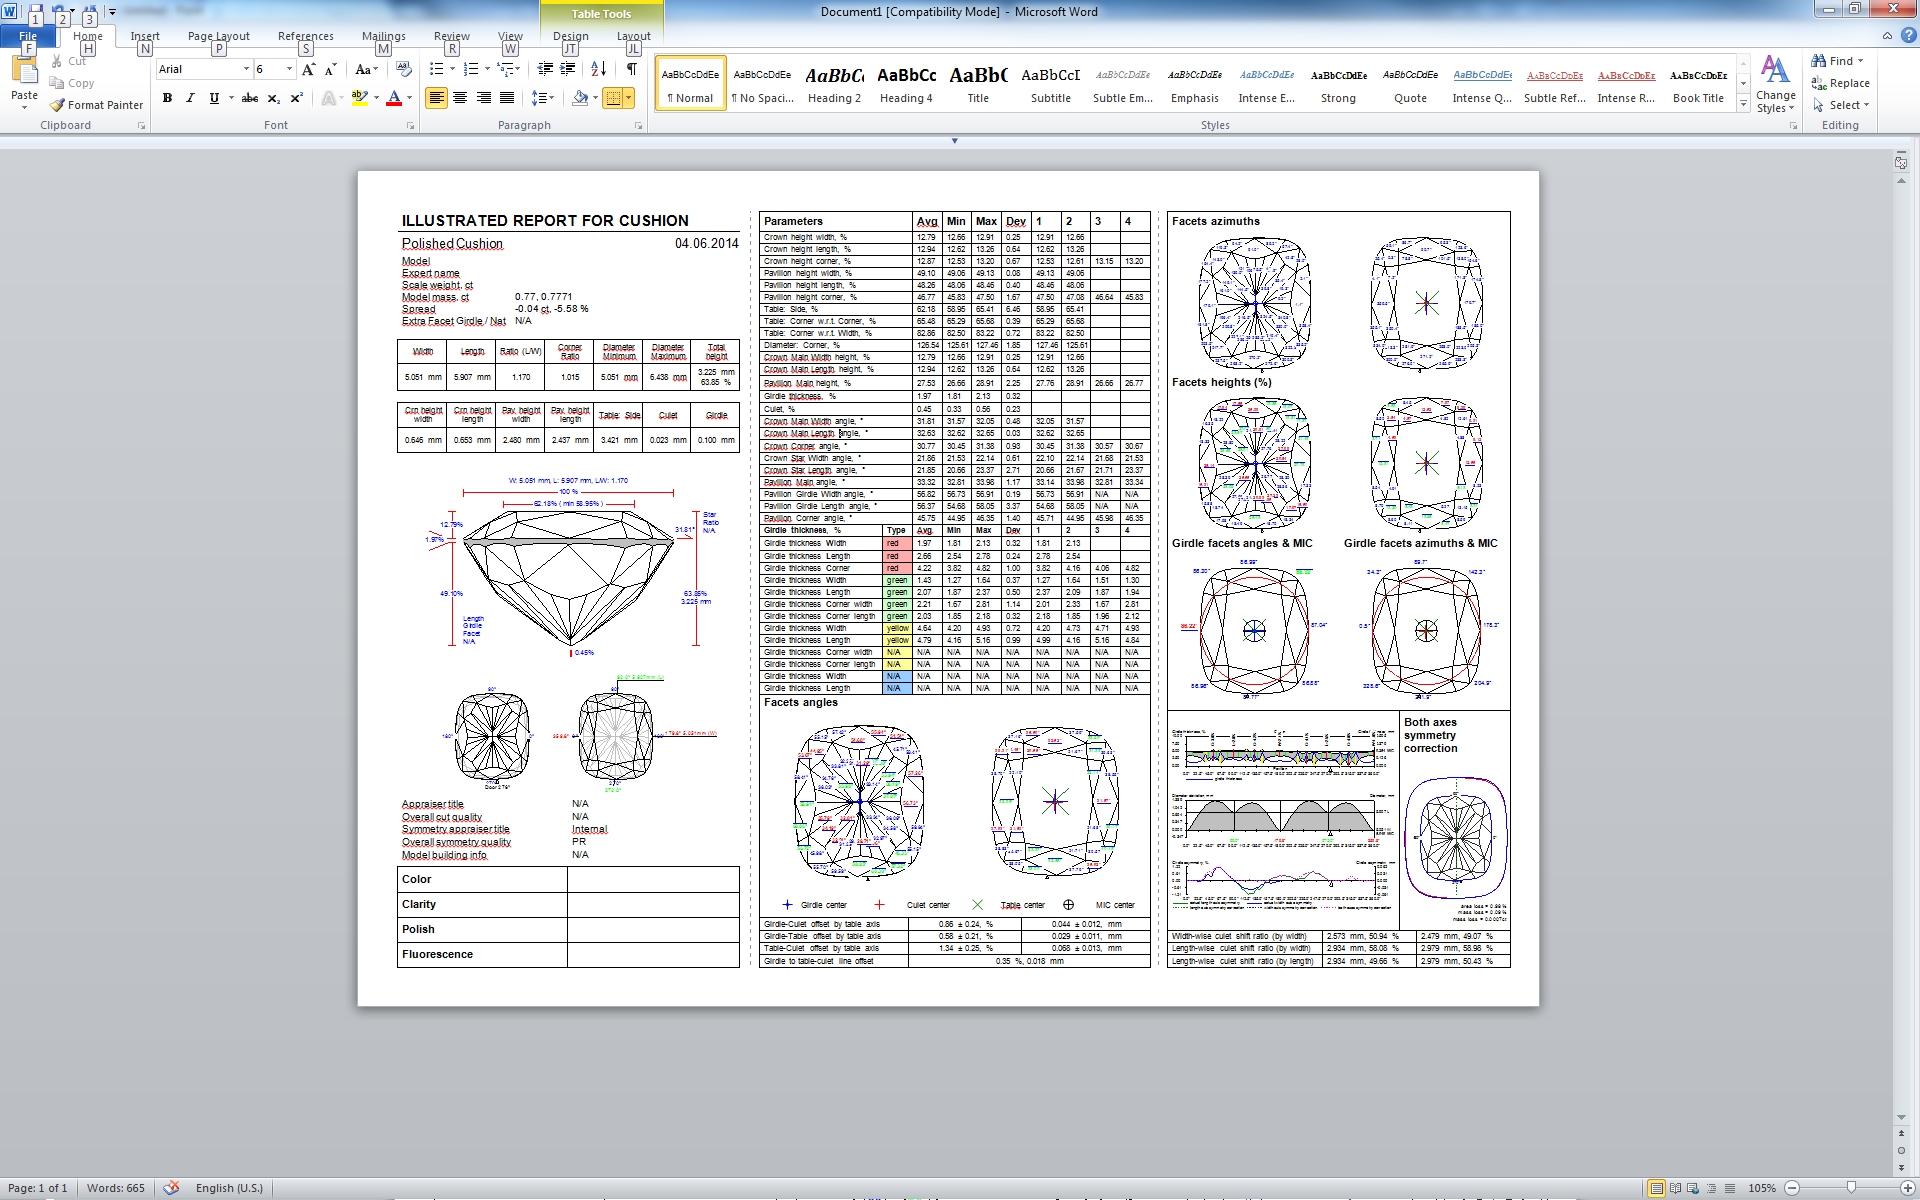
- Open the template you want to change via the right panel > Polish Report > Open Templates Folder, then opening the template file in MS Word.
- Delete the bookmark of the image we want to replace.
In this position, insert the string:
[Width=74;Height=74;PictureID=DRAW_DIAMOND;PavilionView=1;Circle=0;Parameter=0;FontSize=0;X=22.5;Y=90;]
- Highlight this string including brackets, then insert MS Word bookmark PAVILION_VIEW1.
- At the very bottom of the page, in the small font string, at the end of the string but before closing square bracket, put comma then (without space) PAVILION_VIEW1.
If necessary, to set boundaries for your image, insert columns or/and rows using the MS Word Table tool.
Save changed report template.
Note
If you want to save changes as a separate template, use Save As - before saving, in the small font string, change the VisibleName parameter.
The resulting report will look like:
Making Report
When you are done with settings, press Make Report. Depending on the report type, one of the following actions will occur:
| Type | Action |
|---|---|
| Open RTF | Opens the report in MS Word |
| Print RTF | Sends the report (the same one as above) to the default printer |
| Open HTML | Opens the report in the default web browser |
| INI Export | Exports a plain text report with pictures in separate files (see Export Report Data - Color for more details) |
| Interactive 3D | Opens the interactive report in the default web browser (see Interactive 3D Report for more details) |
Add Comment