Brief description of GUI elements
You can get a set of frames taken when the observed object rotates 360° around the vertical axis using the Rotation scanning tool. This panel is located on the right in the Tools section.
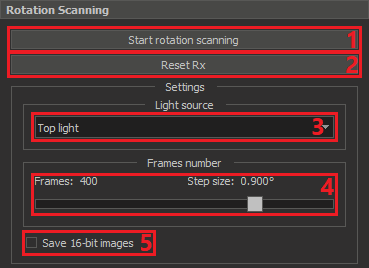
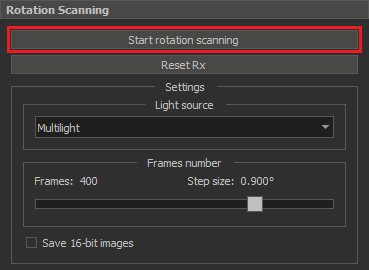
- Button for start scanning by rotating the object 360° around the vertical axis
- Button for reset Rx motor to zero position
- List of available light sources in which you can run scanning
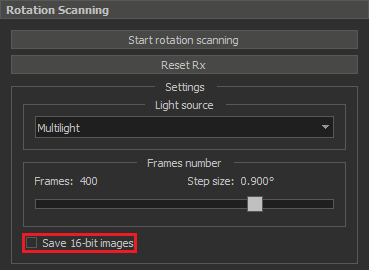
- Slider for specifying the number of frames that will be obtained as a result of 360° rotation
- Flag indicating that the result will be recorded as 16-bit .png images. By default, the flag is unchecked and the result will be a set of 8-bit .jpg images
Step-by-step guide
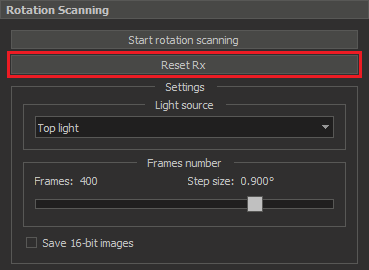
Reset the Rx motor to zero position if you want the first image in the set to correspond to the zero motor position. Just click the corresponding button 2.
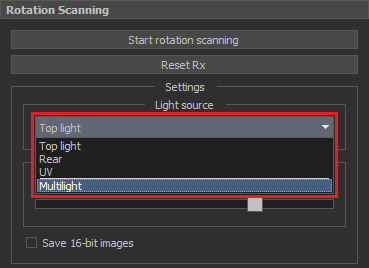
Select in the list 3 the target light source in which you want to scan.
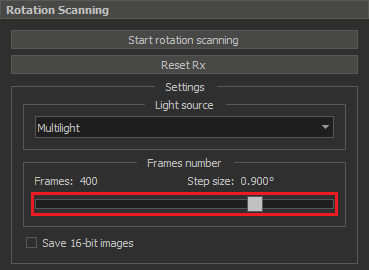
Set the number of images in the result set using slider 4. By default, there will be 400 images in the set.
Check the flag 5 if you want the result to be a set of 16-bit images.
After all this, start the 360° rotation scan by clicking on the corresponding button 1
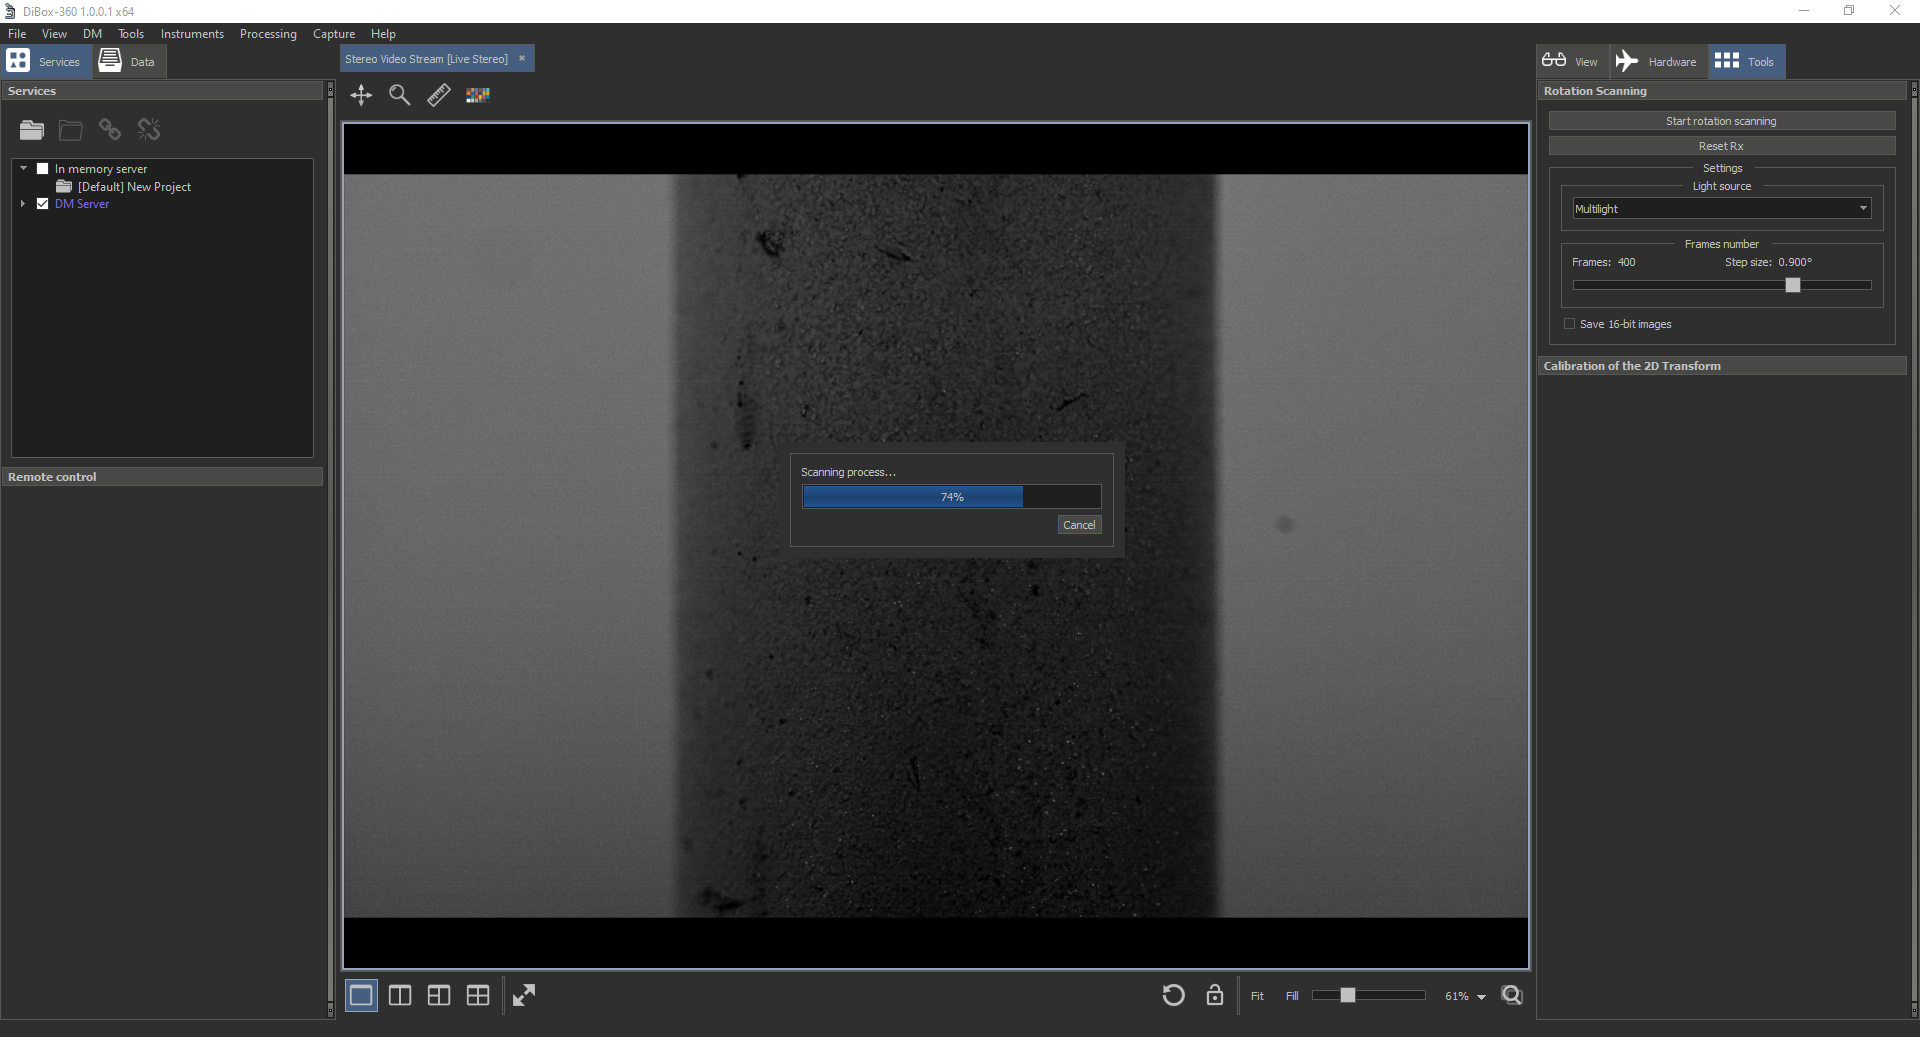
Wait for the end of the active scanning process. While scanning and saving data, the GUI of the application will be unavailable. You can track the progress of the scanning process using the progress bar.
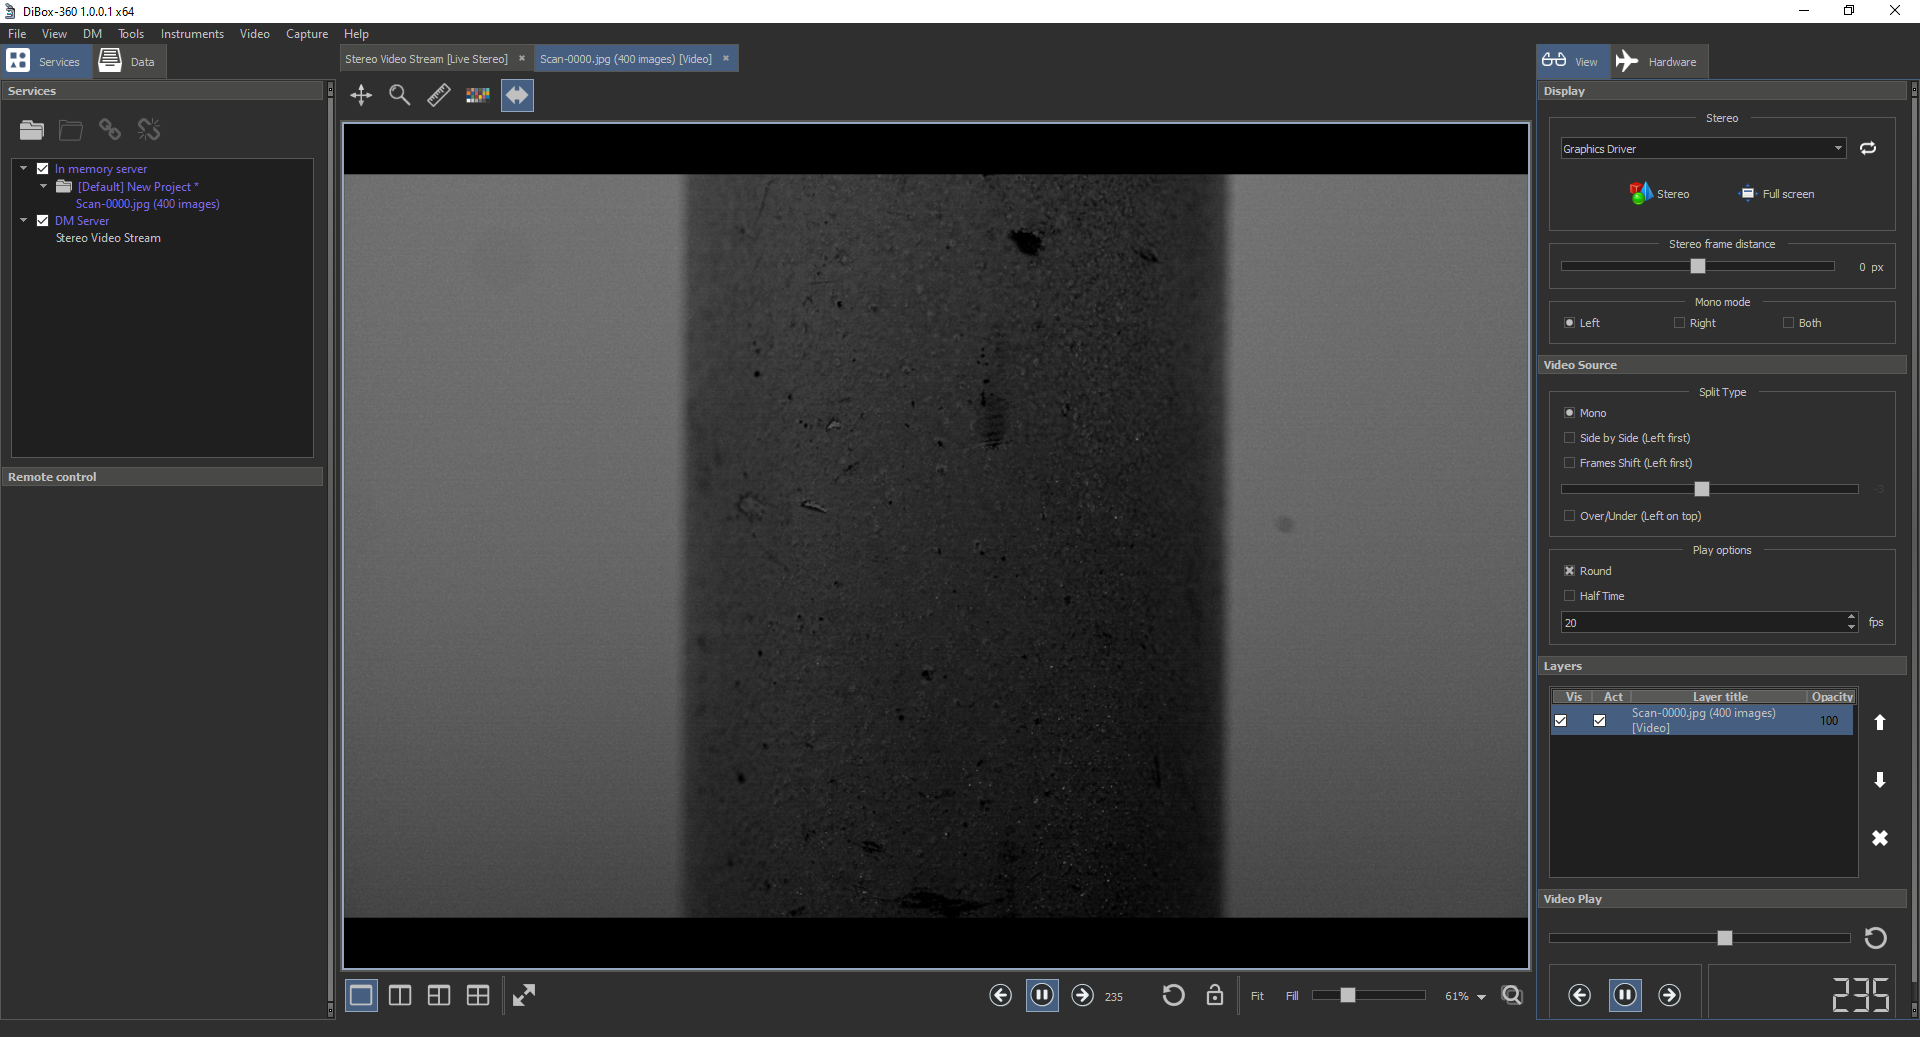
At the end of the process, the resulting data will automatically be opened in a separate tab where you can play them like a video.
All saved image sets can be found in the Scan folder, which is located in the root folder of the application.
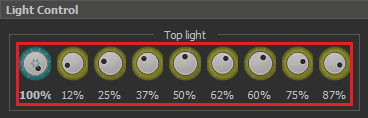
Configure light channels brightness
If you need to adjust the brightness of each multi-light channel separately, you must turn off the combined GUI display mode for the Light Control panel. To do this, add to the msaconfig.xml file (located in the root folder of the application) inside the section <msaconfig version="1" base="msaconfig-base.xml ">...</msaconfig> the following lines. Schematically msaconfig.xml will look like this:
<?xml version="1.0"?>
<msaconfig version="1" base="msaconfig-base.xml">
  ...


  <config>
    <id>com.octonus.dm.CLightControlPlugin/1.1</id>
    <values>
      <key name="CombineLightGroups" value="false" />
    </values>
  </config>


</msaconfig>
Now, the next time you start the application, you will be able to configure brightness of each light channel in the Light Control panel separately.
After adjusting the brightness, you can start scanning with 360° rotation in the multilight mode. The resulting images will be obtained with the brightness of the light sources that you set before scanning.
New version of rotation scanning plugin 2021-12-03
The plugin has been updated on 2021-12-03. Now it does not contain a control for selection of lighting mode, it is controlled by the main Light Exposure control in DALS.
For correct work of plugin, please, install the DALS program 1.3.2.21, and copy all files with overwrite from Dropbox (OctoNus)\Download_Internal\DALS\DiBox360 upgrade pack for DALS folder. In a config subfolder you may find all needed configs for India HR Dibox 360 setup.
After that launch DALS with update and select conditional lighting or adaptive one (please, refer to this page for details: Light and Camera control GUI).
In case of conditional lighting mode you will see the following GUI panel:
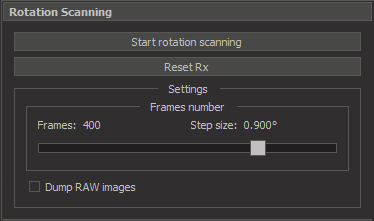
To start scan, press "Start rotation scanning". If you need to save original RAW dumps to a folder, check a "Dump RAW images" checkbox before scan.
In case of adaptive lighting mode on you will see the following GUI:
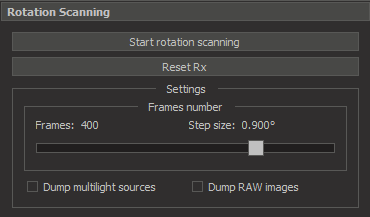
Except original RAW images, you may dump also multilight image sources (an image from each multilight lighting source).
Note: Taking a full RAW dump will take too much time (about 3 hours for 400 photos) and will require about 100 Gb on disk. Please, dump RAW images only when it is needed.
As for dumping multilight sources, we recommend to do it for every scan (for optimizing multilight sources).
Support of DALS pipeline modes
In this version of rotation scanning all DALS pipeline modes have been supported: Auto, Manual, Quality, Speed mode (please, refer to this page for details: Light and Camera control GUI). We recommend to use auto mode, it will give averaging of 4 frames in one point, autoexposur, autocontrast and image stabilization turned on, giving the optimal quality of resulting images. The example of captured data is here: https://www.dropbox.com/sh/m5fn9o0xf85mw7p/AAA3OAeM6G0fWDrOd92MI2uZa?dl=0 (here you may find final scan with multilight source dump images).