Since DALS v1.1.1.15, tools for 2D measurements have appeared. Before you start working with them, you need to calibrate the zoom and set the reference of pixel size.
The current version has the following tools:
2D Ruler
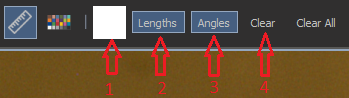
This tool is designed to measure lengths and angles between the constructed lines.This tool is located on the toolbar:

The tool has the following controls:
1) Text and color line selector
2) Show Length button (default enabled)
3) Show Angles button (default enabled)
4) Clear button
To start measuring the length of some object, left-click on the starting point and then click again on the ending point.
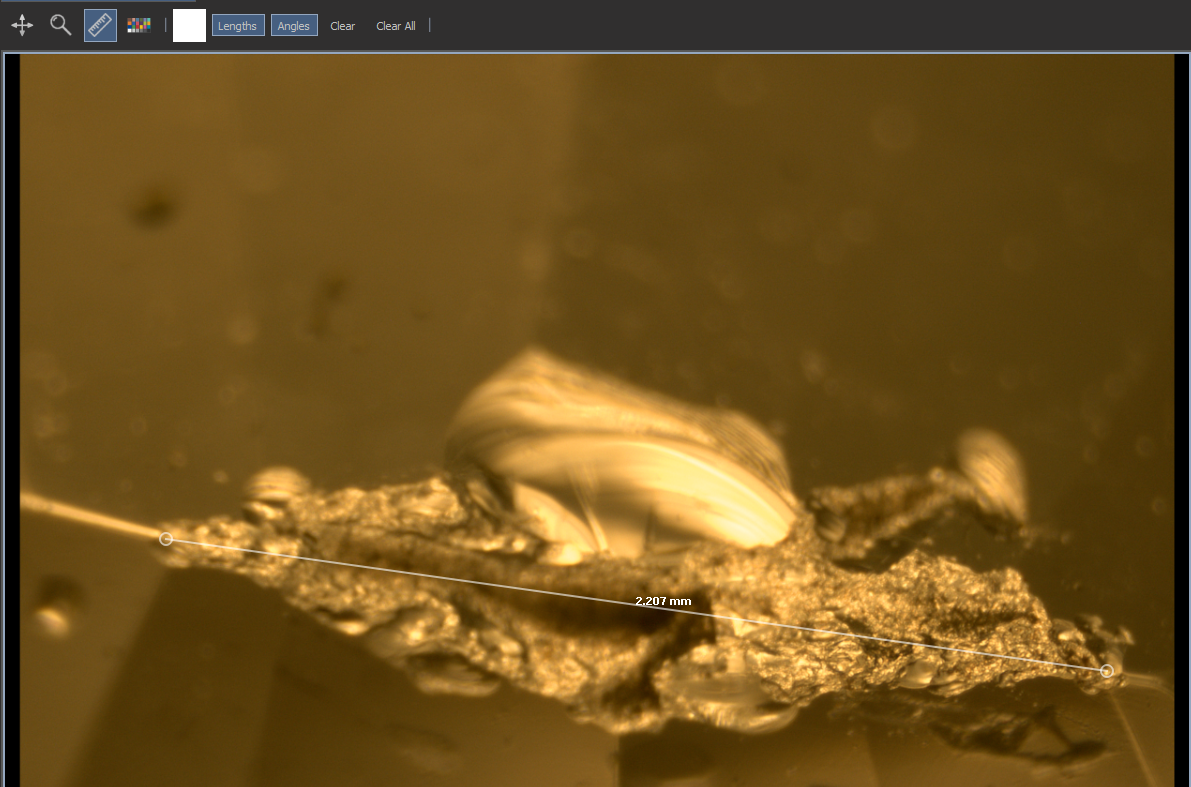
Then you can either delete the measurements by clicking the Clear button, or continue building the multiline by clicking the left mouse button.
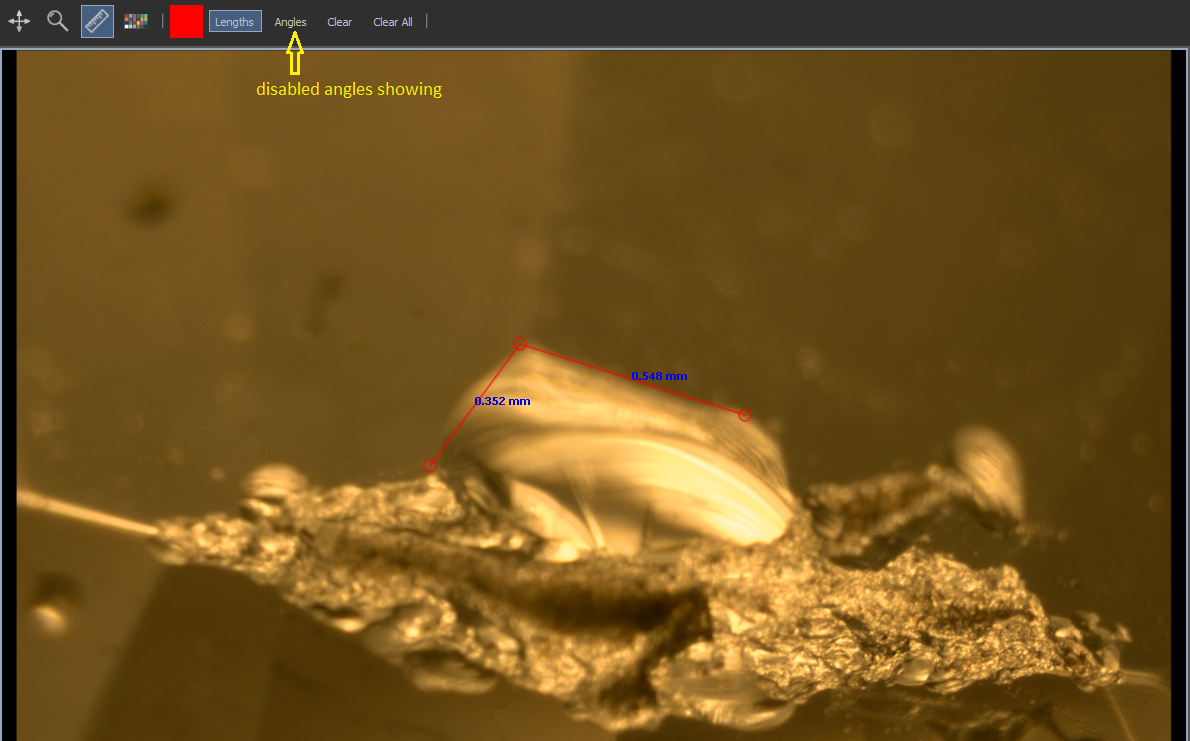
At any time, you can change the color of the line and text by clicking the corresponding button that reflects the color of the line.
Below is an example where the line color is changed to red and the Angles showing are disabled.
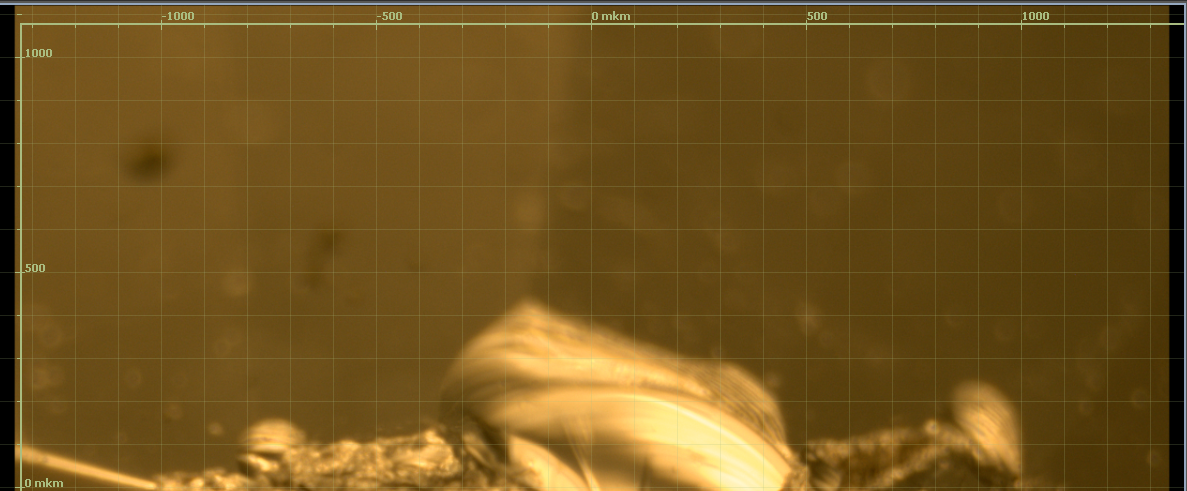
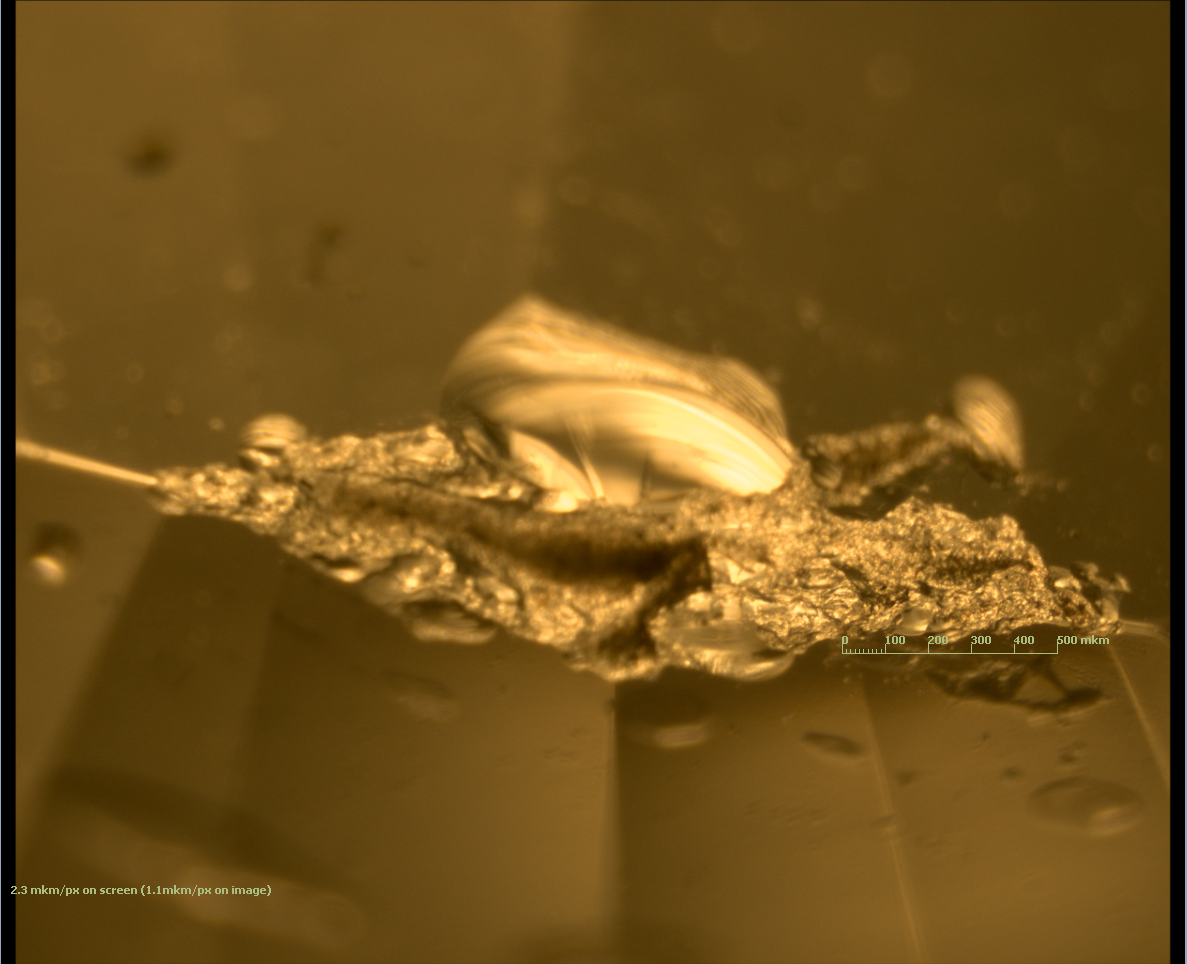
Grid tool
This tool allows you to work with several types of scale rulers, or activate the grid.
To enable the tool, select the View -> Show grid menu.
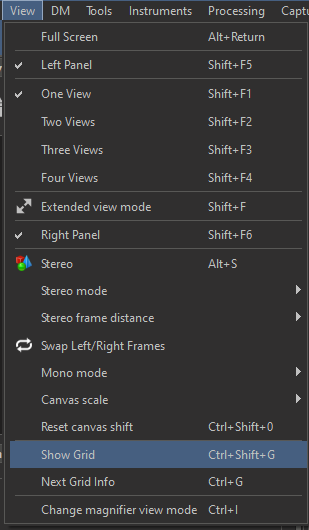
To switch to another type of ruler or grid, press Gtrl+G.
| Type 1 | Type 2 | Type 3 |
|---|---|---|
|
|
|
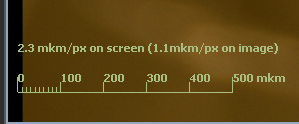
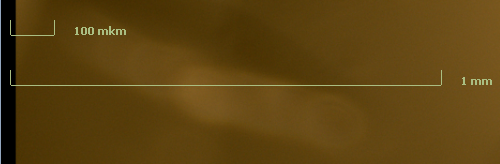
You can move rulers of types 1 and 2 by hovering the mouse cursor under the line and holding down the right button drag to the desired point on the screen.
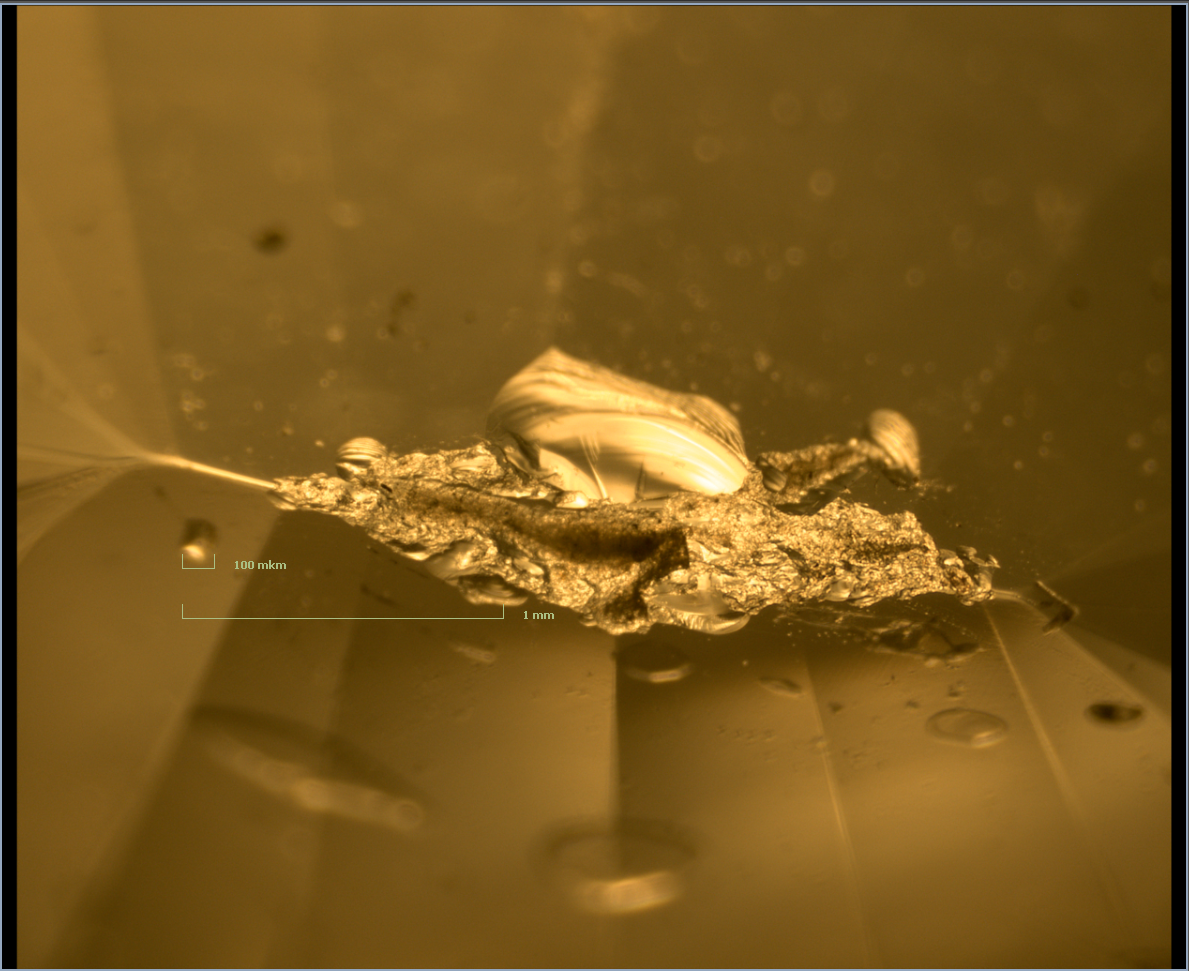
Depth measurement
This GUI plugin is designed for depth measurement for DALS+ system (with Z encoder). First of all it can measure the optical distance in focus between two specified Z levels. Then it may work in two modes:
- Measuring real Z distance in high refractive transparent objects
- Measuring RI of transparent object
Case 1: Measuring real Z distance in high refractive transparent objects
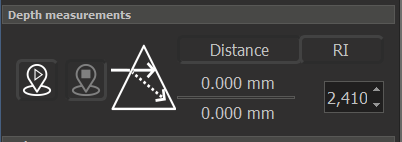
- Click on RI tab and specify RI of the object where we measure Z distance

- Focus on a start point using manual Z-drive
- Click on start point button

- Focus on the second point using manual Z-drive. While focusing you will see that optical distance changes and real distance too according to specified RI
- Click on stop point button
 . The measurements will be saved on the screen:
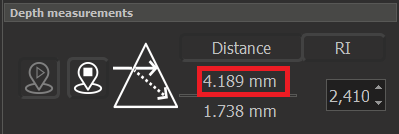
- To make a new measurement in the same object, go to step 2.
Case 2: Measuring real RI of transparent object
- Click on Distance tab and specify real depth of object (measured for example, by real ruler):

- Focus on the front of the object using Z-drive
- Click on start point button
- Focus on the back side of the object using manual Z-drive.
- Click on stop point button . The measurements will be saved on the screen - the calculated RI will be under RI tab:
