...
- Use the Recut mode.
- In the Scene, right-click the model at the position where you want to place a new inclusion.
- From the context menu, select the appropriate inclusion option from the list.
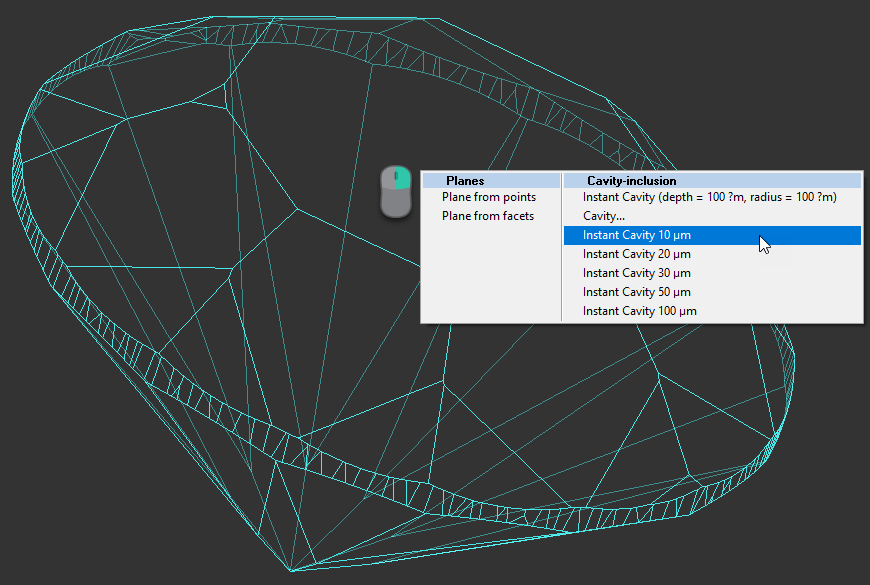
The inclusion will be created.
Inclusions Visualization - QC Panel
You can filter inclusions visualization in Scene. This can be done via the new QC Panel (Quality Control Panel), available in the Recut mode, on the left panel.

Activate the QC Mode button to start using specified filters. De-activate it - all solution inclusions will be displayed without filtering.
The QC Panel applies filters to the model inclusions, such as:
- Clarity select one or several clarity values from the list - only inclusions with the specified clarities will be displayed
- Diamond for multiple diamond solutions you can select only inclusions for the selected diamond will be displayed
- Inside/Outside check if to display inclusions inside, outside the diamond or both
- Depth of the area where to display the inclusions (works together with Inside/Outside ) - use the slider or type in the value in µm
Filters utilize the AND logic, for example, if "Diamond 1", VS1 clarity, "inside" and 90 µm are selected, then only VS1 inclusions within 90 µm area inside Diamond 1 will be displayed.
| Note | ||
|---|---|---|
| ||
|
Deleting Inclusions
You can delete existing inclusions. This can be useful if some caverns have been added by mistake.
...