What is Flat-Field Correction?
The light source of the microscope cannot perfectly uniformly illuminate the surface of an object. When stitching a large image from a set of smaller ones, these uneven lighting lead to a bad result - the stitching seams become visible. The flat-field correction tool allows you to compensate for uneven lighting.
How to use (Step-by-Step Guide)
The following describes the process of collecting calibration data for the flat-field correction. You need to do it ones, after that it can be used in stitching process.
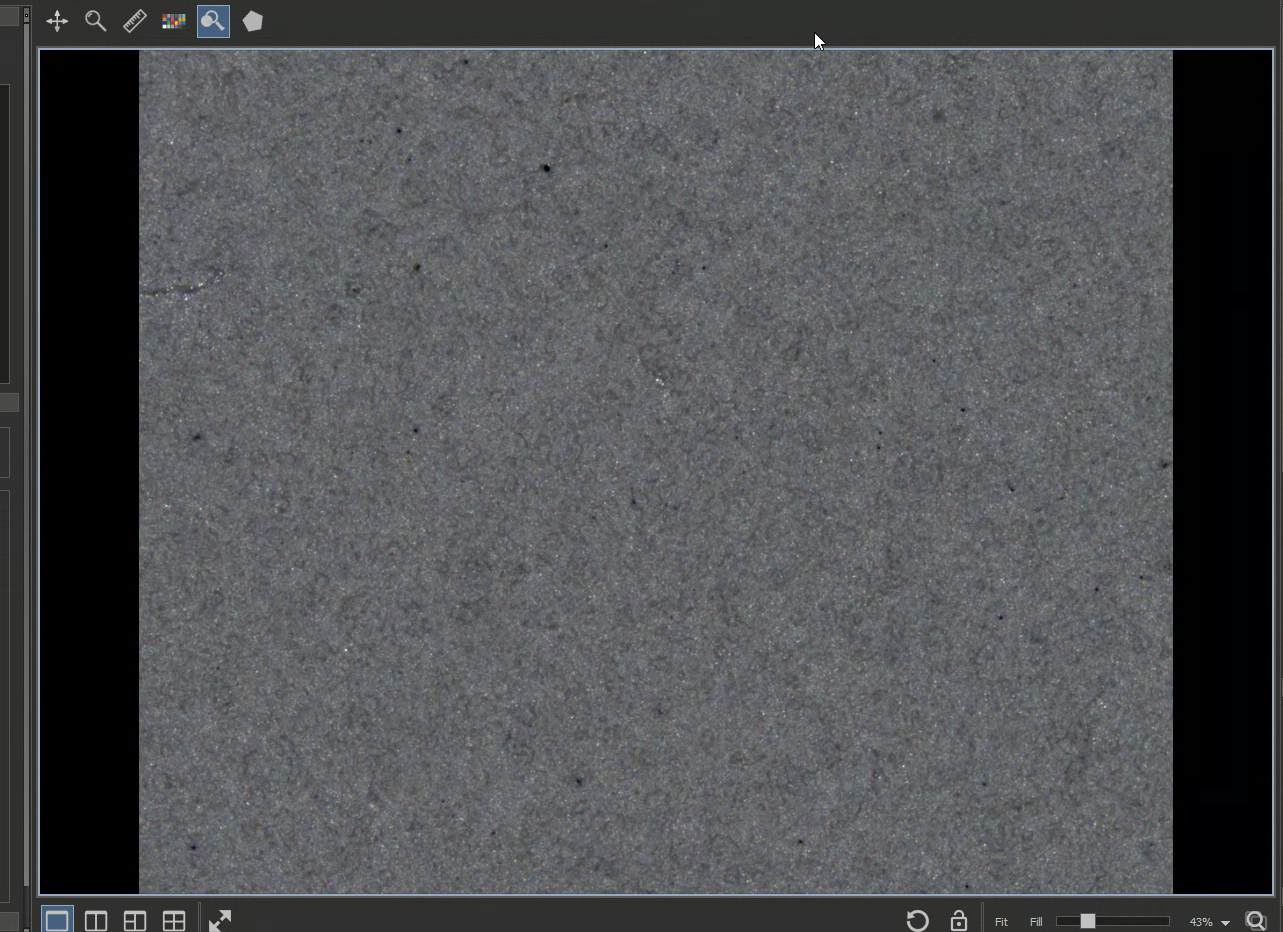
- Set a flat white object for calibration (e.g. white piece of paper, better - a gray caliber)
Set the object perpendicular to the optical axis of the lens and focus on the surface of the object. Also it is necessary that the object occupies the entire field of view:
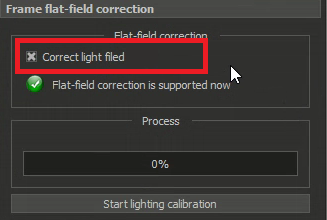
Push the Start lighting calibration button:
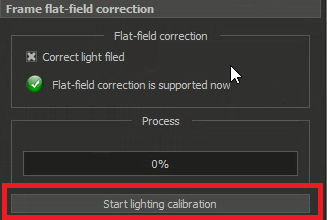
- Wait for the process to finish. Calibration data is collected automatically. Autofocus is performed on the surface, camera exposure is selected, and then the frame is shot
- If something is wrong, cancel the calibration process with the Cancel lighting calibration button
- If everything is successful, you will see the corresponding status in the GUI of the flat-field correction tool
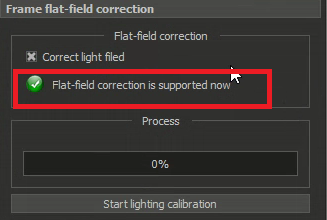
This means that will be performed flat-field correction at next image stitching. This correction is made automatically if the check-box "Correct light field" is enabled: