Version is available at: Dropbox (OctoNus)\Download\DM-XRay\dm-xray-setup-ver-1.0.0.1-alpha14x64.exe
What's new?
- More clear logic of scaling parameters for scenarios with and without HPO
- First version of automatic detection of windows (available in a dialog mode only for estimation of technology)
- Paralleling of simplification procedure for most cases (in other words, optimization of calculation time)
- Improvements in dialog mode GUI, for example, model comparison mode was added
- Bugfixes
Scaling logic
In this release there are two ways to tune the scale of resulting model:
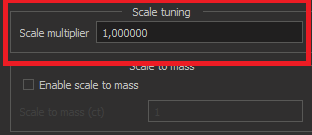
- Linear scale multiplier (mm/mm). Use this way only if you do not know the exact mass of the diamond
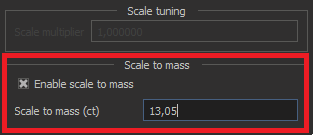
- Mass scale. It is supposed that it will be the main way. You need to set the exact mass in a field:
In this version:
- You may use only one of these two ways (in previous version these ways could be combined making logic unclear).
- Setting exact mass is a preferable way
- Mass correction is also applied for "with HPO model" scenario. It is very important to set mass in this scenario because it could boost the alignment with HPO model
- If the mass correction changes the scale more than 5% you will see the warning (something is wrong - parameters or input Xray model)
Automatic windows
In this version automatic window building algorithm added. It is available now only in a dialog mode (for both "with HPO" and "without HPO" scenarios). To enable it you should have two options checked:
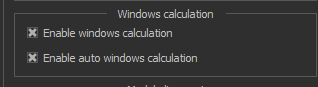
The first option turns on the dialog mode, the second one - automatic calculation of windows.
Main notes about the algorithm:
- The algorithm detects and builds more than 90% of planes. In future we can tune the algoritm to detect all planes
- Detection and building planes usually takes 1-3 minutes (for rough with small number of planes it usually takes more time). But if you use after that 'cut by planes' option (this option is very important for achieving good models) it will take much more time. In future cutting by planes will be optimized and could be done absolutely automatically
- The bones and planes of resulting model are more precise in automatic algorithm because in a manual scenario planes are built as independent and the bones could be shifted
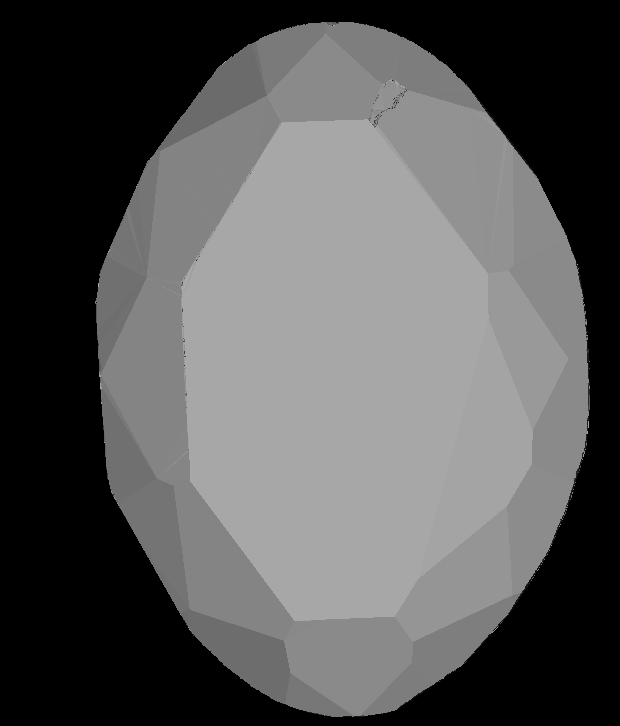
- For polish with a big number of windows you can receive a model which resembles HPO one. For example, for 50ct Oval we can receive such a model with cavities without HPO model with 5600 bones (HPO without cavities has 1350 bones):

Automatic window algorithm (with cutting planes) is also important for "with HPO" scenario, because the HPO and Xray models are aligned much better in this case and cavities are cut precisely.
Full dialog scenario step-by-step (with HPO)
In this section we will describe the current dialog mode scenario for cutting cavities (for rough it is similar) and show how to work with automatic windows.
1. After opening Xray voxel model and HPO one open it, please enable options (the first for dialog mode, the second for automatic window algorithm). If you do not want to launch algorithm in a dialog mode, please incheck first option (the second will be unchecked automatically).
2. Check scale mass option and enter the exact mass:
3. Press 'Build model with cavities' button
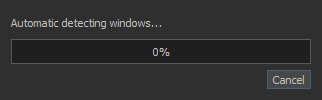
After polygonization the automatic window detection algorithm will be launched:
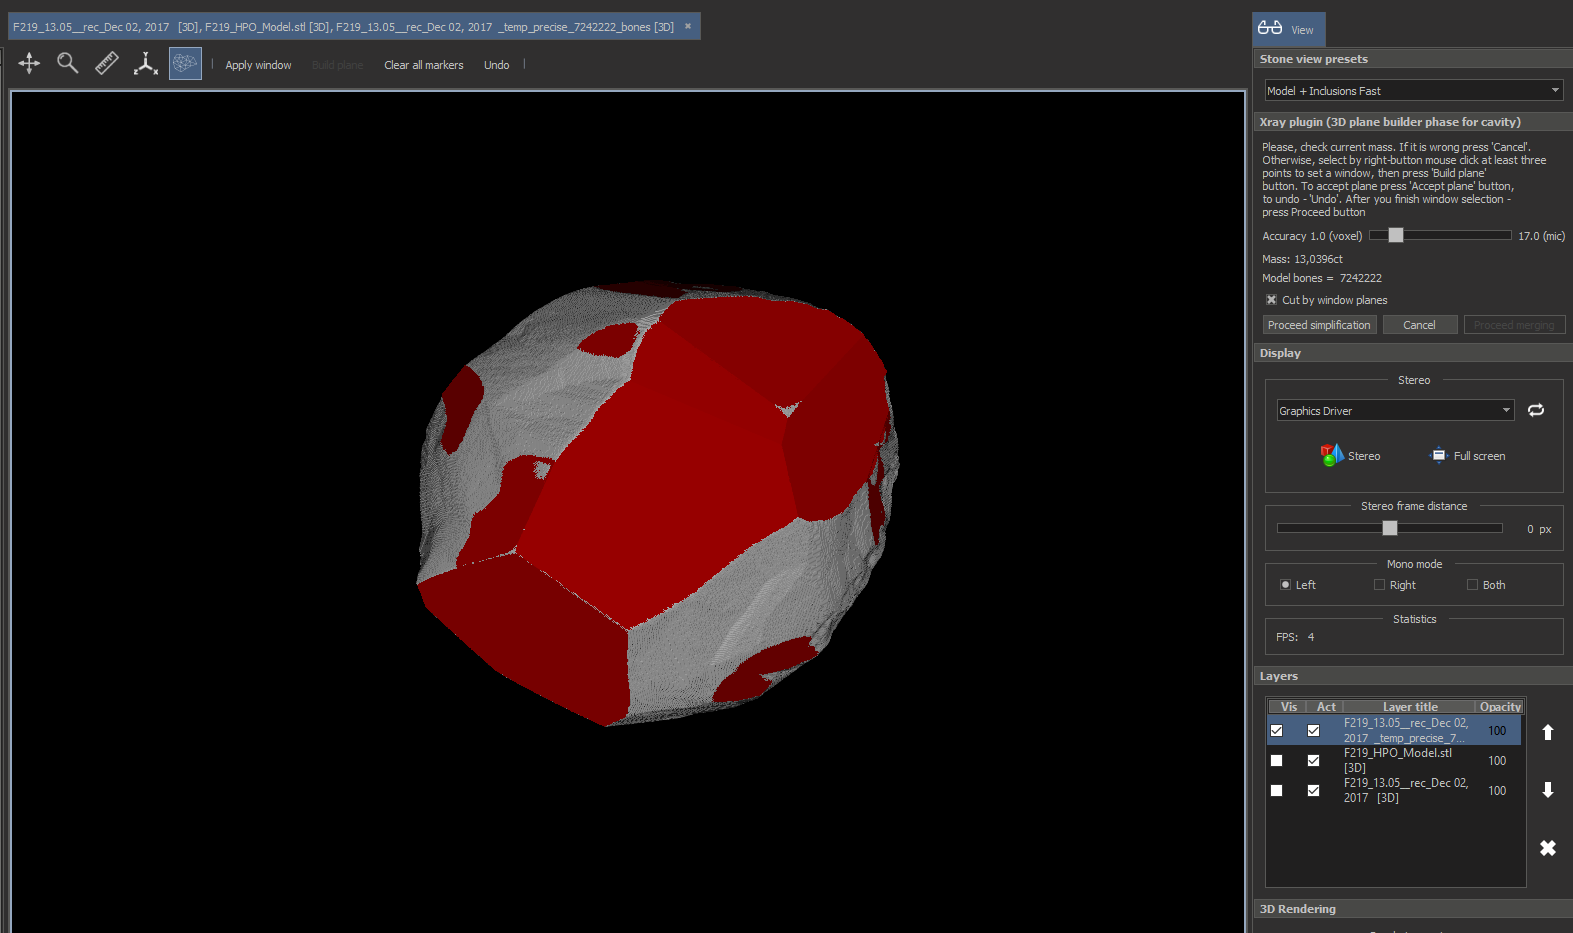
When it be finished you will see found windows (red):
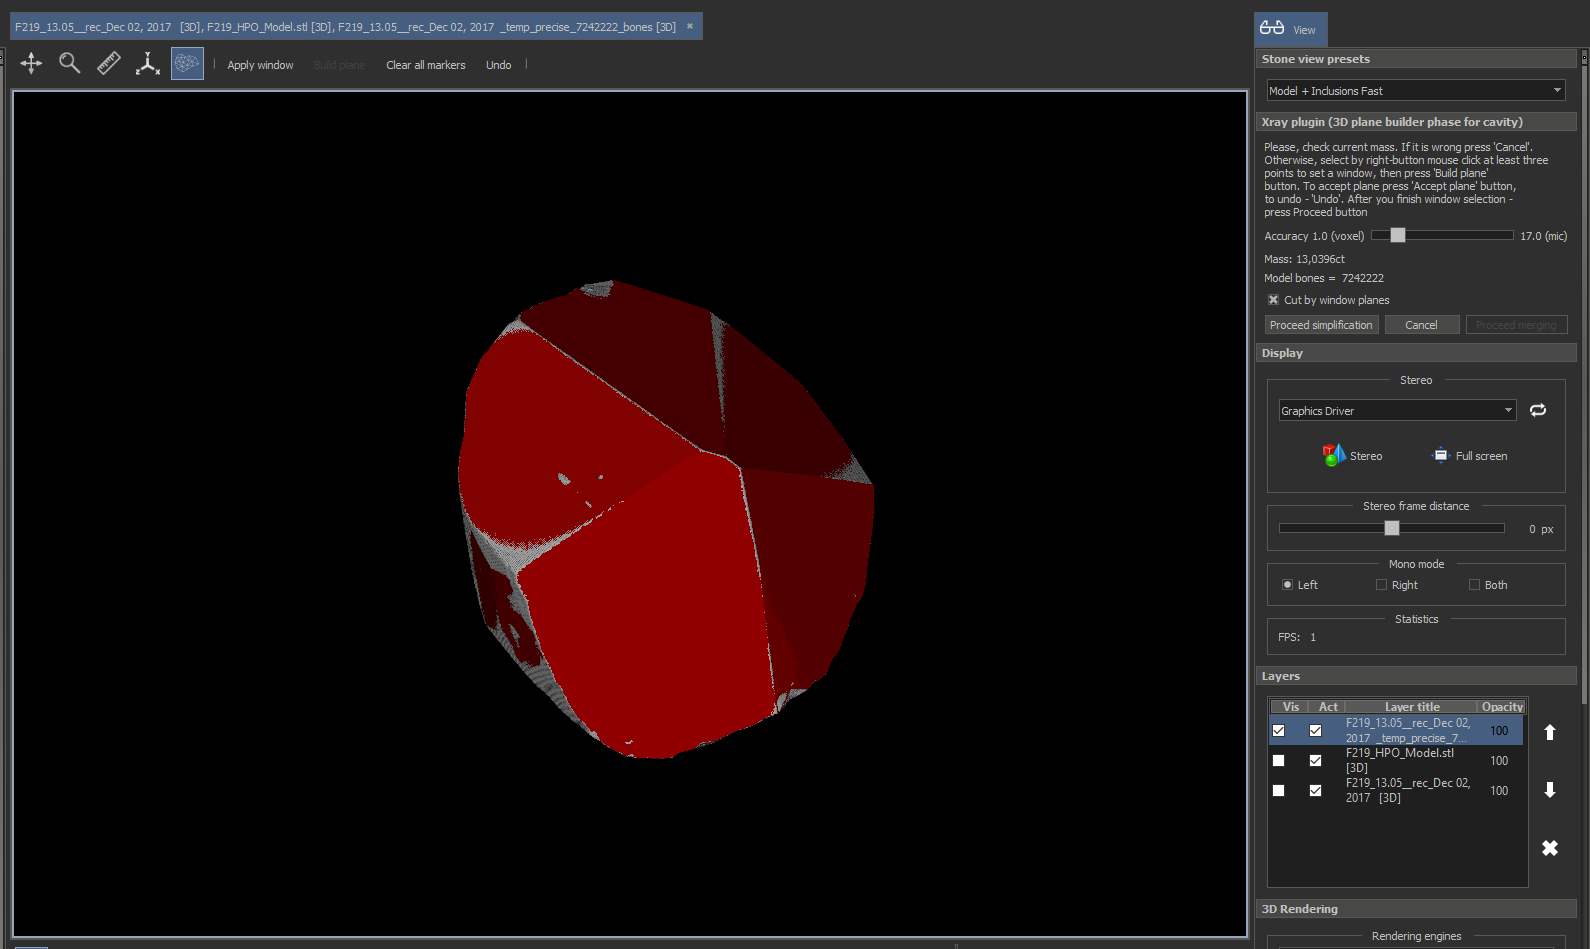
4. To approve found window press  on the top panel (the planes will be blue). To discard -
  .
.
5. Only after that you may select manual windows (by clicking by right mouse button and clicking 'Build plane' and 'Apply window')
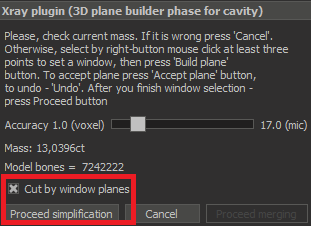
6. Click on proceed simplification on the right panel. Please, note that cut by window planes option is checked by default
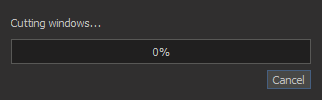
After that you will see the process of cutting by windows. Unfortunately, at the moment it is one of the slowest stages, it will be optimized in future:
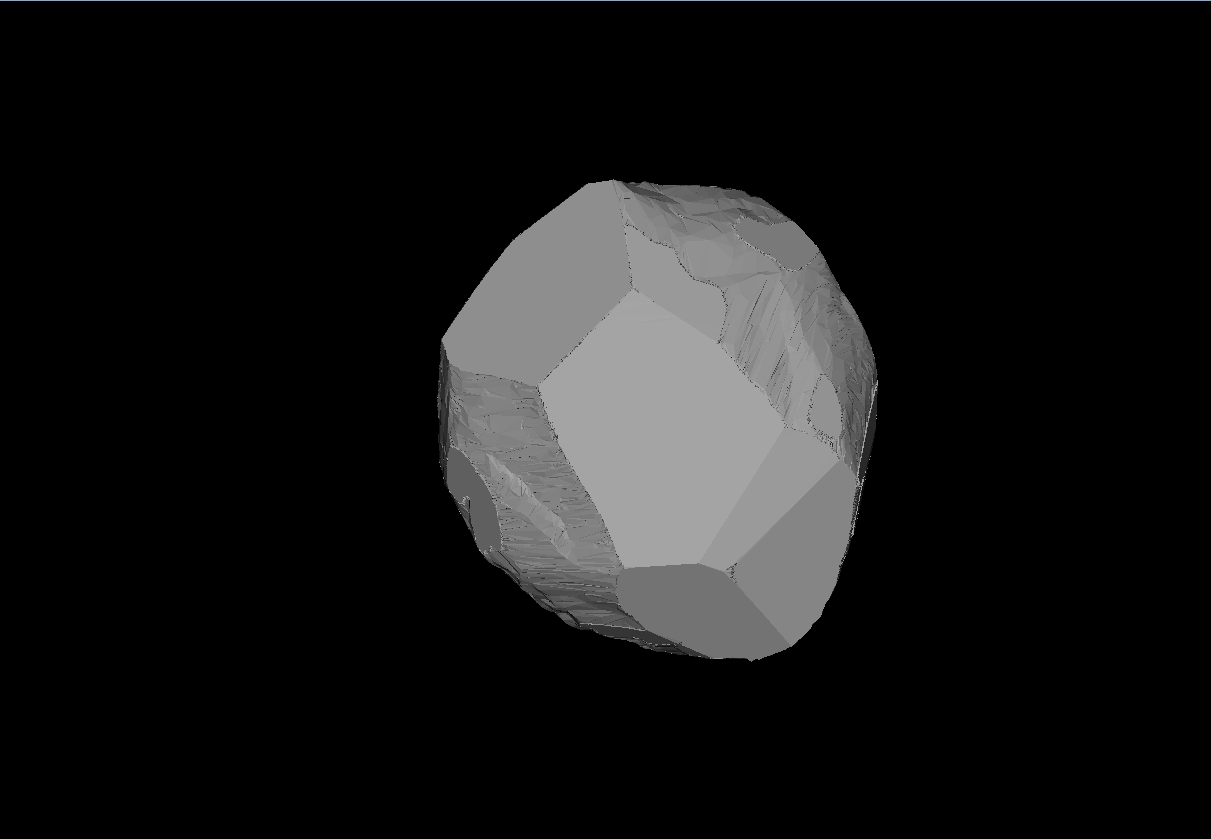
After that you will see the simplified model:
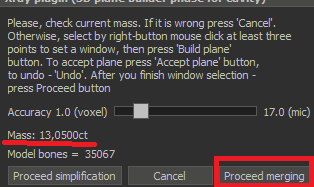
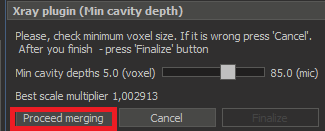
7. Check the current mass (it must be the same as you entered). After that press proceed merging:
The alignment stage will be launched:
After that a comparison mode will be launched automatically. It is a new feature and here you can check that alignment process is ok. In this mode aligned voxel model is compared with HPO one:

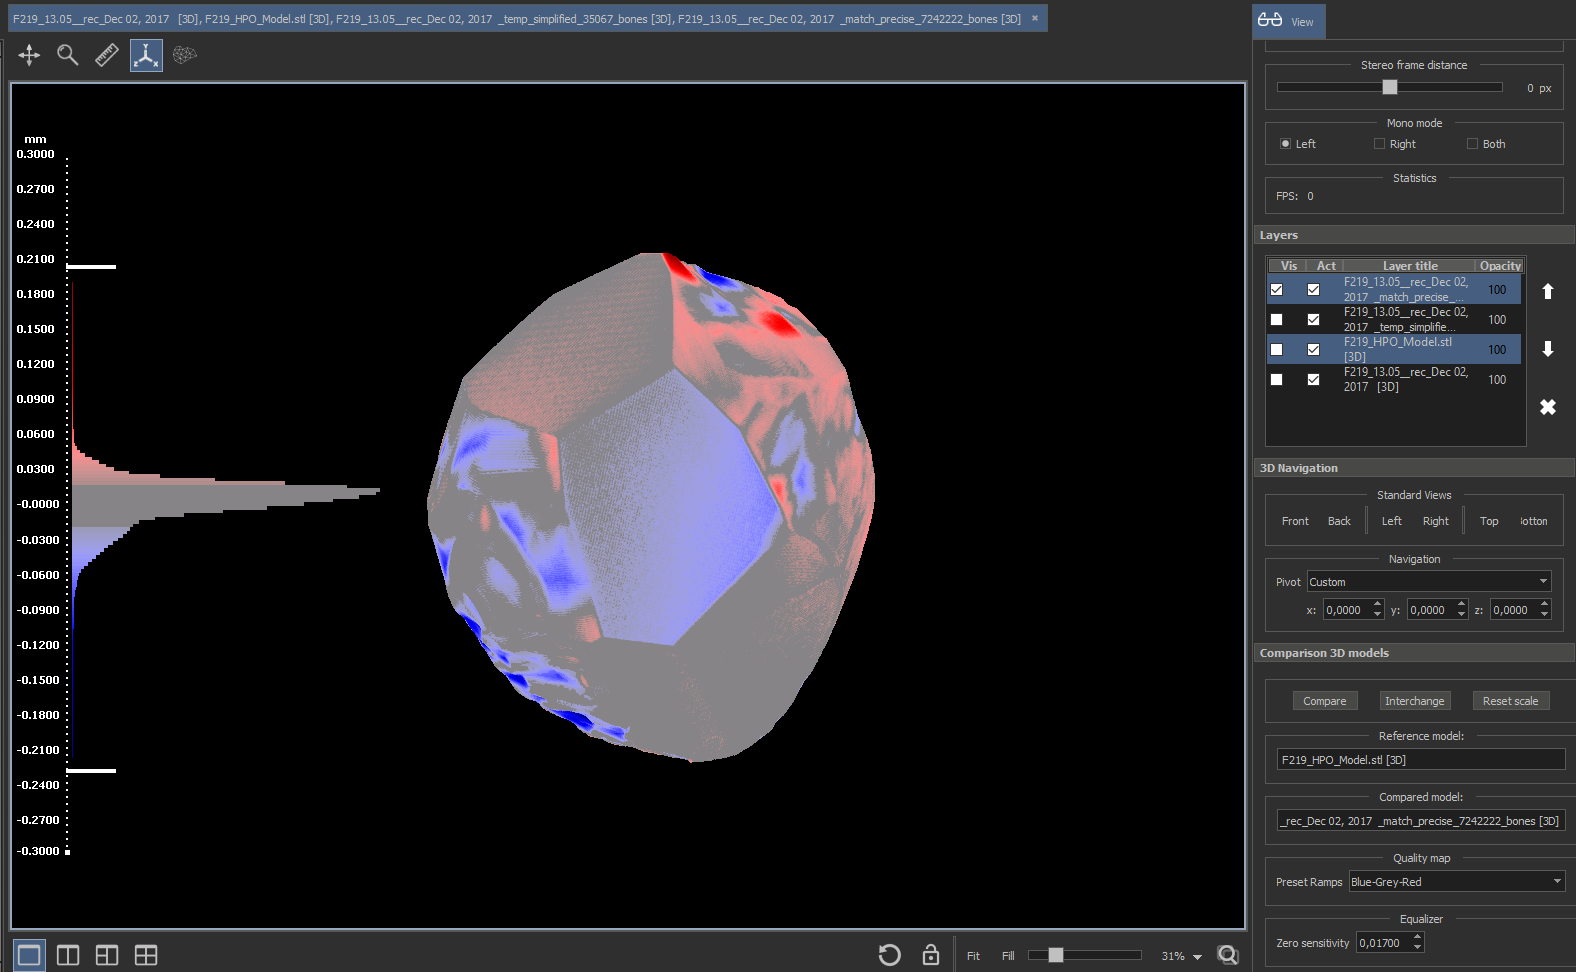
By blue shade you can see the cavities, by red - the regions where Xray model is above HPO. Well-matched areas are shown with grey.
Also you may measure the distance between models by right-clicking on point.
More features of this mode (for example, customizing histograms ans model coloring) are described here: Distance between models at point and Distance between 2 models.
8. Press proceed merging button:
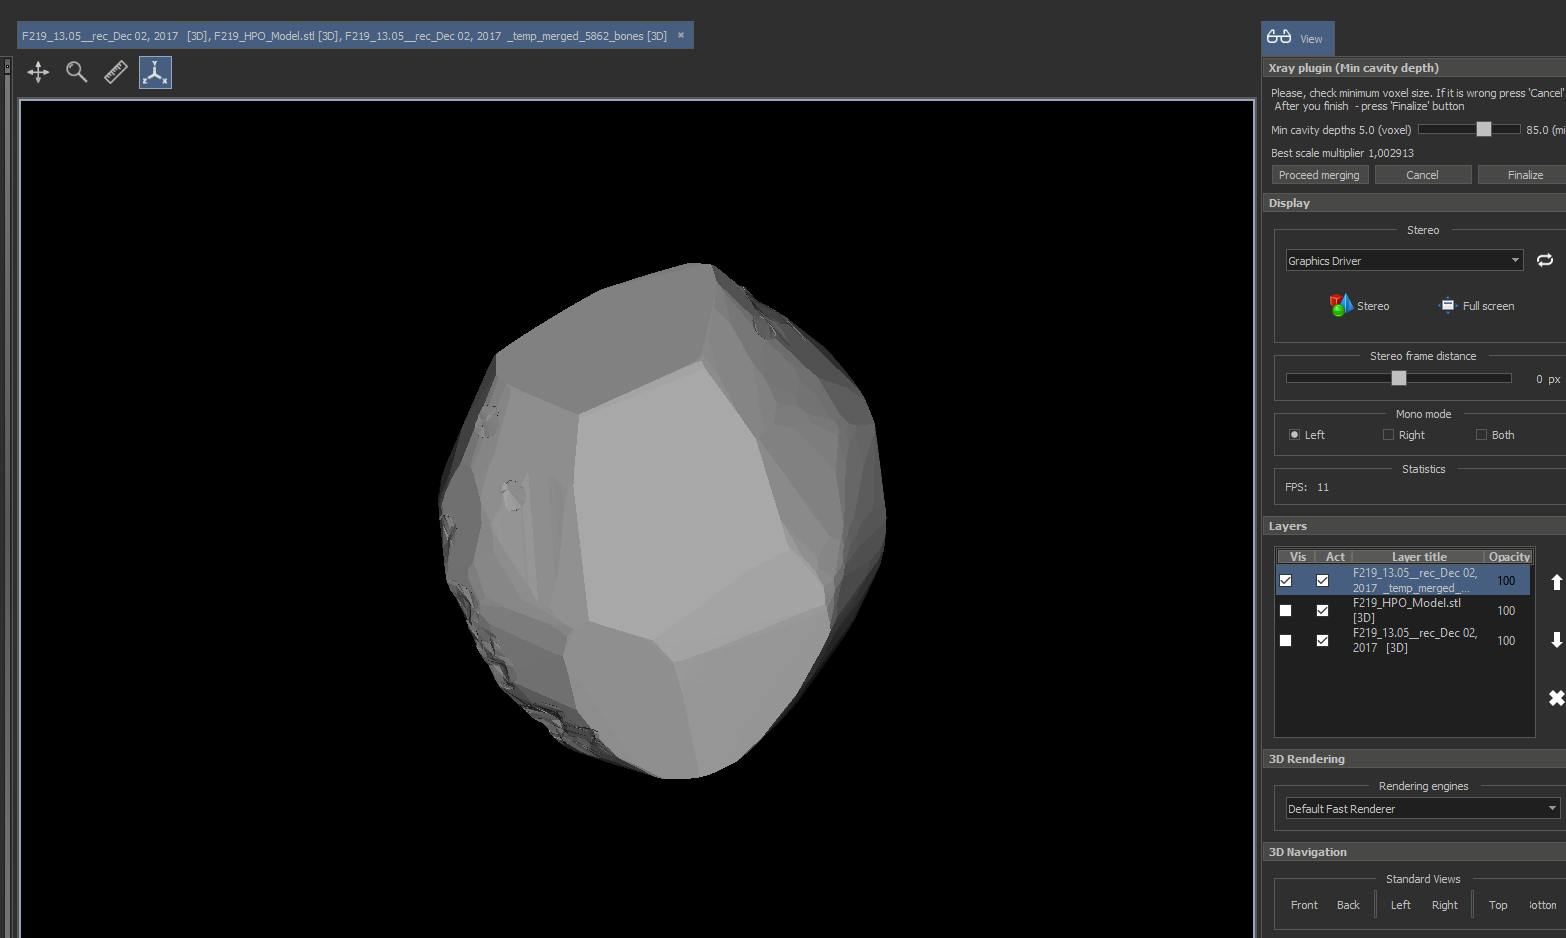
After merging models you will see the resulting model:
9. Press 'Finalize' to export result
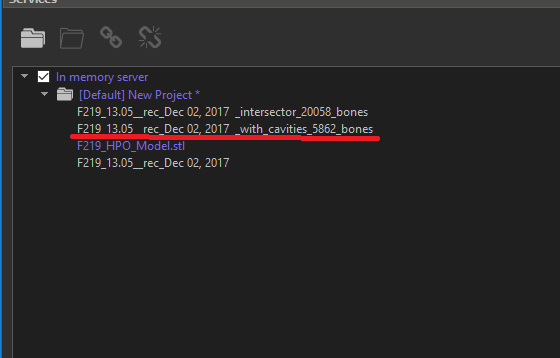
After that you need to save the '_with_cavities_" model:
Optimization of simplification stage
Simplification stage was parallelled for most cases. If you use it without dialog mode for models calculated earlier about 30 minutes (with HPO scenario), know this time is about 20-22 minutes.